Turkey recipe: this aromatic lemon, apple and herb turkey is moist, tender, delicious and the perfect centerpiece for your holiday meal! Easy to make and bursting with flavor.
This incredible turkey recipe post was originally posted November of 2016 and has been republished for easy “finding” by Tangled with Taste.
©Tangled with Taste by TangledwithTaste.comPin it to your Holiday Feast board to SAVE it for later!Follow Tangled with Tasteon Pinterest for more great tips, ideas and recipes! Originally posted Oct 2016, reposted for easy finding.
Full recipe for this Turkey can be found at the bottom of this post after the “Butterflies in your Stomach” moment, OUTLINED IN PINK!
I don’t mean to brag, but seriously, if there is a better Turkey recipe out there, I have yet to try it! Considering the results, this is a surprisingly easy yet absolutely fabulous turkey recipe.
First (and this is extremely critical) we brine the turkey in an herb lemon brine, which seasons the turkey meat and also keeps our thanksgiving turkey moist and juicy. Plan for an hour per pound.
Then we season our turkey to perfection, fill its innards’ with some incredible herb and fruit aromatics, sneak some herb butter under the skin of our turkey for extra moistness in the meat, and cook until our watering mouth’s cant wait a second longer. Plus I’ve got a secret for that oh-so-gorgeous-and-crispy skin without drying out the turkey meat!!!
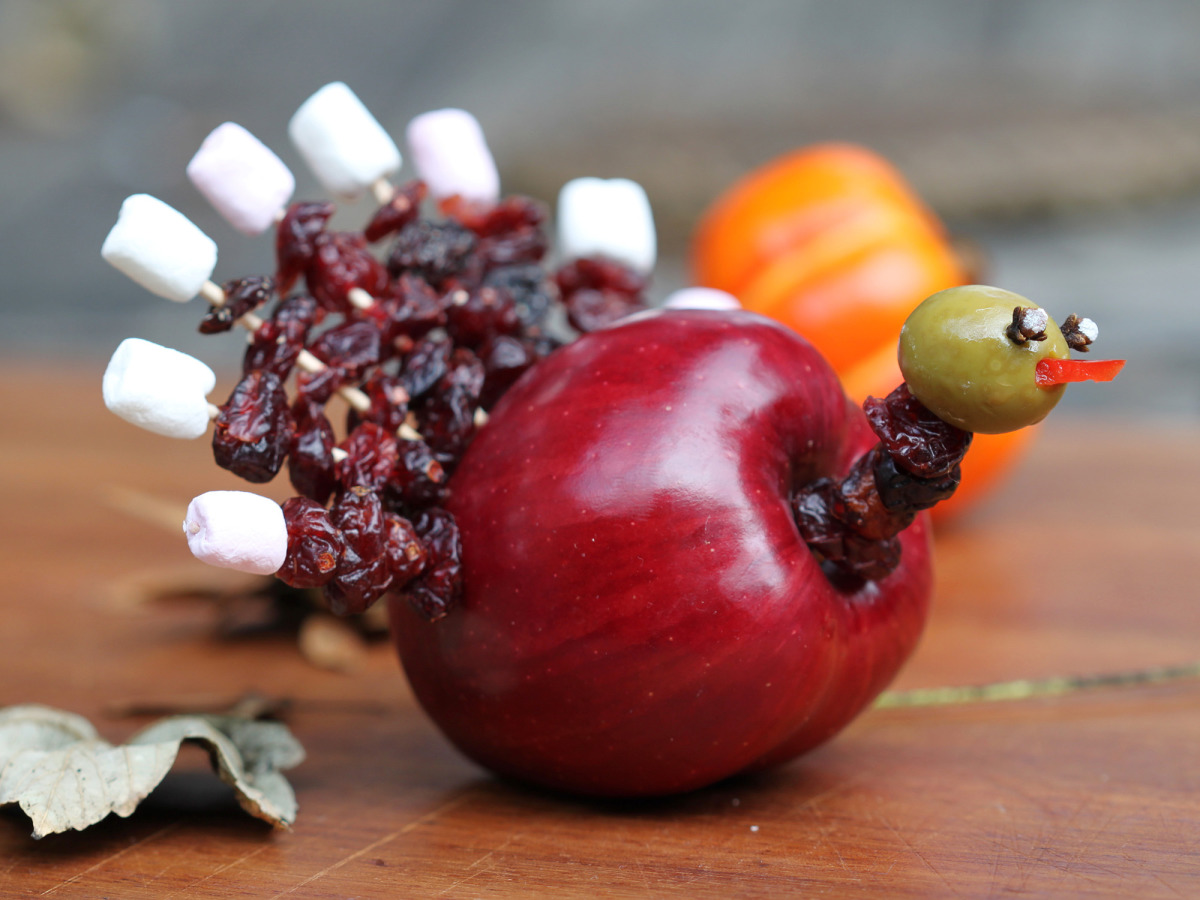
And find really great dinner table and quick and cute decor and activity ideas for your feast here.
(This is just a summary, find the full recipe and instructions under the “Butterflies in your Stomach” moment, below!)
*Question: How do I get that crispy golden skin on my turkey and fully cooked dark meat, without drying the crap out of the white meat?
*Answer: Rub the skin of your bird down with your buttery fingers (after filling the meat pocket) and a little extra oil right before placing your bird in the oven. Cook it for 30 minutes at a super high temperature. Then remove your turkey from the oven, and make him wear a foil hat for the rest of the cooking. He’ll feel so dapper and taste so juicy. YAY!
Square of aluminum foil, mold it around the breast (Only the breast! Leave the wings and legs exposed.) of the Turkey (before the 500 degree roast). Remove molded aluminum foil and spray with nonstick cooking spray. Oil/Butter the turkey skin and roast at 500 degrees for 30 minutes. Apply hat, and drop the temperature to 350 degrees for the remainder of the cooking time.
As Thanksgiving approaches, home cooks everywhere are gearing up to make the centerpiece of the holiday meal – the turkey. While there are many tried and true roasting methods, one unique technique can take your turkey to the next level: stuffing it with apples!
Placing apples inside the cavity of the turkey may seem unorthodox, but it actually serves multiple culinary purposes. Keep reading to understand why apples and turkey are an amazing flavor combo.
Apples Infuse Fruity Sweetness
One of the biggest benefits of cooking apples inside a turkey is the flavor enhancement. As the apples roast, their natural sugars caramelize and their tart juice permeates the meat. This gives the turkey a subtle sweetness and fruity essence that perfectly complements the savory, herbaceous notes.
Many people opt for sweeter, more aromatic apple varieties like Fuji, Gala or Golden Delicious. However, Granny Smiths are a popular choice as they hold their shape well during roasting. The bright, tart green apples impart just the right hint of fruitiness.
Apples Keep Turkey Meat Moist
In addition to amplifying flavor, the apples also help keep the turkey incredibly moist and tender The flesh of the apples contains a high water content that gradually releases moisture into the meat over the roasting time This effectively bastes the turkey from the inside out.
One whole apple can hold up to 1⁄4 cup of liquid! Just 2-3 apples in a 15 lb turkey makes a huge difference in the final juiciness and prevents the bird from drying out It’s an easy way to safeguard against an overly dry turkey
Apples Add Festive Aroma
Cooking apples alongside the turkey doesn’t just impact flavor – it also makes your entire house smell amazing! As the apples roast, they emit a sweet, fruity aroma that fills the whole home with a wonderful fragrance.
It’s an instant appetite stimulant that will have guests floating toward the kitchen before you even carve the bird. The scent evokes cozy memories of fall traditions and the holidays. It’s a small detail that makes the occasion even more nostalgic.
Choosing the Right Apples
When selecting apples to stuff your turkey opt for firm, tart varieties that hold their shape well during roasting. Granny Smith and Braeburn are ideal choices. Sweeter apples like Honeycrisp or Fuji tend to get mushy when cooked.
Make sure apples are thoroughly washed before stuffing to remove any bacteria. Leave the skin and core intact for the most flavor and moisture retention. Figure 2-3 average sized apples for a 15 lb turkey.
Complementary Aromatics
Feel free to stuff other aromatics along with the apples to further boost turkey flavor. Herbs, citrus slices, garlic, onions, celery and squash pair wonderfully. Just avoid anything that will get too mushy while roasting.
Safely Discard After Roasting
It’s important to remove the roasted apples from the turkey before carving and serving. Since the apples are in contact with raw poultry, they should not be consumed after cooking due to potential bacteria. Simply discard the apples after they’ve worked their flavor magic.
Give Apple-Stuffed Turkey a Try
From enhancing moisture to providing a fruity twist, it’s clear why putting apples inside your Thanksgiving turkey is a winning technique. The sweetness and aroma complements the savory meat perfectly. This year, embrace this fun trick to take your holiday centerpiece to the next level!
Frequently Asked Questions
What kind of apples work best for stuffing turkey?
Firm, tart apples like Granny Smith and Braeburn hold their shape well when roasted inside the turkey.
How many apples should I use for a 15 lb turkey?
About 2-3 medium apples is ideal for a 15 lb turkey. Figure around 1 apple per 5 lbs of turkey.
Should I core and peel the apples before stuffing the turkey?
No, leave the apples whole with skin and core intact to retain moisture and get the most flavor infusion.
Can I combine other aromatics along with the apples?
Yes! Herbs, citrus, onions, garlic, celery and squash pair wonderfully with the apples inside the turkey.
Is it safe to eat the apples after roasting inside the turkey?
No, discard the apples after roasting since they’ve been in contact with raw poultry and bacteria. Do not consume them.
Will apples make my turkey taste sweet?
No, apples impart just a subtle fruity essence. They won’t make the turkey meat actually taste sugary sweet.
With this insider tip, you can cook up the most moist, flavorful holiday turkey yet! Enjoy!
Foil Hat for Turkey
With a square of tin foil you cover the breast of your turkey. This makes the white meat cook at a slower rate than your dark meat (which is what we want, because dark meat requires a longer cooking time usually).
Scroll to the bottom of this post, past the recipe, to see a how-to video on this hat making process!
You should brine your turkey 1.5 hours per pound. However that time changes under the following circumstances:
- Fresh turkey: If you’ve purchased a fresh (never-been-frozen) turkey you should only brine it for about 1 hour per pound.
- Turkey with 8% solution of salts and spices: Occasionally frozen turkey’s from certain brands have ben “slightly pre-brined” in an 8% solution. If your turkey has that note on it, then cut your personal brining time down to 1 hour per pound.
- Pre-brined turkey: Certain retailers sale actually fully brined turkeys. If you’ve purchased a fully brined turkey then you can fully skip that step in this process and go straight to herb butter and aromatics.
Best Turkey Recipe Ever
Growing up, my absolute favorite Holidays were the ones that involved Turkey. I love love love me some Turkey. As an adult I decided I needed to perfect the Turkey recipe. There was just so much untapped potential being used at the centerpiece of everyone’s Thanksgiving dinner each year!
My first Thanksgiving away from my husband’s and my families, I went to town on that turkey, and humbly speaking: it was fan-freaking-tastic!
Seriously guys, it was amazing.
However, it took way more work than was needed. I’ve spent the 8 years since that time honing and perfecting my turkey recipe. It still takes time, but this turkey recipe is worth every single second. Each year I have people begging to know how I made such a juicy flavorful turkey.
Dear Readers, today, I will share the step by step with y’all.

(This is just a summary, find the full recipe and instructions under the “Butterflies in your Stomach” moment, below!)
- So the first step, and a very important one indeed, is brining your turkey. Plan for AT LEAST one hour per pound. I prefer 1.5 hours though for lots of flavor. Brining is basically soaking a turkey in a mix of salt, water and herbs, that ensures a moist flavorful meat. You can purchase a pre-brined turkey if you do not have the time for this step. Personally, I always brine the turkey myself, but that is only because I like to add herbs and citrus to my brine and the typical brine is simply water, sugar and salt. I like to brine my turkey in an oven bag or brine bag, and pour the brine over it. Then seal it, throw the bag in a cooler, cover with ice, (or your fridge if you have the space), and let it soak. Brining is simple, and SOOO worth it y’all! The key ingredient in our brine is the lemon, which goes beautifully with turkey, as do the herbs. I mean when are herbs not just the most wonderful thing ever?!
- Then when we are ready to actually roast our turkey, we do this sneaky little thing where we create a fabulous little pocket between the skin and the meat of the bird and fill that up with a delicious herb butter that flavors not only the meat, but the skin too! The second reason for the butter under the skin is fat- You could also use bacon grease. The turkey is not a very fatty meat so it dries out easily, by adding a little extra fat under the skin, it bastes the meat and keeps it from drying out during the cooking process.
- Follow that step with filling the cavity of the bird with some steeped herby aromatics to add more flavor and sweeten this savory meat just a hint.
- Then we throw it in our roasting pan, and place it in the oven.
*Question: How do I get that crispy golden skin on my turkey and fully cooked dark meat, without drying the crap out of the white meat?
*Answer: Rub the skin of your bird down with your buttery fingers (after filling the meat pocket) and a little extra oil right before placing your bird in the oven. Cook it for 30 minutes at a super high temperature. Then remove your turkey from the oven, and make him wear a foil hat for the rest of the cooking. He’ll feel so dapper and taste so juicy. YAY!