Thanksgiving is one of my favorite holidays. I love getting together with family eating lots of delicious food, and decorating my home for the occasion. One of my favorite parts of Thanksgiving decor is making a papier mache turkey! Papier mache turkeys are a fun crafty way to add some festive flair to your home. In this article, I’ll walk you through how to make your own papier mache turkey using easy techniques and common household materials.
Gather Your Supplies
To start. you’ll need to gather some basic supplies
-
Newspaper – The strips you’ll dip into paste to create the papier mache. I recommend using about 4-5 sheets.
-
Flour & water for paste – Make sure to mix it to a consistency that’s like Elmer’s glue.
-
Balloon – Blow it up to the size you want your turkey’s body to be. This will be the base.
-
Cardboard – For the turkey’s head, wings, legs etc. Cereal boxes work great!
-
Acrylic paint – Turkey colors like brown, red, yellow and orange.
-
Paintbrushes – For color detailing.
-
Glue gun & glue sticks – For attaching parts.
-
Scissors – For cutting cardboard shapes.
Make the Papier Mache Paste
First, you’ll want to make your papier mache paste. This is what you’ll use to affix the strips of newspaper to the balloon and cardboard.
-
Mix 1 part flour with 2 parts water until well blended with no lumps.
-
Heat the mixture in a saucepan while stirring until it thickens to a glue-like consistency.
-
Let it cool completely before using.
Form the Body
Blow up your balloon to the size you want for your turkey’s body. Tie it off and set aside.
Grab your newspaper and tear it into long, 1 inch wide strips.
Take a strip and dip it into the paste, making sure it’s fully coated. Run it between your fingers to remove any excess paste drips.
Apply the strip to the balloon, smoothing it out to remove any air bubbles. Continue dipping and applying strips until the balloon is fully covered in a thin papier mache layer.
Do at least 2 full layers, allowing each layer to dry fully before adding the next.
Build the Head & Appendages
While the body is drying, you can work on the head and appendages.
Use cardboard to cut shapes for the turkey’s head, beak, wattle, wings, legs and tail feathers.
Once cut out, cover each piece in papier mache strips using the same method as the body. Let fully dry before continuing.
Paint & Assemble Your Turkey
Once everything has dried, it’s time for the fun part – painting!
Use acrylic paints in turkey colors to paint the body, head, beak, wattle, wings, legs and tail feathers.
Let the paint dry fully before gluing the pieces together. Use hot glue to attach the head, wings, beak and wattle. For legs, you can punch holes in the body and attach them with string or pipe cleaners.
And just like that, your papier mache turkey is complete! Now you have a unique Thanksgiving decoration to display and enjoy for years to come.
Below are some tips and tricks for getting the most out of your papier mache turkey project:
Size Guidelines
-
For the body, a standard 12 inch balloon should suffice. Bigger if you want a mega turkey!
-
The head can be about the size of an orange or grapefruit.
-
Legs around 5-6 inches long and 1/2 inch wide.
-
Wings around 3-4 inches long.
-
Tail feathers 3-5 inches long.
Drying Tips
-
Allow at least 24 hours of drying time between papier mache layers.
-
Dry in a warm, ventilated area away from direct heat.
-
You can speed drying by positioning a fan nearby.
-
Before painting, check that pieces are completely dry by pressing on them. No indentations should be left.
Strengthening Your Structure
-
For a sturdy turkey, do at least 2-3 papier mache layers on the body and 1-2 layers on appendages.
-
You can bulk up the body even more by wadding up newspaper and shaping it before applying strips.
-
For legs, insert a popsicle stick, dowel or wire before applying paper to add strength.
Decorating Your Turkey
-
Get creative with paint colors and patterns! Do dots, stripes, ombre effects and more.
-
Add dimension by mixing in gloss or metallic paints.
-
Glue on extra feathers, sequins, beads, glitter or fabric for embellishment.
-
Use colored pipe cleaners for legs to add whimsy.
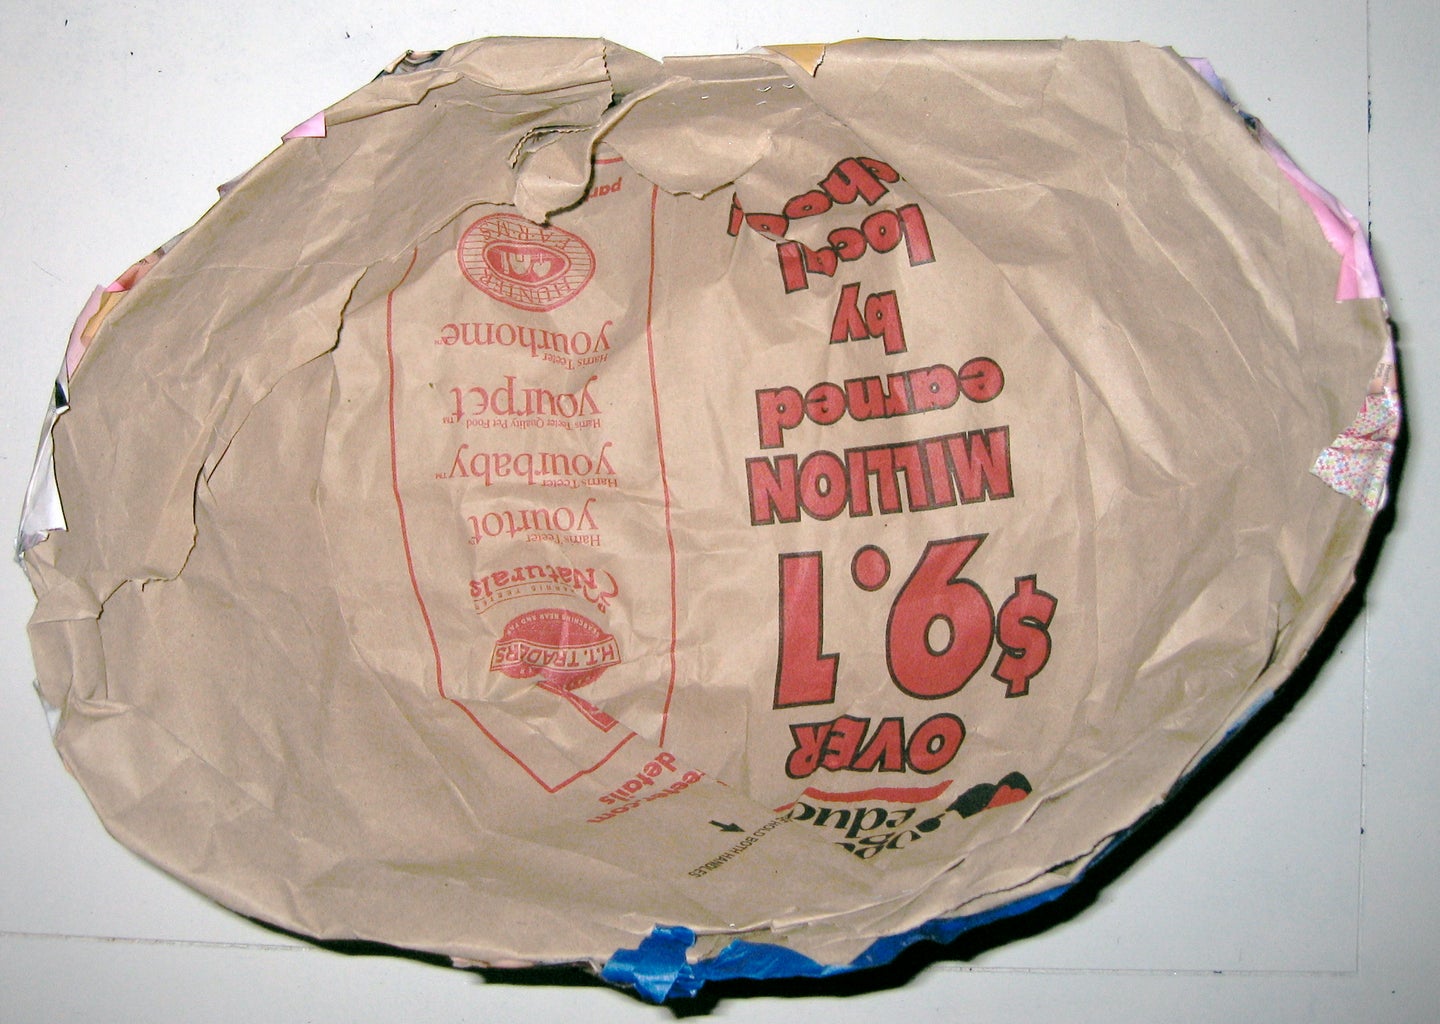
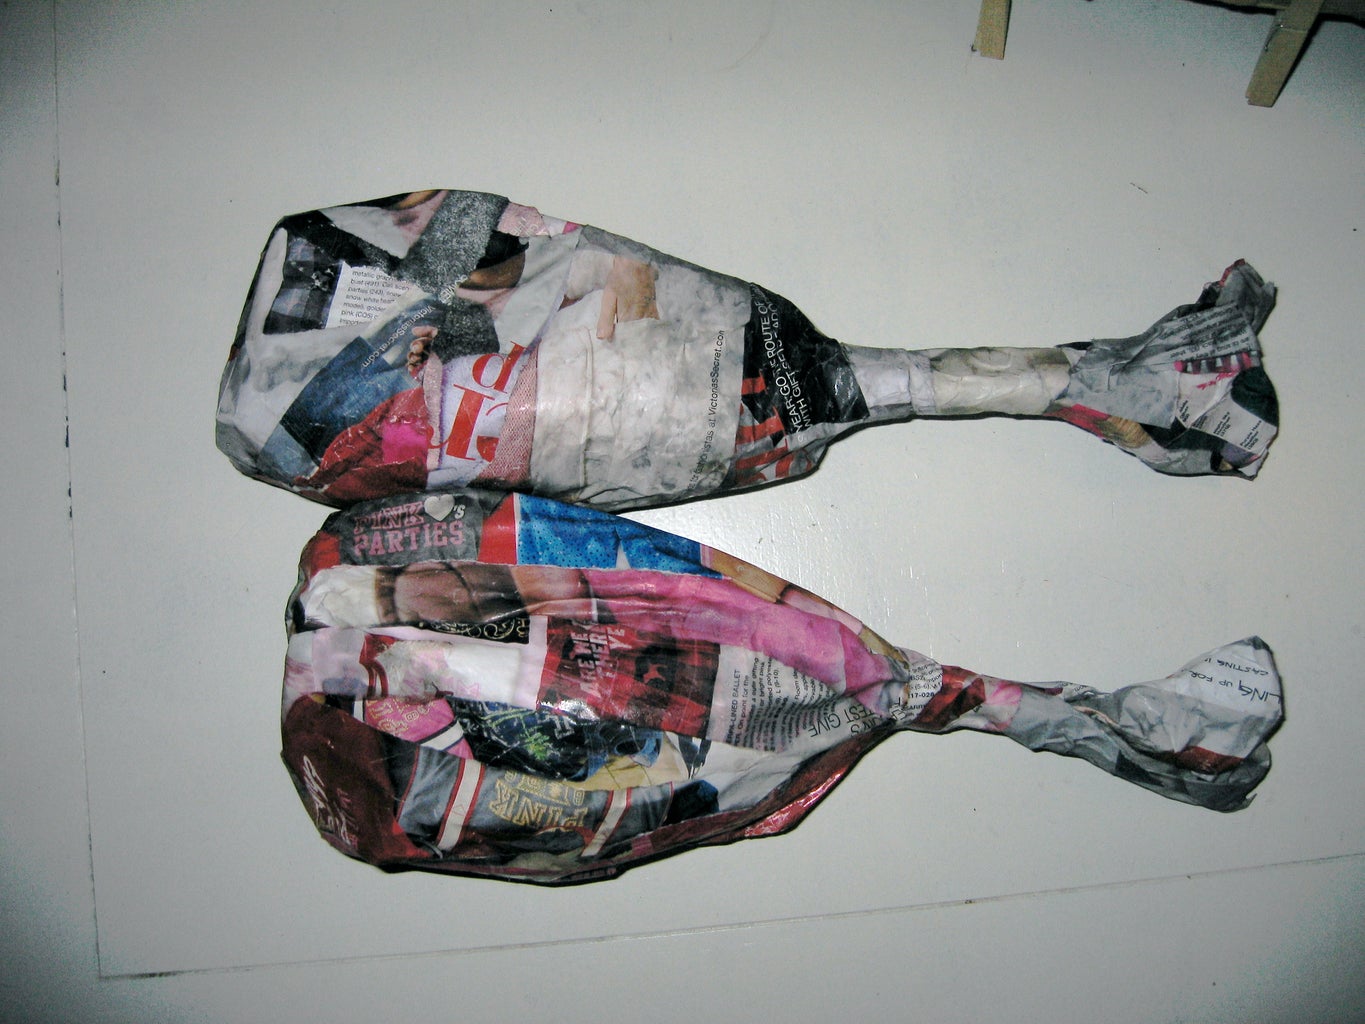
Step 2: Adding Papier-Mache

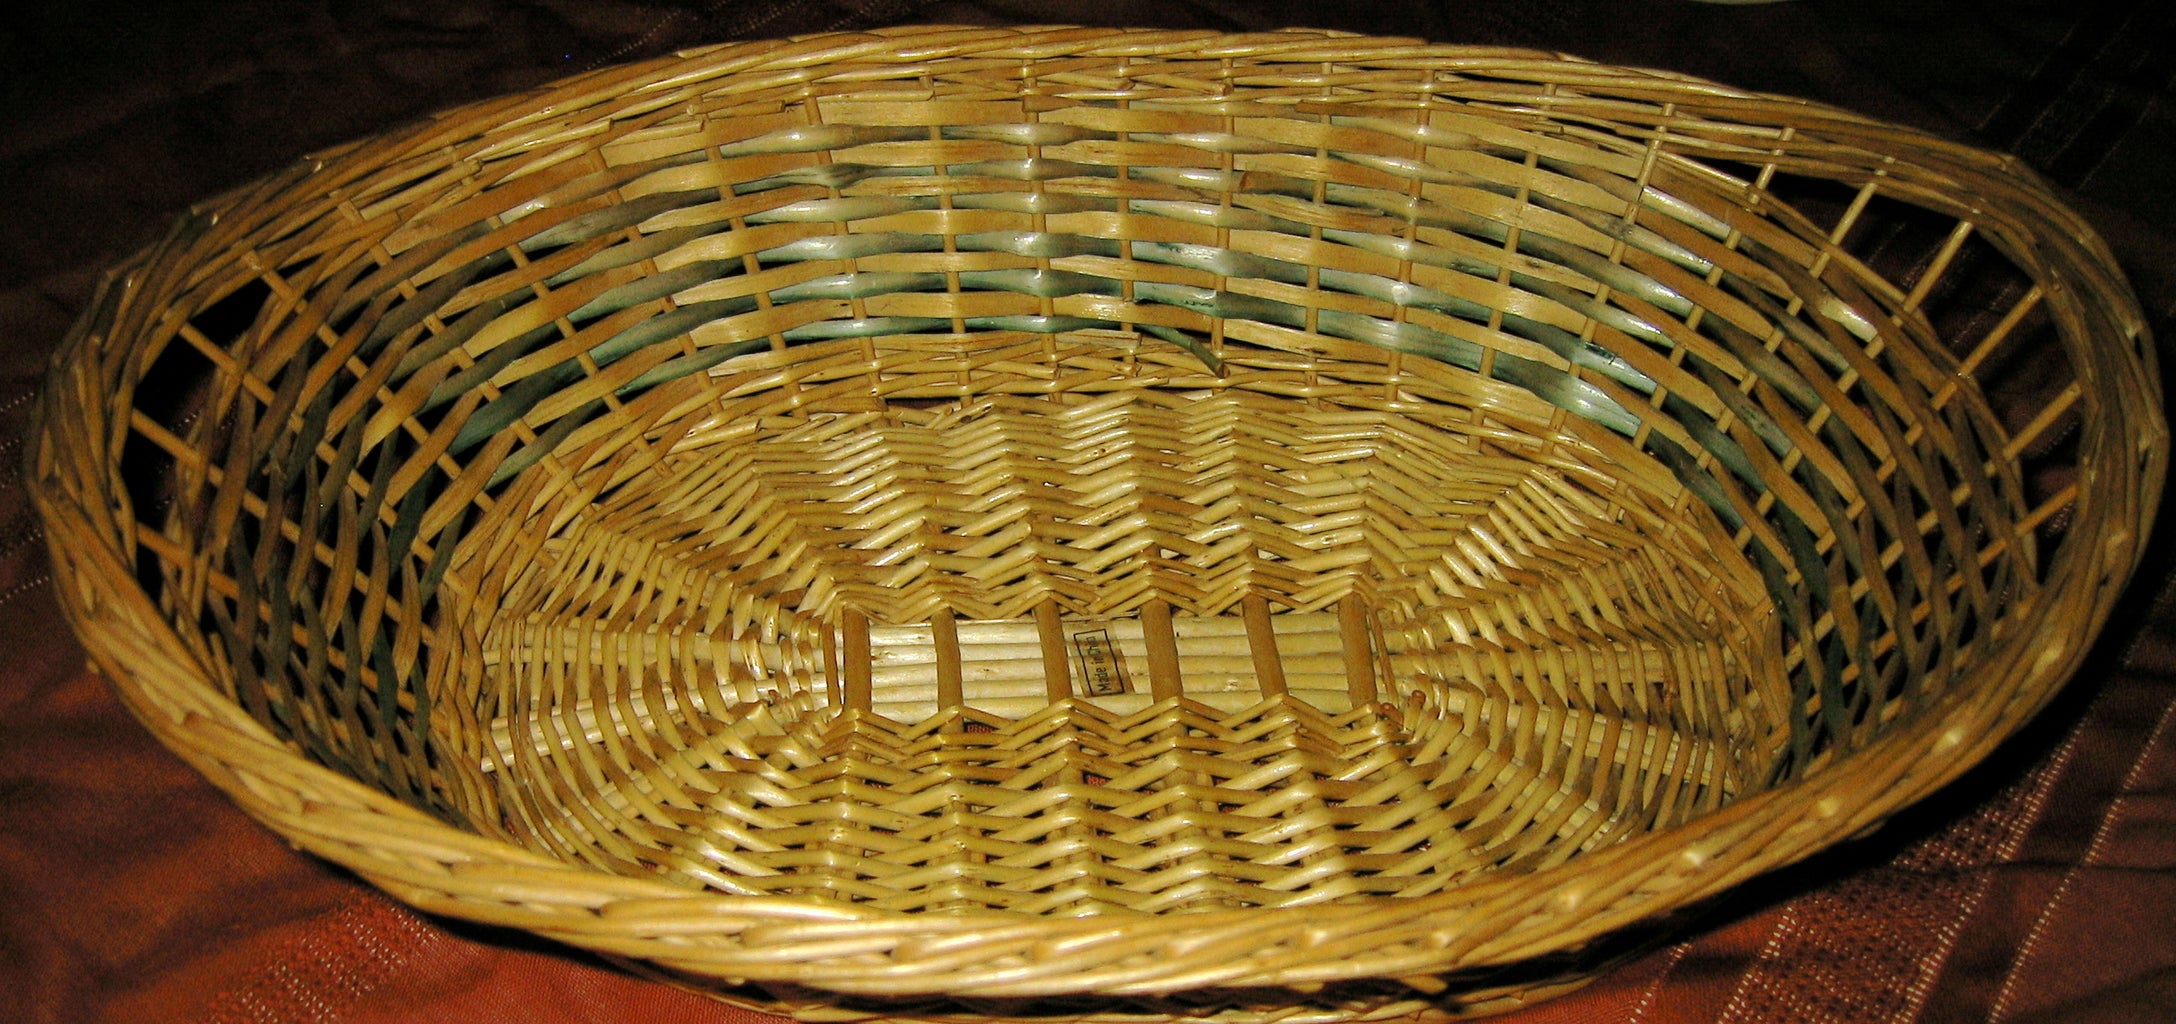
Step 1: Initial Mold
How to Make Papier-Mache
FAQ
What is the best mixture for paper mache?
-
Glue-based:Most commonly used, provides good strength and durability, especially with PVA (polyvinyl acetate) white glue.
-
Flour-based:A classic option, but can be less strong and might require additional steps to prevent warping.
-
Ratio:Generally, a 1:2 ratio of glue to water is a good starting point, adjust based on desired consistency.
What is the easiest thing to make with paper mache?
Some of the best paper mache projects for beginners are making a mask or making paper mache eggs. You can also make a vase or a bowl out of paper mache. This technique is very creative yet valuable to try out on your own or with friends.