Are you craving that delicious crispy, and flavorful Taiwanese popcorn chicken you get at night markets or bubble tea shops? Well I’ve got some amazing news for you! After countless attempts and refining my technique, I’m sharing my absolute best tips and tricks to make restaurant-quality Taiwanese popcorn chicken right in your own kitchen.
This addictive street food is known for being super crunchy on the outside while remaining incredibly juicy on the inside. Trust me, once you master this recipe, your friends and family will be begging you to make it for every gathering!
What Makes Taiwanese Popcorn Chicken Special?
Taiwanese popcorn chicken (or yan su ji) is different from other fried chicken varieties because of its distinctive texture and flavor profile. What sets it apart?
- The coating: It uses special starches that create a powdery, craggy texture different from Western-style fried chicken
- The seasoning: Five spice powder and white pepper give it that unmistakable Taiwanese flavor
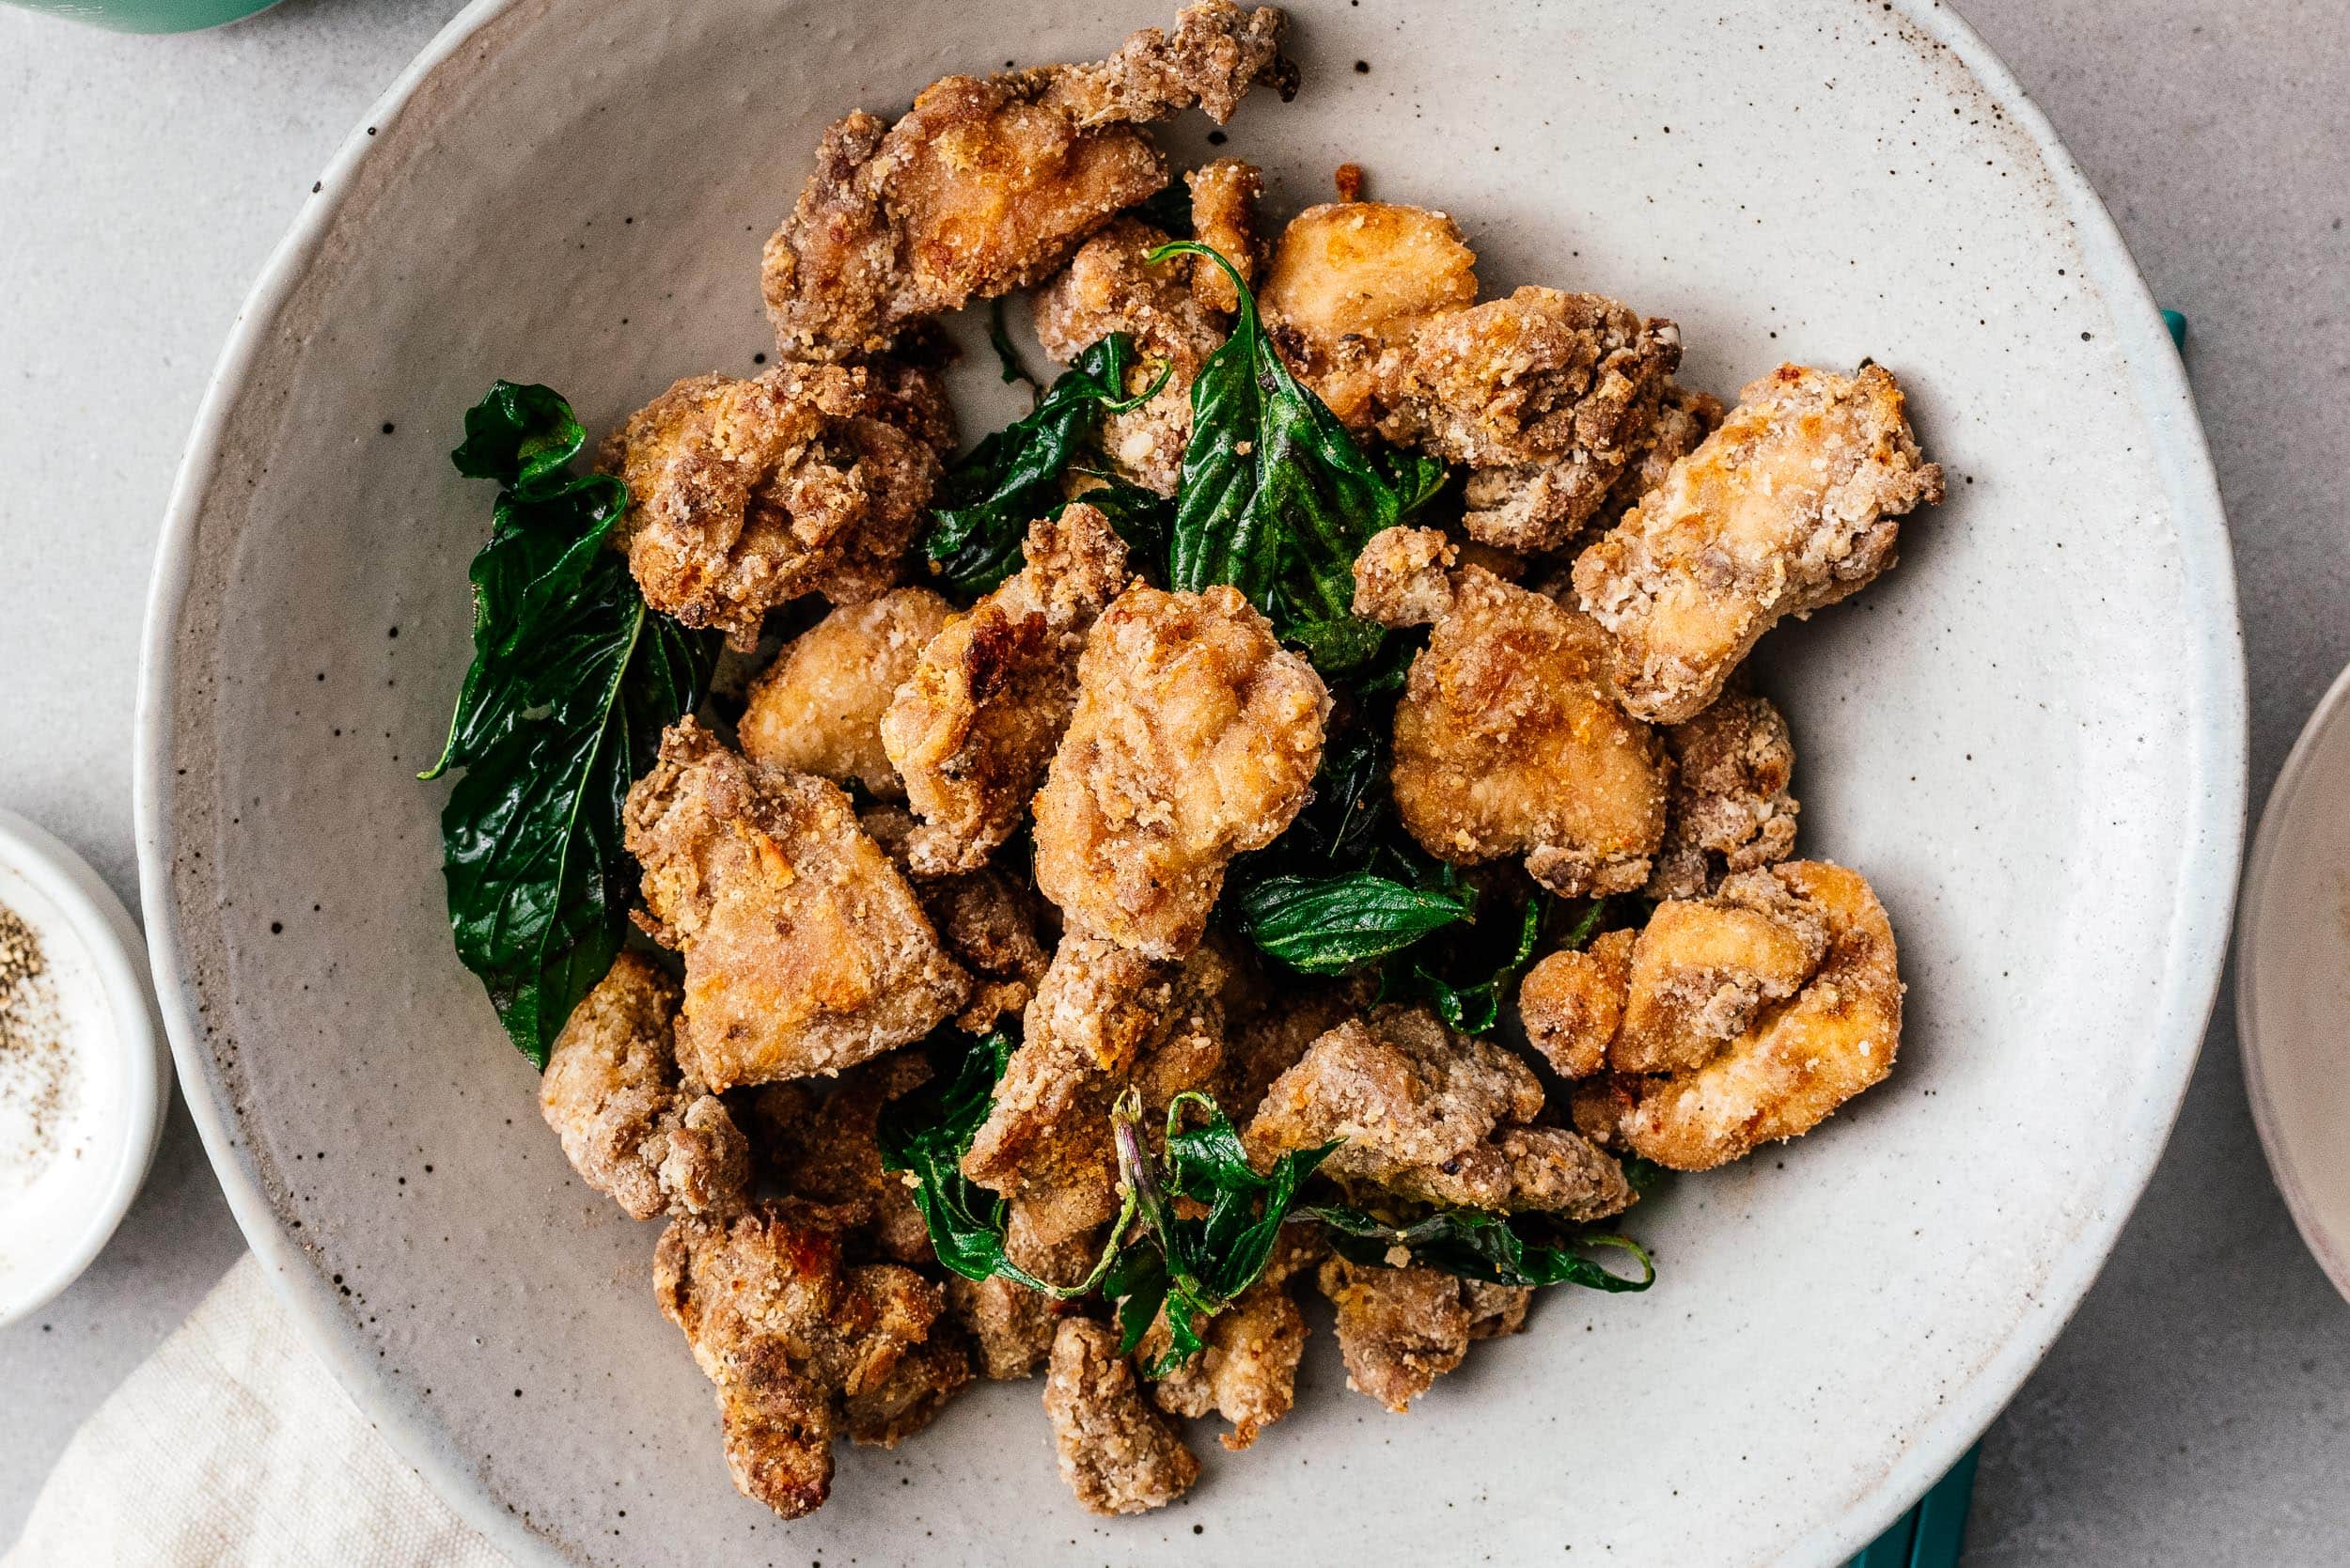
- The herbs: Deep-fried Thai basil adds an aromatic element that elevates the dish
- The size: Cut into perfect bite-sized morsels for snacking
Secret Tips for the Best Taiwanese Popcorn Chicken
After making this dish countless times I’ve discovered some crucial techniques that make a HUGE difference
-
Use chicken thighs WITH skin on: This is absolutely critical for juiciness and flavor. The skin provides protection for the meat and gets extra crispy when fried.
-
Create a wet batter first: Unlike many recipes that simply coat the chicken in dry ingredients, using a wet batter helps the starches stick better and creates a protective layer for juicy chicken.
-
Use the right starches: Sweet potato starch/tapioca starch creates that distinctive craggy texture. Regular flour won’t give you the same result!
-
Let the coated chicken rest: After coating, let the chicken sit for 5-7 minutes to prevent the coating from falling off during frying.
-
Double-fry method: For extra crispiness, fry once at a lower temperature, then again at a higher temperature.
-
Fry the Thai basil: This not only creates a tasty garnish but infuses the oil with wonderful flavor.
-
Season immediately after frying: The hot chicken will absorb the seasoning mix better.
Essential Ingredients You’ll Need
For approximately 4 servings:
For the Chicken and Marinade:
- 600g boneless chicken thighs with skin on (cut into 1-inch cubes)
- 2-3 tbsp soy sauce (light soy sauce recommended)
- 3 tbsp Shaoxing wine or Chinese cooking wine (optional but recommended)
- 2-3 cloves garlic, minced
- 1 tsp grated ginger (optional)
- 1-2 tsp five-spice powder
- 1/2 tsp white pepper
- 1/2 tsp salt
- 1-2 tsp sugar (optional)
For the Coating:
- 1 large egg
- 3-4 tbsp rice flour
- 2 cups sweet potato starch or tapioca starch (this is crucial!)
- 1.5 cups Thai basil leaves
For the Seasoning Mix:
- 1 tbsp salt
- 1/2 tsp white pepper
- 1/2 tsp black pepper (optional)
- 1/2 tsp five-spice powder
- 1/2 tsp garlic powder
- Pinch of chili powder or paprika (adjust to your spice preference)
Step-by-Step Instructions
1. Prepare and Marinate the Chicken
- Cut your chicken thighs into 1-inch bite-sized pieces.
- In a bowl, combine chicken with soy sauce, cooking wine, minced garlic, ginger, five-spice powder, white pepper, and salt.
- Mix thoroughly to ensure all pieces are coated.
- Let marinate for at least 20 minutes, preferably 30-60 minutes. If marinating overnight, remove from fridge 30 minutes before cooking.
2. Create the Batter
- After marinating, add the rice flour and egg to the chicken.
- Mix well until you have a wet, sticky batter consistency covering all chicken pieces.
3. Coat in Starch
- Place your sweet potato starch or tapioca starch in a separate bowl.
- Working in batches, coat each piece of chicken thoroughly in the starch.
- Place coated pieces on a plate and let them sit for 5-7 minutes (this is crucial to prevent coating from falling off).
4. Prepare for Frying
- Heat 2-3 inches of oil in a deep heavy-bottomed pot to 325°F (165°C).
- If you don’t have a thermometer, test by placing wooden chopsticks in the oil – small bubbles should form around them.
5. Fry the Thai Basil
- Once oil is hot, carefully add dry Thai basil leaves.
- They’ll immediately bubble and sizzle – fry for just 30 seconds to 1 minute until crisp and bright green.
- Remove quickly with a slotted spoon and drain on paper towels.
6. First Fry
- Working in small batches (don’t overcrowd!), gently add chicken pieces to the oil.
- Fry for about 3-4 minutes until lightly golden.
- Remove and place on a wire rack over paper towels.
- Continue until all chicken is fried once.
7. Second Fry (Optional but Recommended)
- Increase oil temperature to 350°F (175°C).
- Return chicken to oil in batches and fry for another 1-2 minutes until deeply golden and extra crispy.
- Drain on wire rack.
8. Season and Serve
- While chicken is still hot, sprinkle generously with your prepared seasoning mix.
- Toss with the fried Thai basil leaves.
- Serve immediately while hot and crispy!
Alternative Cooking Methods
Don’t want to deep fry? No problem! Here are some alternatives:
Air Fryer Method
- Follow all steps through coating the chicken.
- Lightly spray the air fryer basket with oil.
- Arrange chicken pieces with space between them.
- Spray chicken lightly with oil.
- Cook at 400°F (200°C) for 5 minutes.
- Flip, spray again lightly, and cook another 5 minutes.
- For extra crispiness, cook an additional 5 minutes.
- Season immediately and enjoy!
Oven-Baked Method
- Preheat oven to 450°F (230°C).
- Line a baking sheet with foil and place a wire rack on top.
- Spray rack with cooking oil.
- Arrange chicken pieces with space between them.
- Spray chicken lightly with oil.
- Bake for 20 minutes.
- Flip, spray again, and bake for another 5 minutes.
- Pieces should be golden brown, crispy, and cooked through.
- Season and serve!
Which Method is Best?
I tested all three methods multiple times, and here’s my honest assessment:
- Deep-fried: Most authentic flavor, best overall taste
- Air-fried: Crunchiest texture, great option for less oil
- Oven-baked: Juiciest chicken, easiest cleanup
All methods produce delicious results, so choose based on your preferences and equipment!
The Science Behind the Perfect Coating
Let’s talk a bit about the starch science that makes Taiwanese popcorn chicken so special:
Sweet potato starch contains the highest percentage of amylose (30%) among common starches, which creates the crispiest coating. This is what gives authentic Taiwanese popcorn chicken its distinctive texture with little craggy balls of crunchiness.
If you can’t find sweet potato starch, here are some alternatives:
- Tapioca starch (identical result)
- Potato starch (20-22% amylose, good substitute)
- Cornstarch (25-28% amylose, acceptable substitute)
Avoid using regular flour, rice flour alone, or other starches if you want that authentic texture.
Serving Suggestions
Taiwanese popcorn chicken is versatile and goes great with:
- Served in a paper bag as a street food snack
- Alongside bubble tea for an authentic experience
- With fluffy white rice as a main dish
- Next to fried noodles or fried rice
- As part of a larger Taiwanese feast with green onion pancake beef rolls
Common Mistakes to Avoid
- Using chicken breast: Too dry and lacks flavor compared to thighs
- Skipping the wet batter: Results in coating that falls off
- Not letting the coated chicken rest: Causes coating to separate during frying
- Overcrowding the fryer: Lowers oil temperature and makes chicken soggy
- Skipping the seasoning mix: Misses the signature flavor
FAQs About Taiwanese Popcorn Chicken
Can I make this ahead of time?
Yes! Fry once, cool completely, and store in the refrigerator. When ready to serve, do the second fry at 350°F for 2-3 minutes until hot and crispy again.
How do I store leftovers?
Store in an airtight container in the refrigerator for up to 3 days. Reheat in an air fryer or oven at 350°F for best results.
Is this gluten-free?
If you use gluten-free soy sauce, yes! The starches are naturally gluten-free.
What if I can’t find Thai basil?
Regular basil will work in a pinch, though the flavor is different. You can also omit it entirely, though you’ll miss some of the aromatics.
Can I use this same technique for other meats?
Absolutely! This works great with cubed pork or even firm tofu for a vegetarian option.
Conclusion
Taiwanese popcorn chicken might seem intimidating at first, but with these detailed tips and techniques, you can create this delicious night market treat right in your own kitchen. The combination of the crispy exterior, juicy interior, and that signature five-spice flavor makes this dish absolutely irresistible.
I make this recipe whenever I have guests over, and it’s always a huge hit! Give it a try, and I’m confident you’ll be amazed at how authentic it tastes. Once you master it, you’ll never need to go out for Taiwanese popcorn chicken again!
Don’t forget to tag me if you try this recipe – I’d love to see your results! Enjoy your homemade Taiwanese popcorn chicken adventure!
The Seasoning (spice mix)
- 1/2 tbsp Sichuan peppercorn
- 1/2 tbsp black peppercorns
- 2 tsp salt (or to taste)
- A handful of Thai basil leaves (optional)
• Cut the meat into 2cm cubes and place in a large mixing bowl. Add the marinade ingredients and, using your hands, massage the pieces until they are evenly coated, refrigerate for an hour or overnight if you prefer.
• Pour spices straight into a pestle and mortar, and pound until finely ground.
• Half-fill a large pot, wok or deep-fryer with vegetable oil and heat to 180°C (350°F), or until the tip of a wooden chopstick or skewer starts to fizz after a second or so in the oil. In small batches, coat the chicken pieces with the cornflour and deep-fry until golden brown, about 3–4 minutes. Remove the pieces carefully with a slotted spoon and drain well on a plate covered with kitchen paper.
• Once you finish frying all the chicken, its time for the second fry. Fry the pieces for an extra couple of minutes to achieve that super crisp finish.
• Fry the basil leaves for a minute, dry and set aside. Tossed the fried chicken in the seasoning and the fried basil leaves.
Explore our award-winning cookware range today!
