Are you tired of serving dry, bland chicken at your backyard barbecues? You’re not alone! Grilling chicken legs and thighs can be tricky, but I’ve spent years perfecting the techniques to get that perfect juicy, flavorful result every time. In this guide, I’ll share everything you need to know about grilling these delicious dark meat cuts.
Why Choose Chicken Legs and Thighs for Grilling?
Before diving into the how-to, let’s talk about why legs and thighs are actually the perfect cuts for your grill
- Higher fat content means more moisture and flavor
- More forgiving if slightly overcooked (unlike chicken breasts)
- Budget-friendly compared to other cuts
- Rich flavor that pairs wonderfully with marinades and rubs
- Impressive presentation for guests
Choosing the Right Chicken
The foundation of great grilled chicken starts at the store
Fresh vs. Frozen
Fresh chicken offers superior flavor and texture. Look for:
- Vibrant color
- Minimal packaging fluid
- Firm texture
Frozen chicken works too, but:
- Must be thawed properly (overnight in refrigerator is best)
- Can be more convenient and budget-friendly
- Sometimes lacks the texture of fresh
Organic vs. Conventional
If your budget allows, organic chicken often provides:
- Better flavor profile
- Higher quality fat content
- No antibiotics or added hormones
Conventional chicken is more affordable but may vary more in quality and flavor
Preparation Before Grilling
Cleaning and Patting Dry
- Wash chicken in cold water
- Pat dry thoroughly with paper towels
- Wash hands, utensils, and work surfaces after handling raw chicken
Marinating Options
Marinating is where the magic happens! Here are three approaches I love:
Basic Marinade (30+ minutes)
- Olive oil
- Lemon juice
- Salt
- Pepper
- Minced garlic
Herb Marinade (1-4 hours)
- Fresh herbs (rosemary, thyme, parsley)
- Yogurt or sour cream
- Salt and pepper
Spicy Marinade (2+ hours)
- Hot sauce
- Honey
- Lime juice
- Garlic
Seasoning Alternatives
Not a fan of marinades? Try these instead:
Dry Rub
Mix together:
- Smoked paprika (1 Tbsp)
- Onion powder (1 tsp)
- Salt (1 tsp)
- Black pepper (1/2 tsp)
- Cayenne pepper (1/8 tsp)
Apply to chicken with 2 Tbsp cooking oil for even coating.
Simple Salt and Pepper
Sometimes less is more! A generous coating of sea salt and freshly cracked black pepper lets the chicken’s natural flavor shine.
Preparing Your Grill
- Clean the grill grates with a stiff brush
- Oil the grates or use non-stick cooking spray (don’t spray directly into flames!)
- Preheat to medium heat (350°F-400°F)
Grilling Techniques: The Two-Zone Method
The secret to perfect grilled chicken is using both direct and indirect heat:
Direct Heat Phase
- Place chicken directly over flames/heat source
- Grill for 4-5 minutes per side to sear and create grill marks
- Watch carefully to prevent flare-ups and burning
Indirect Heat Phase
- Move chicken to cooler side of grill
- Close lid to maintain temperature
- Continue cooking until done (more on timing below)
Cooking Times and Temperature Guidelines
For Bone-In Chicken Thighs
- Total grilling time: 25-30 minutes
- Flip every 5-7 minutes for even cooking
- Internal temperature: 175°F
For Bone-In Chicken Legs/Drumsticks
- Total grilling time: 30-35 minutes
- Flip every 5-7 minutes
- Internal temperature: 175°F
For Boneless Skinless Thighs
- Total grilling time: 10-12 minutes
- Initial sear: 5 minutes (first side)
- Second side: 2 minutes
- Add sauce, continue cooking: 3-5 minutes
- Internal temperature: 165°F
The BBQ Sauce Strategy
When to add BBQ sauce is crucial – too early and it’ll burn, too late and it won’t caramelize properly:
For Bone-In Chicken
- Cook chicken over indirect heat until it reaches about 155°F
- Brush with sauce
- Return to direct heat for final cooking
- Flip and sauce other side
- Grill until sauce caramelizes and internal temp reaches 175°F
For Boneless Chicken
- After initial sear and flip (about 7 minutes total cooking time)
- Brush tops with sauce
- Cook covered for 2 minutes
- Flip (sauced-side down), brush tops with remaining sauce
- Grill 1-4 minutes until done
Pro tip: Don’t flip again after the second saucing! This creates that perfect contrast between charred, caramelized sauce on one side and sticky, rich sauce on the other.
How to Tell When Chicken is Done
Safety first! Always use one of these methods:
- Instant-read thermometer: The most reliable method! Bone-in pieces should reach 175°F, boneless 165°F
- Visual check: Cut into thickest part – juices should run clear with no pink visible
- Feel test: When pressed, the meat should feel firm but still have some give
Common Grilling Mistakes to Avoid
- Using too high heat: Leads to burnt outside, raw inside
- Not controlling flare-ups: Keep a spray bottle of water handy
- Adding sauce too early: Results in burnt, bitter sauce
- Not preheating properly: Causes sticking and uneven cooking
- Forgetting to rest the meat: Rush to serve = dry chicken
Let It Rest!
One of the most important steps people skip! After grilling:
- Remove chicken to a clean plate
- Tent loosely with foil (optional)
- Let rest for 5 minutes
- This allows juices to redistribute, resulting in moister meat
Indoor Alternatives When You Can’t Grill
No grill? No problem! Try these alternatives:
Oven Method
- Season as directed above
- Bake at 350°F for about 30 minutes
- Add sauce in last 10 minutes
- Finish under broiler for char
Air Fryer Method
- Season chicken as normal
- Cook at 380°F for 12-18 minutes, flipping halfway
- Brush with sauce in last 5 minutes
My Favorite Complete Recipe for BBQ Grilled Chicken Thighs
Here’s the recipe I use almost every weekend in summer:
Ingredients:
- 1.25 lbs boneless skinless chicken thighs (5-6 thighs)
- 1 Tbsp smoked paprika
- 1 tsp onion powder
- 1 tsp salt
- 1/2 tsp black pepper
- 1/8 tsp cayenne pepper
- 2 Tbsp cooking oil
- 1/2 cup barbecue sauce
Instructions:
- Preheat grill to medium-high (400-450°F)
- Mix spices and oil in a bowl
- Unroll chicken thighs, coat with spice mixture
- Grill flat on direct heat, covered, for 5 minutes
- Flip, grill 2 more minutes
- Brush tops with half the BBQ sauce, grill 2 minutes
- Flip (sauce-side down), brush tops with remaining sauce
- Grill 1-4 more minutes until internal temp reaches 165°F
- Rest 5 minutes before serving
Serving Suggestions
Complete your meal with these perfect sides:
- Grilled corn on the cob
- Classic potato salad
- Fresh green salad
- Baked beans
- Cornbread
Final Thoughts
Grilling chicken legs and thighs doesn’t have to be intimidating! With these techniques, you’ll be serving up juicy, flavorful chicken that’ll have everyone asking for your secrets.
Remember, the key points are:
- Choose quality chicken
- Marinate or season well
- Use the two-zone grilling method
- Add sauce at the right time
- Always check for proper temperature
- Let it rest before serving
Now fire up that grill and enjoy the compliments on your perfectly grilled chicken!
Frequently Asked Questions
Q: Can I use the same technique for chicken breasts?
A: Chicken breasts are leaner and cook faster. Check out specific breast grilling techniques for best results.
Q: How do I prevent chicken from sticking to the grill?
A: Make sure your grill is clean and well-oiled before cooking, and don’t try to flip the chicken too early.
Q: Can I grill frozen chicken?
A: Always thaw chicken completely before grilling for even cooking and food safety.
Q: How do I control flare-ups?
A: Keep a spray bottle of water handy and create a “safe zone” with no direct heat to move chicken to if needed.
Q: How long can I store leftovers?
A: Refrigerate leftovers within 2 hours and consume within 3-4 days, or freeze for up to 3 months.
Happy grilling!

Pro Tip: Chicken Legs are Better at 185-195°(F)!
The rule of cooking chicken to a minimum internal temperature of 165°F has been well-established for quite some time. However, when it comes to darker meat portions such as chicken legs, thighs, or the entire leg quarter, exceeding this temperature is often encouraged for optimal results! When heated to around 185°F, the collagens within the meat begin to break down, contributing to the juiciness and “fall-off-the-bone” tenderness that we cherish so much in dark poultry meat.
Check out this great article by America’s Test Kitchen regarding “overcooking” chicken drumsticks and thighs.
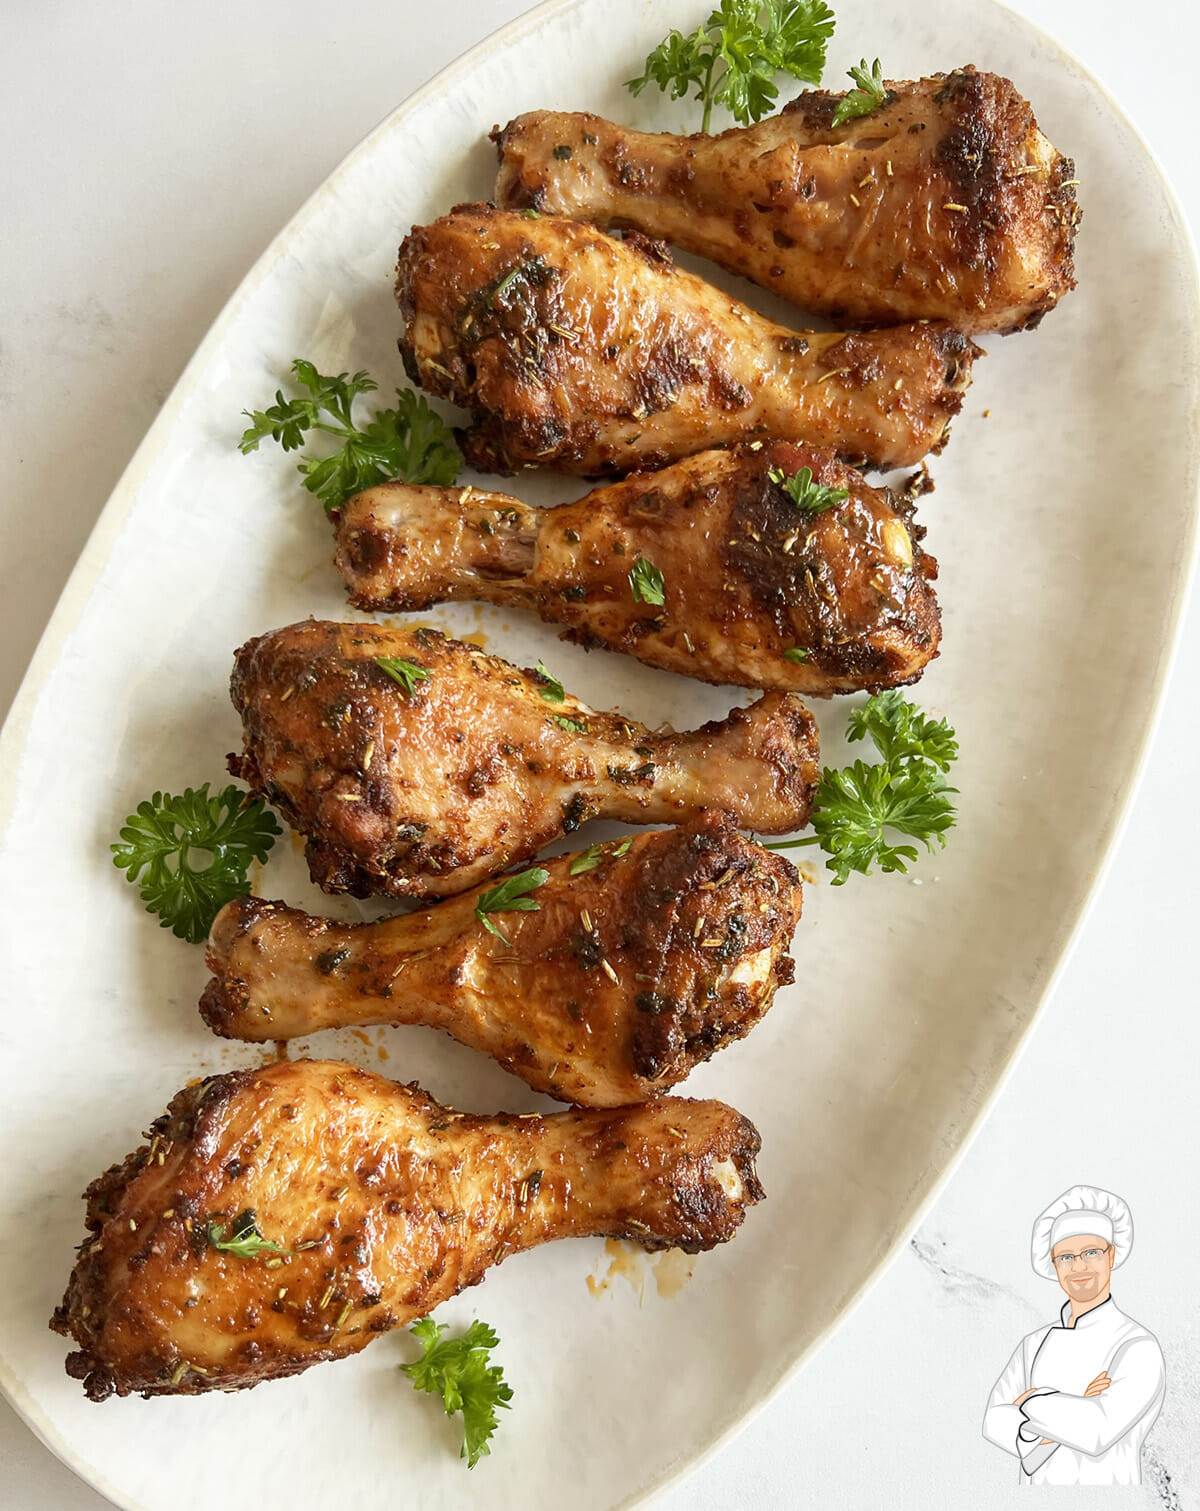
Let Rest and Serve
Carefully remove the chicken to a plate or platter and let it rest for 5 minutes before serving.