Are you craving that perfect combination of crispy exterior and juicy interior that only fried chicken drumsticks can deliver? I’ve been perfecting my stovetop chicken drumstick technique for years, and today I’m sharing all my secrets for that restaurant-quality result without special equipment. Whether you’re making a quick weeknight dinner or preparing for a weekend feast, this guide will help you achieve drumstick perfection every time.
Why Stovetop Chicken Drumsticks Are a Game-Changer
Before diving into the method let’s talk about why stovetop chicken drumsticks deserve a spot in your cooking rotation
- Quick and easy: Ready in about 30 minutes from start to finish
- Budget-friendly: Drumsticks are one of the most affordable cuts of chicken
- Versatile: Can be seasoned countless ways to match any cuisine
- Kid-approved: Children love the handheld nature of drumsticks
- Minimal cleanup: Just one pan to wash afterward
What You’ll Need for Perfect Stovetop Chicken Drumsticks
Essential Ingredients:
- 6-8 chicken drumsticks (about 2-2½ lbs/900g-1.1kg)
- 1 cup all-purpose flour (for the crispy version)
- Seasonings of your choice
- Salt and pepper
- 1-2 tablespoons olive oil or vegetable oil
- ½ cup liquid (beer, chicken stock, or water)
Kitchen Equipment:
- Large skillet or frying pan (12-inch is ideal)
- Cast iron pan works exceptionally well, but any large pan will do
- Tongs for flipping
- Paper towels
- Meat thermometer (highly recommended)
Two Delicious Methods: Crispy Coated vs. Pan-Seared and Simmered
I’m going to share two fantastic methods for stovetop chicken drumsticks – both delicious but with different results. The first gives you that classic crispy coating, while the second creates a more tender, juicy result
Method 1: Classic Crispy Fried Drumsticks
This method yields that traditional fried chicken texture with a crispy coating.
-
Prep the chicken: Pat the drumsticks dry with paper towels. This step is crucial for getting a good crust.
-
Season the flour: In a bowl, mix 1 cup of all-purpose flour with your preferred seasonings. Good options include:
- Salt and pepper
- Paprika
- Garlic powder
- Cayenne pepper (for heat)
- Dried herbs like thyme or rosemary
-
Coat the drumsticks: Dredge each drumstick in the seasoned flour mixture, ensuring even coverage. Shake off any excess.
-
Heat the oil: In your skillet, heat the oil over medium-high heat until it reaches approximately 350°F (175°C).
-
Fry in batches: Don’t overcrowd the pan! Add drumsticks carefully and fry for about 10-12 minutes, turning occasionally for even browning.
-
Check temperature: The internal temperature should reach 165°F (74°C). Use your meat thermometer to check.
-
Drain and rest: Transfer the cooked drumsticks to a paper towel-lined plate to drain excess oil. Let them rest for a few minutes before serving.
Method 2: Pan-Seared and Simmered Drumsticks
This method creates incredibly tender, flavorful chicken without the flour coating.
-
Season the chicken: Pat the drumsticks dry and rub them generously with your choice of spices, salt, and pepper.
-
Sear the drumsticks: Heat oil in your pan over medium heat. Add the drumsticks in a single layer and sear for 4-5 minutes per side until nicely browned.
-
Add liquid and simmer: Pour in ½ cup of liquid (beer works amazingly well, but chicken stock or water are good too). Cover the pan with a tight-fitting lid.
-
Reduce heat and cook: Turn the heat down to medium-low or low. Let the drumsticks simmer for about 10 minutes.
-
Flip and finish: Turn the drumsticks over, cover again, and continue cooking for another 7-10 minutes until cooked through.
-
Check doneness: The internal temperature should reach 165°F (74°C). If you don’t have a thermometer, cut into one drumstick near the bone – the meat should be white with no pink remaining.
Pro Tips for Stovetop Chicken Drumstick Success
Over the years, I’ve learned some tricks that make a huge difference:
-
Room temperature chicken: Take the drumsticks out of the fridge 20-30 minutes before cooking for more even results.
-
Don’t rush the process: Maintain a moderate heat rather than cranking it up – high heat will burn the outside before the inside cooks through.
-
Season generously: Chicken needs proper seasoning! Don’t be shy with salt and other spices.
-
Watch for hotspots: If using a gas stove, your pan may heat unevenly. Rotate the pan occasionally for even cooking.
-
Rest before serving: Let the drumsticks rest for 5 minutes after cooking to allow juices to redistribute throughout the meat.
-
Elevate with sauce: After cooking, you can brush with BBQ sauce, hot sauce, or honey for extra flavor.
Common Questions About Stovetop Chicken Drumsticks
How long exactly should I fry chicken drumsticks?
The total cooking time typically ranges from 20-30 minutes, depending on the size of your drumsticks. Here’s a breakdown:
- For Method 1 (crispy): About 10-12 minutes per batch, turning occasionally
- For Method 2 (simmered): 4-5 minutes per side for searing, then 10 minutes covered, flip, and another 7-10 minutes covered
Should I remove the skin?
I prefer keeping the skin on for more flavor and that delicious crispy texture. However, you can remove it for a healthier version – just be aware that skinless drumsticks may not be as moist.
Do I need to marinate the drumsticks first?
Marinating isn’t necessary, but it can add wonderful flavor. If you have time, marinating for 30 minutes to overnight in buttermilk, yogurt, or your favorite marinade can make the meat more tender and flavorful.
What’s the best way to check if drumsticks are done?
A digital meat thermometer is your best friend here. Insert it into the thickest part of the meat (not touching bone) – it should read 165°F (74°C). Without a thermometer, cut into one drumstick near the bone – the meat should be white and juicy with no pink remaining.
Can I reuse the oil?
If you’ve used the first method with flour coating, it’s better not to reuse the oil as it will contain flour particles that can burn. For the second method, the small amount of oil used doesn’t typically need to be saved.
Serving Suggestions for Your Stovetop Chicken Drumsticks
These versatile drumsticks pair beautifully with so many sides:
- Classic pairings: Mashed potatoes, mac and cheese, coleslaw
- Healthy options: Steamed vegetables, garden salad, roasted sweet potatoes
- Starchy sides: Rice, pasta salad, cornbread
- Sauces: Serve with dipping sauces like ranch, honey mustard, or BBQ sauce
Storing and Reheating Leftover Drumsticks
Got leftovers? Lucky you! They’ll keep well in the refrigerator for about 3 days. For best reheating results:
- Oven method: Preheat to 350°F (175°C) and heat drumsticks for 10-15 minutes until warmed through
- Air fryer: 3-4 minutes at 350°F (175°C) restores some crispiness
- Microwave: Use only as a last resort as it can make the skin soggy
You can also freeze cooked drumsticks for up to 3 months in an airtight container.
Final Thoughts
Stovetop chicken drumsticks are one of those magical dishes that combine simplicity, affordability, and incredible flavor. Whether you choose the crispy coating method or the simmer technique, you’ll end up with delicious results that’ll have everyone asking for seconds.
I personally love the beer-simmered version for weeknight dinners – it’s so easy to throw together after work, and my kids never complain when chicken drumsticks are on the menu. The crispy version is my go-to for weekend gatherings when I want to impress without spending hours in the kitchen.

HOW TO MAKE THE BEST SOUTHERN FRIED CHICKEN:
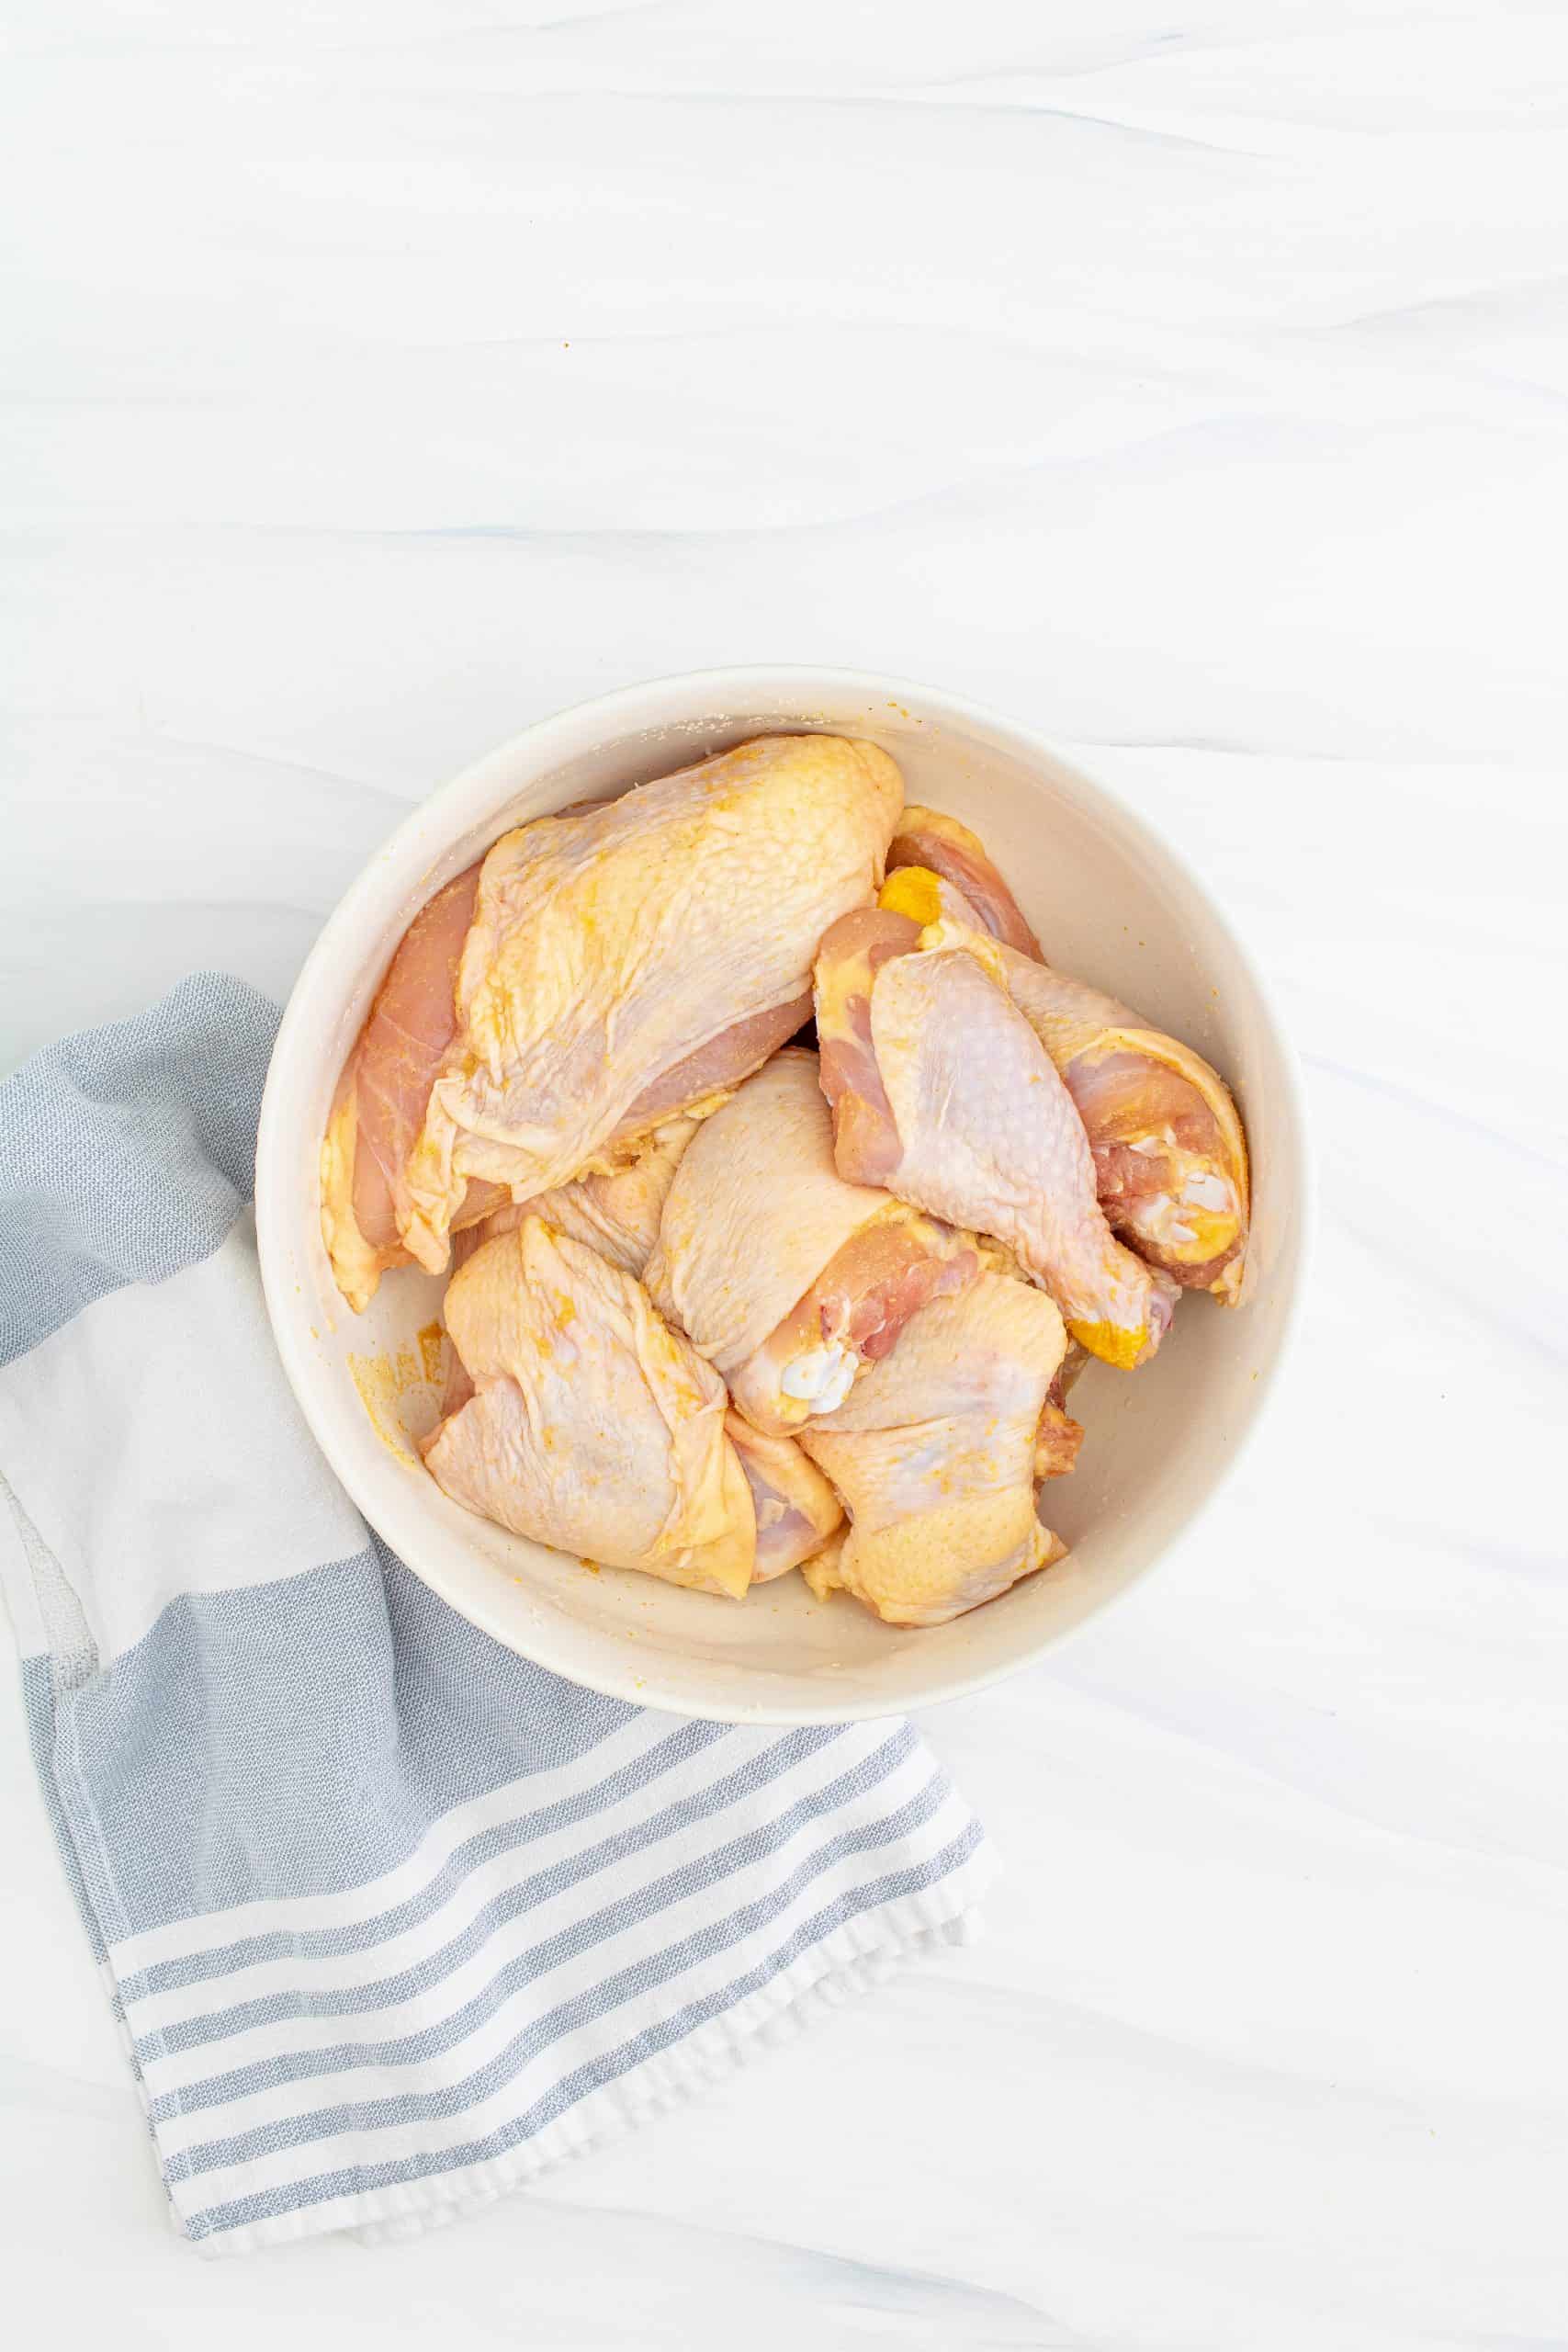
Place the cut up chicken in a large bowl. Add the salt, garlic powder, and onion powder, toss to coat the chicken in the spices.
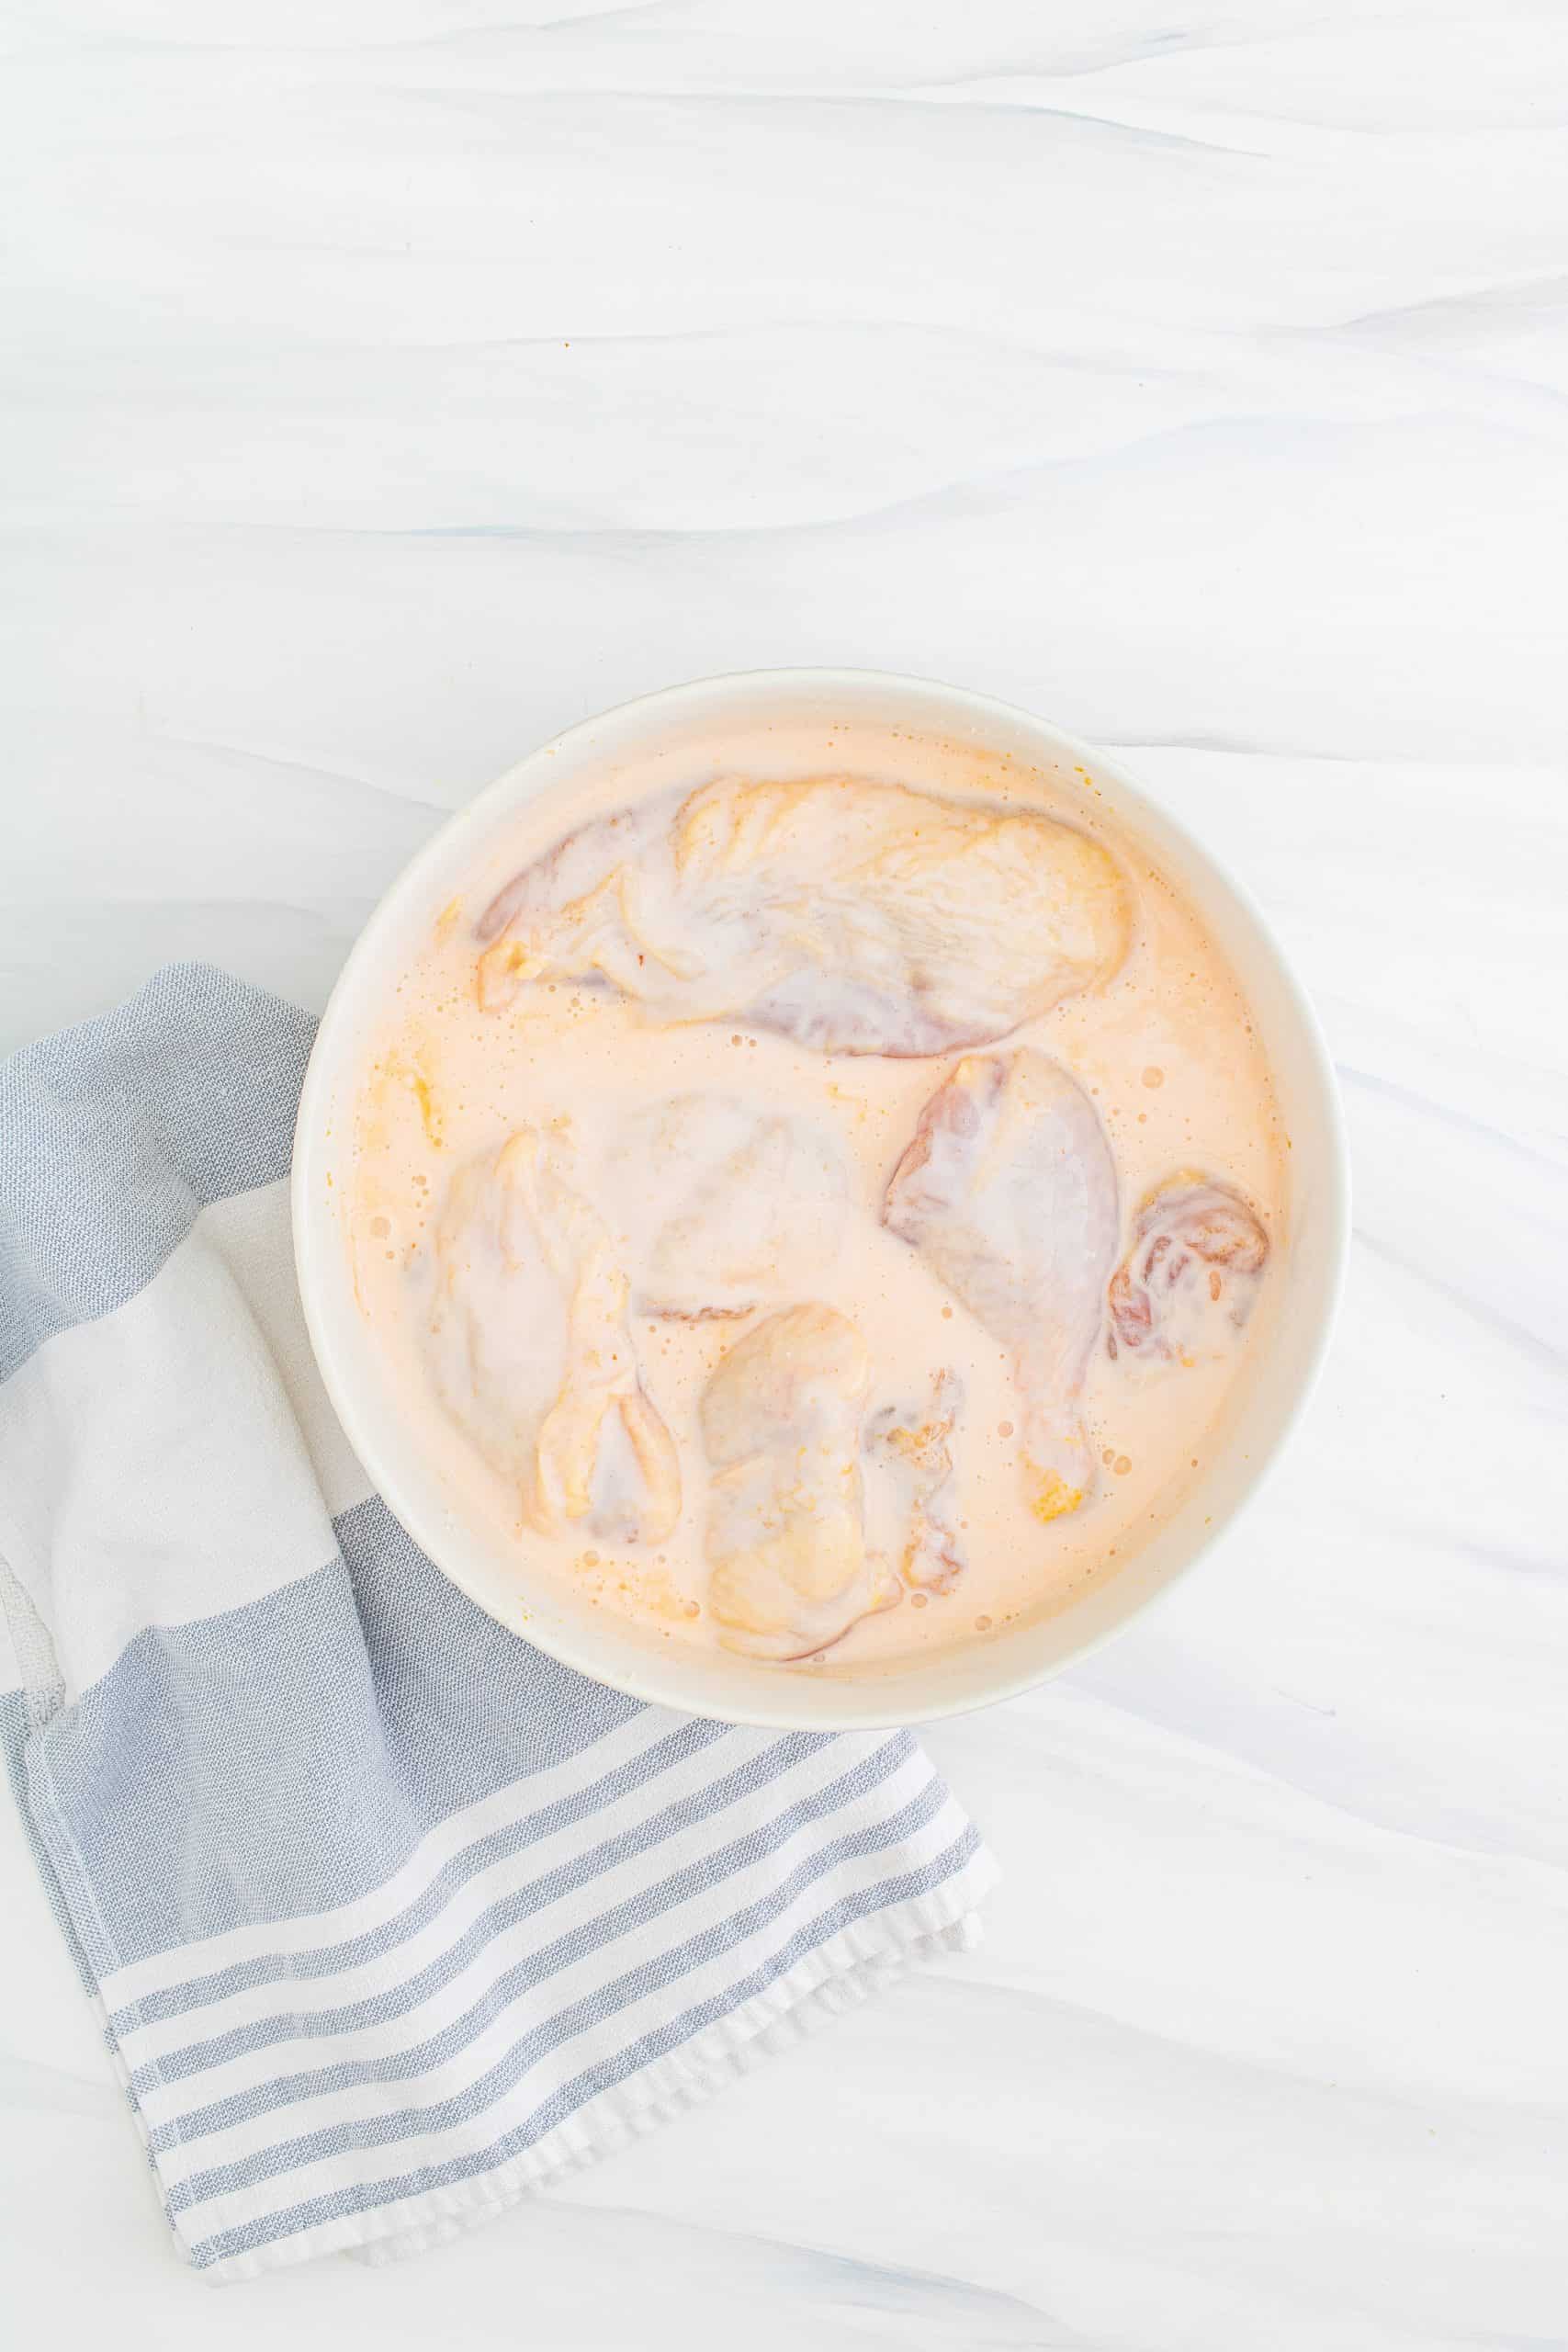
Add the buttermilk and hot sauce to the bowl, stir until everything is combined. Cover with plastic wrap and let marinate in the fridge for at least 2 hours, but it’s best if you can let it sit overnight.
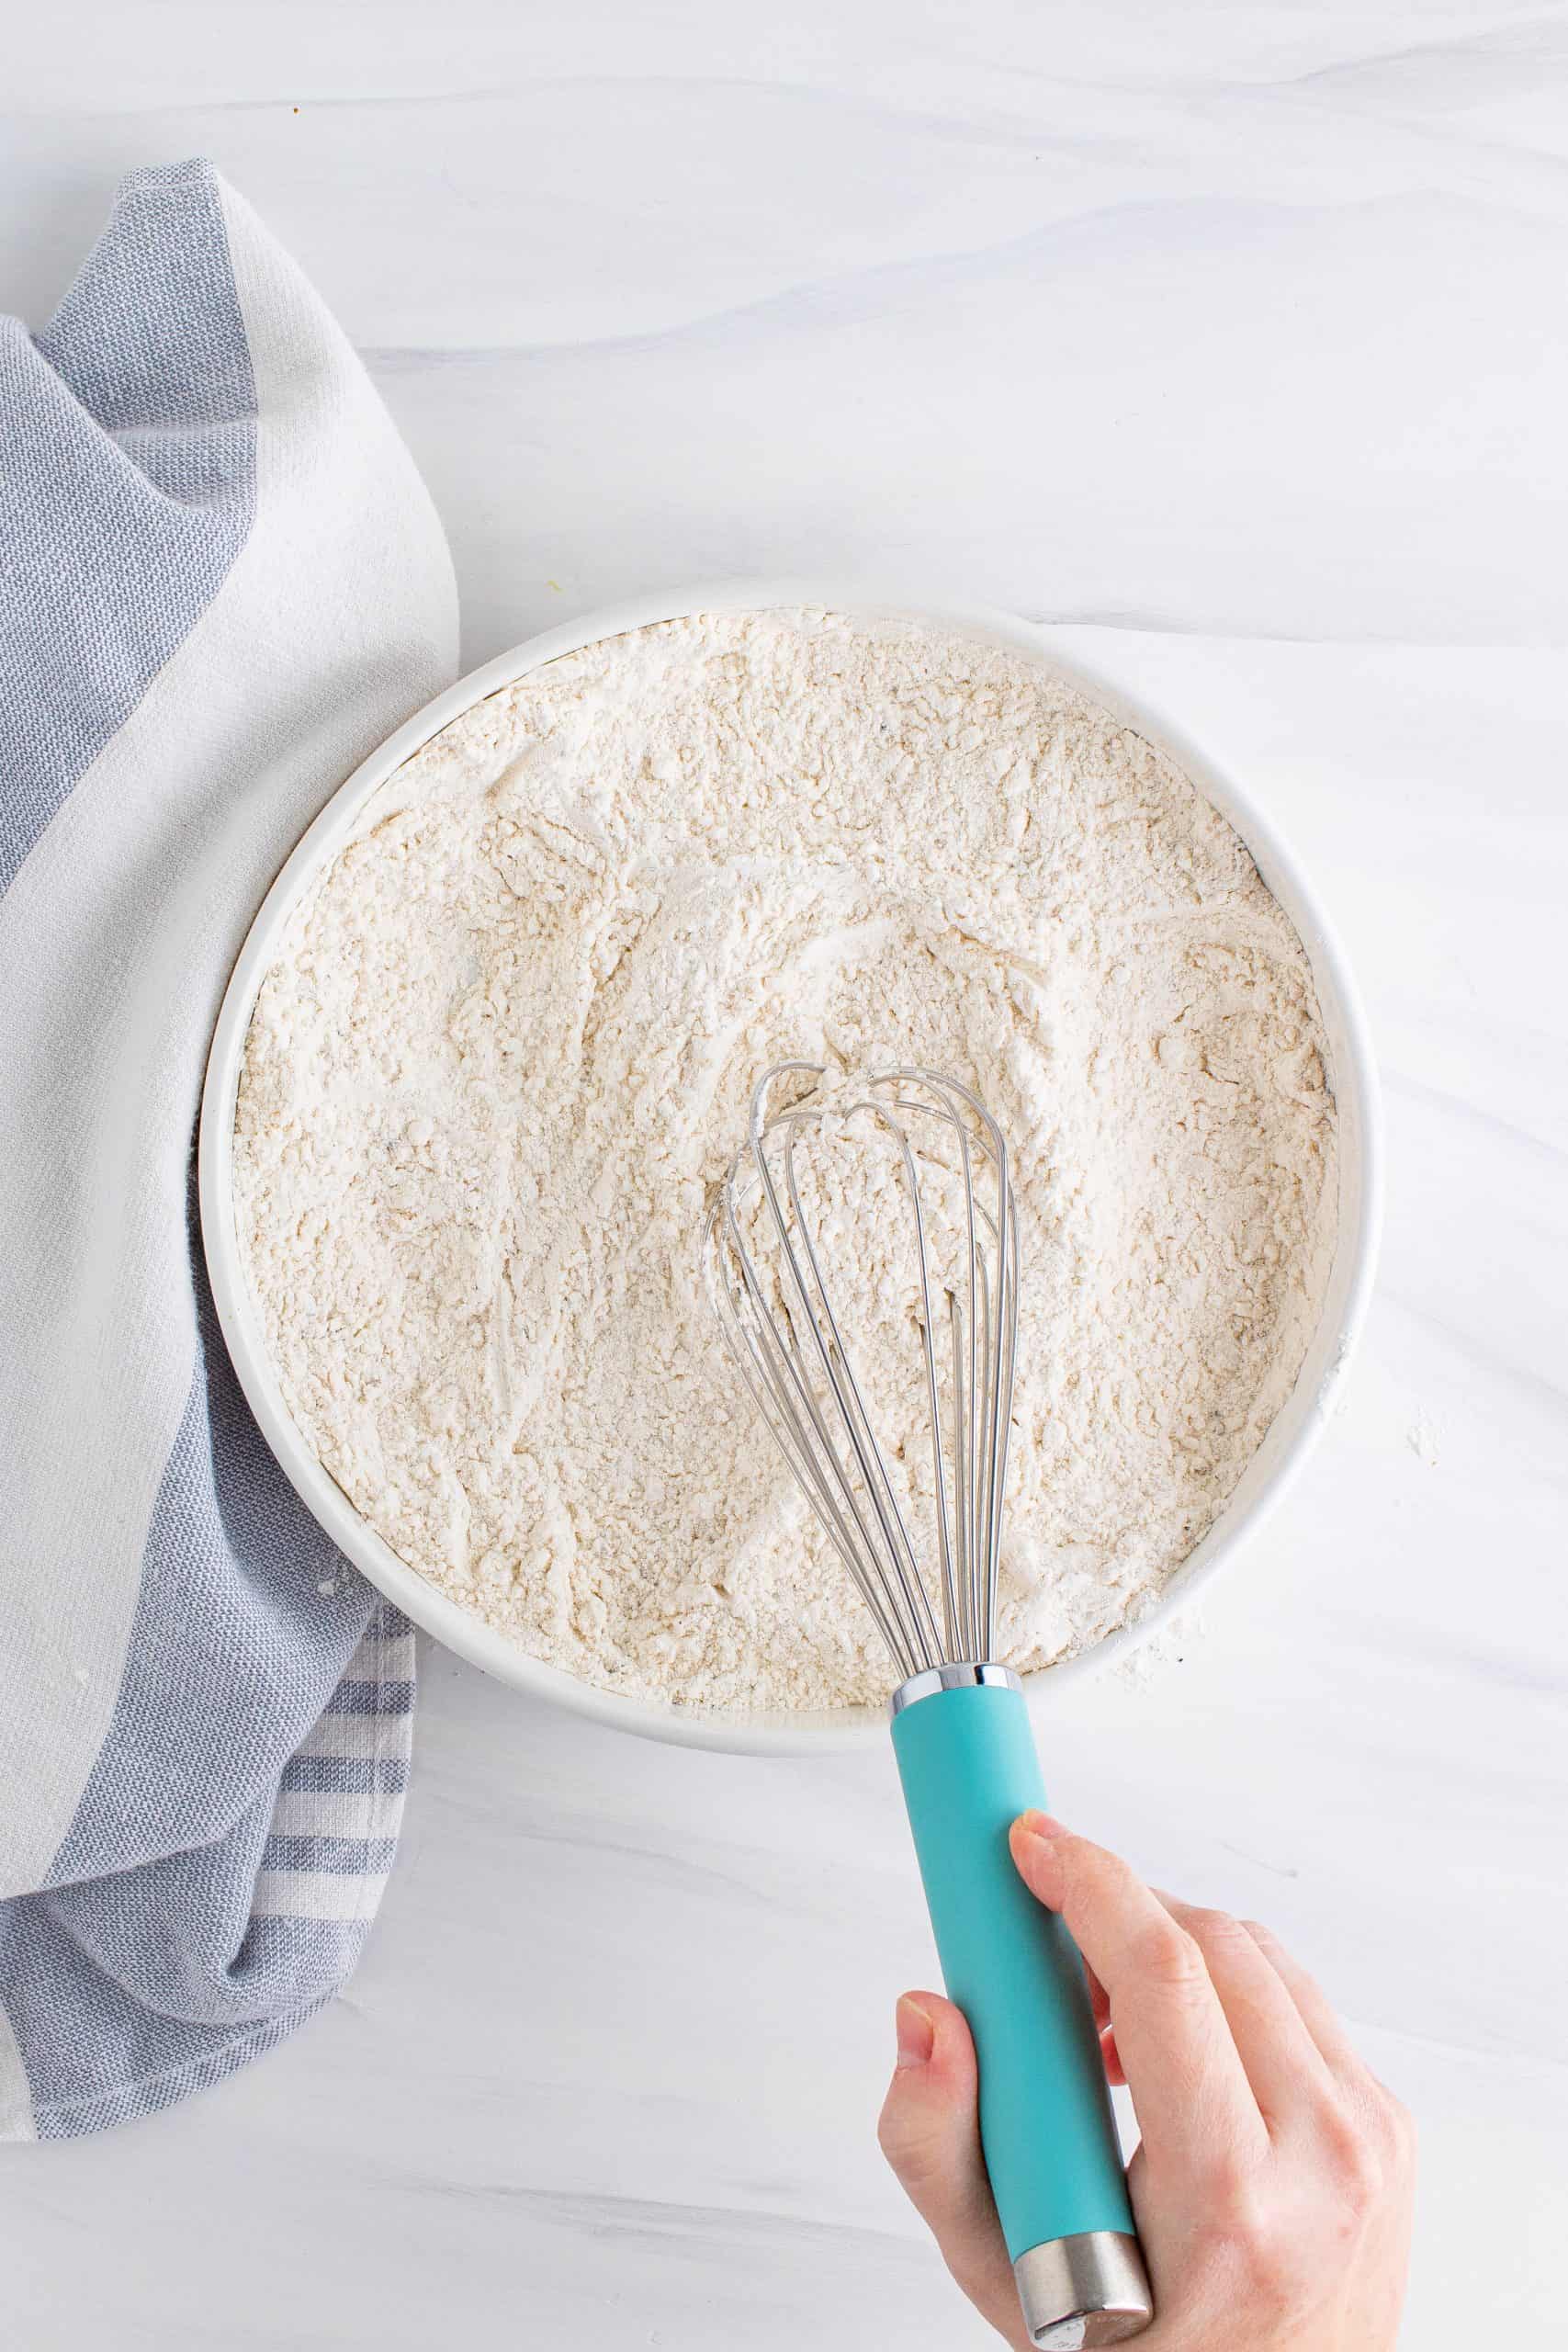
In a medium-sized bowl add the flour, cornstarch, salt and black pepper.
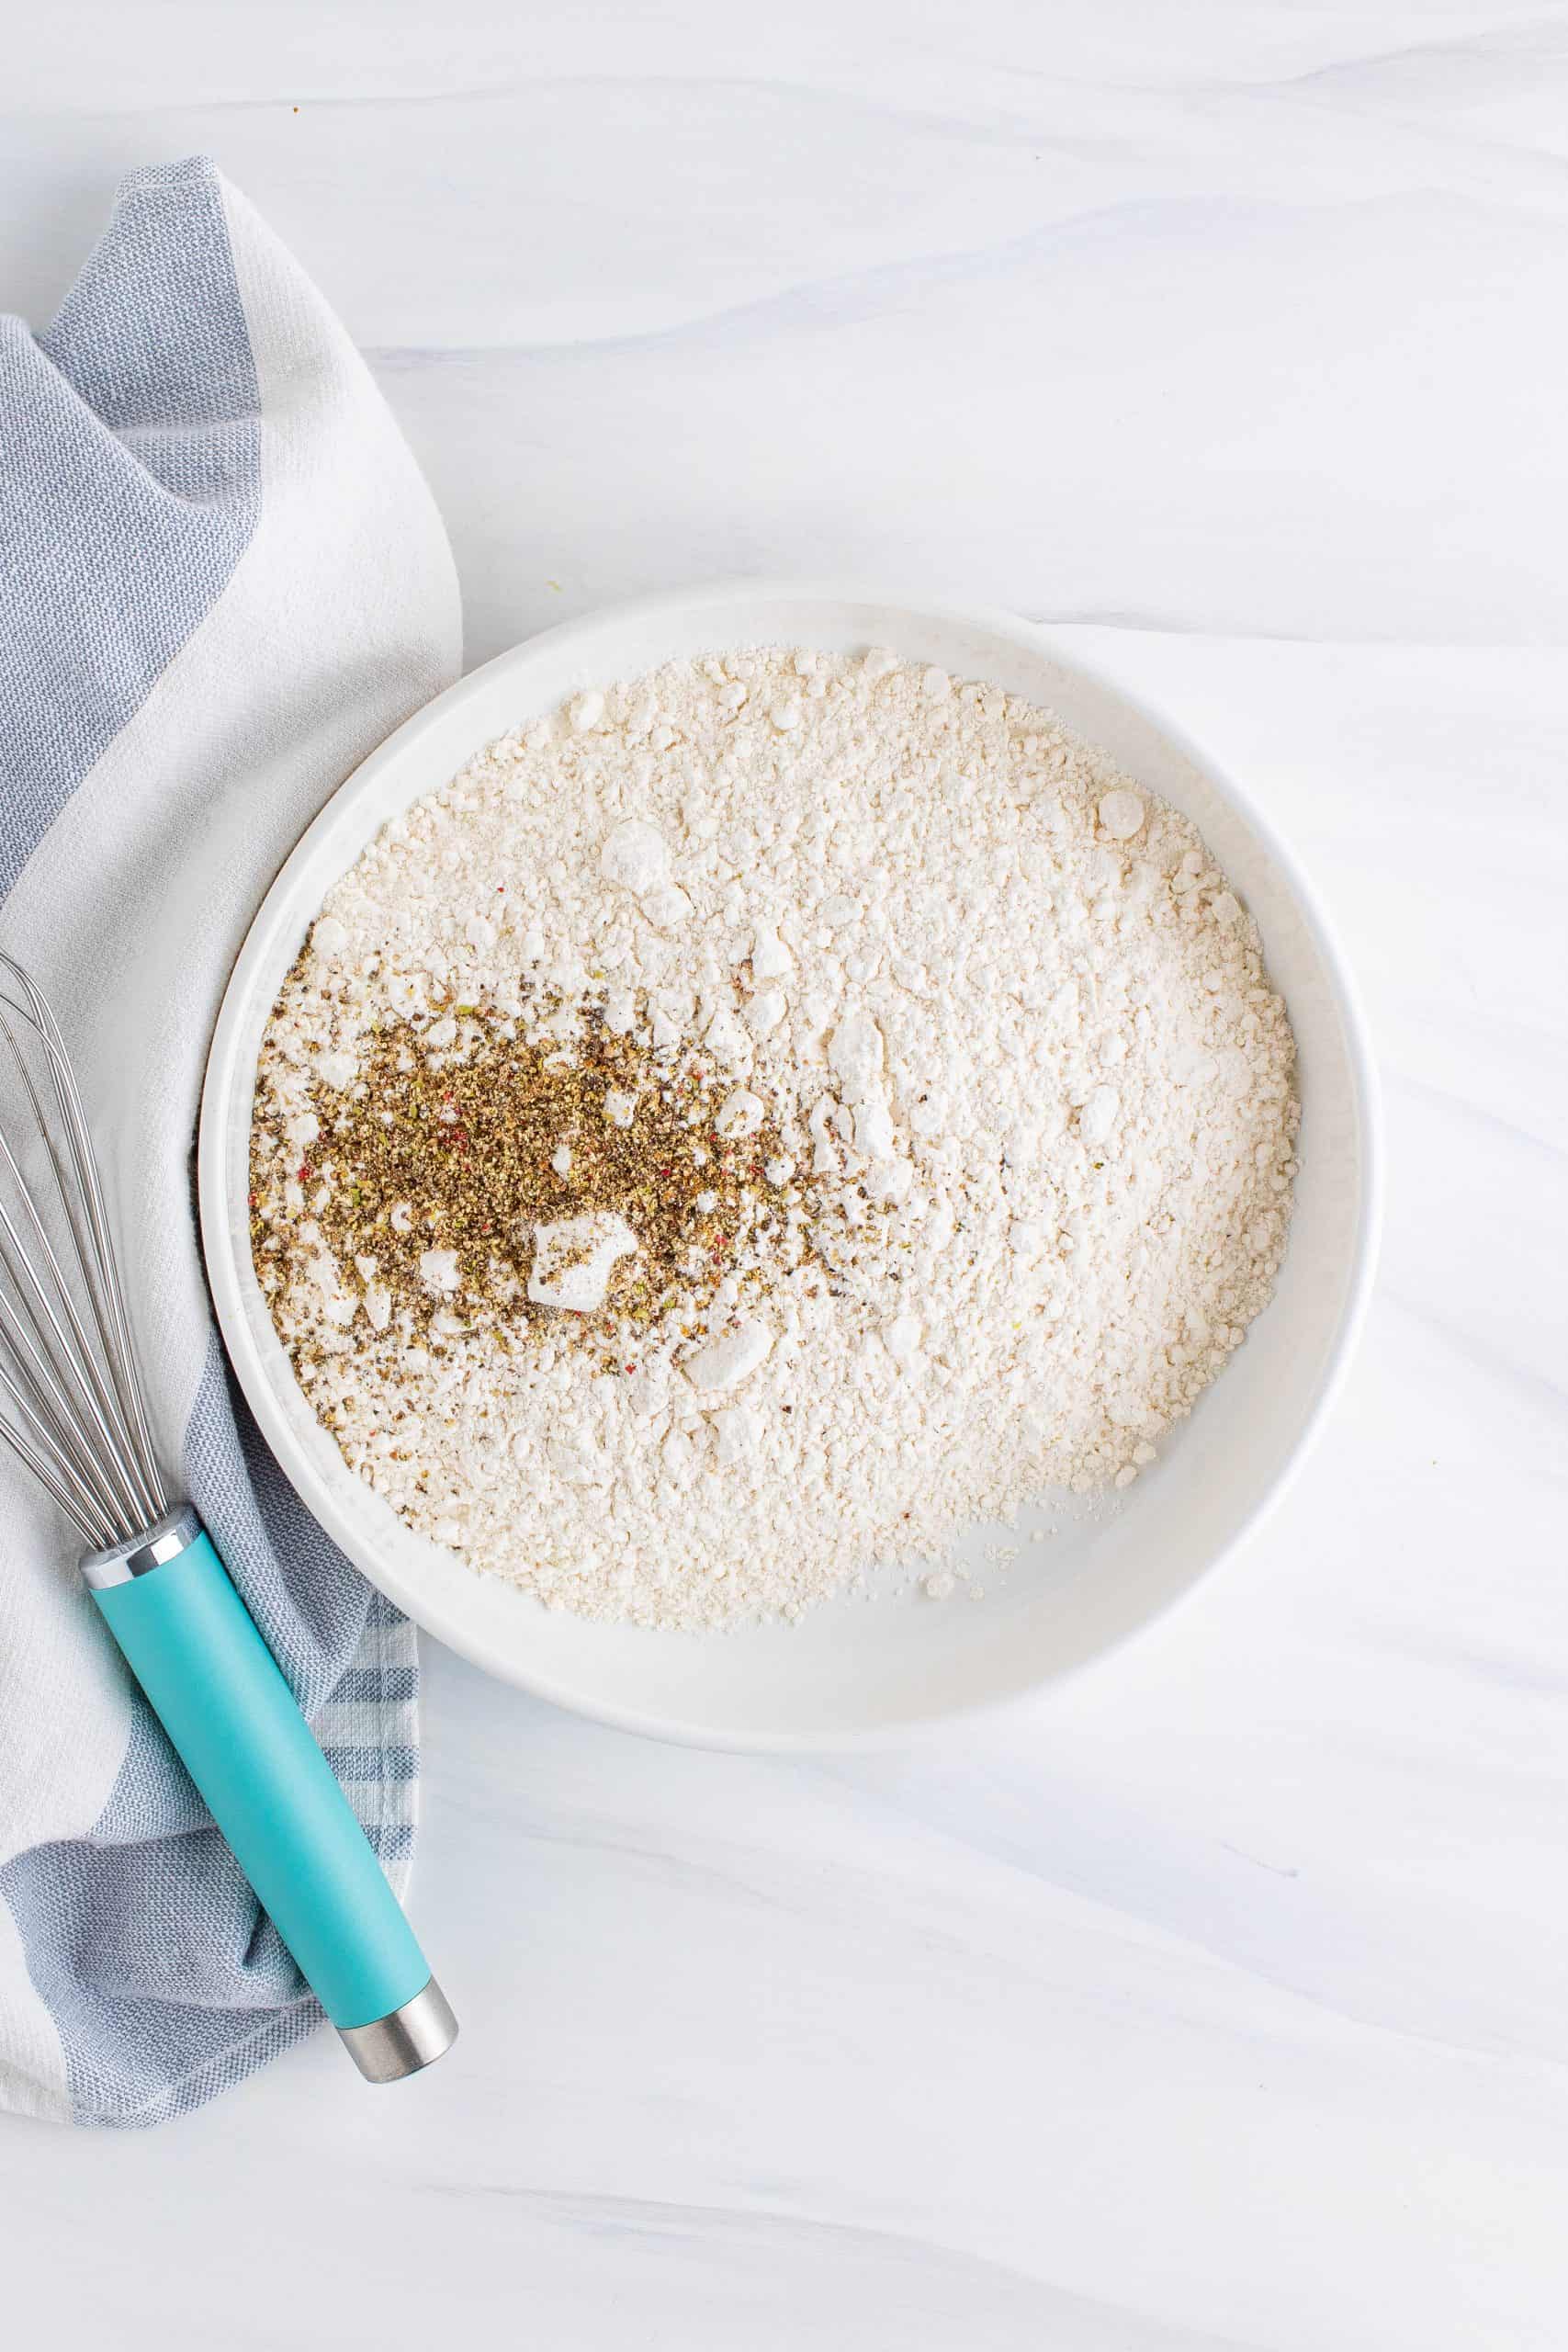
Whisk this mixture together until completely combined.
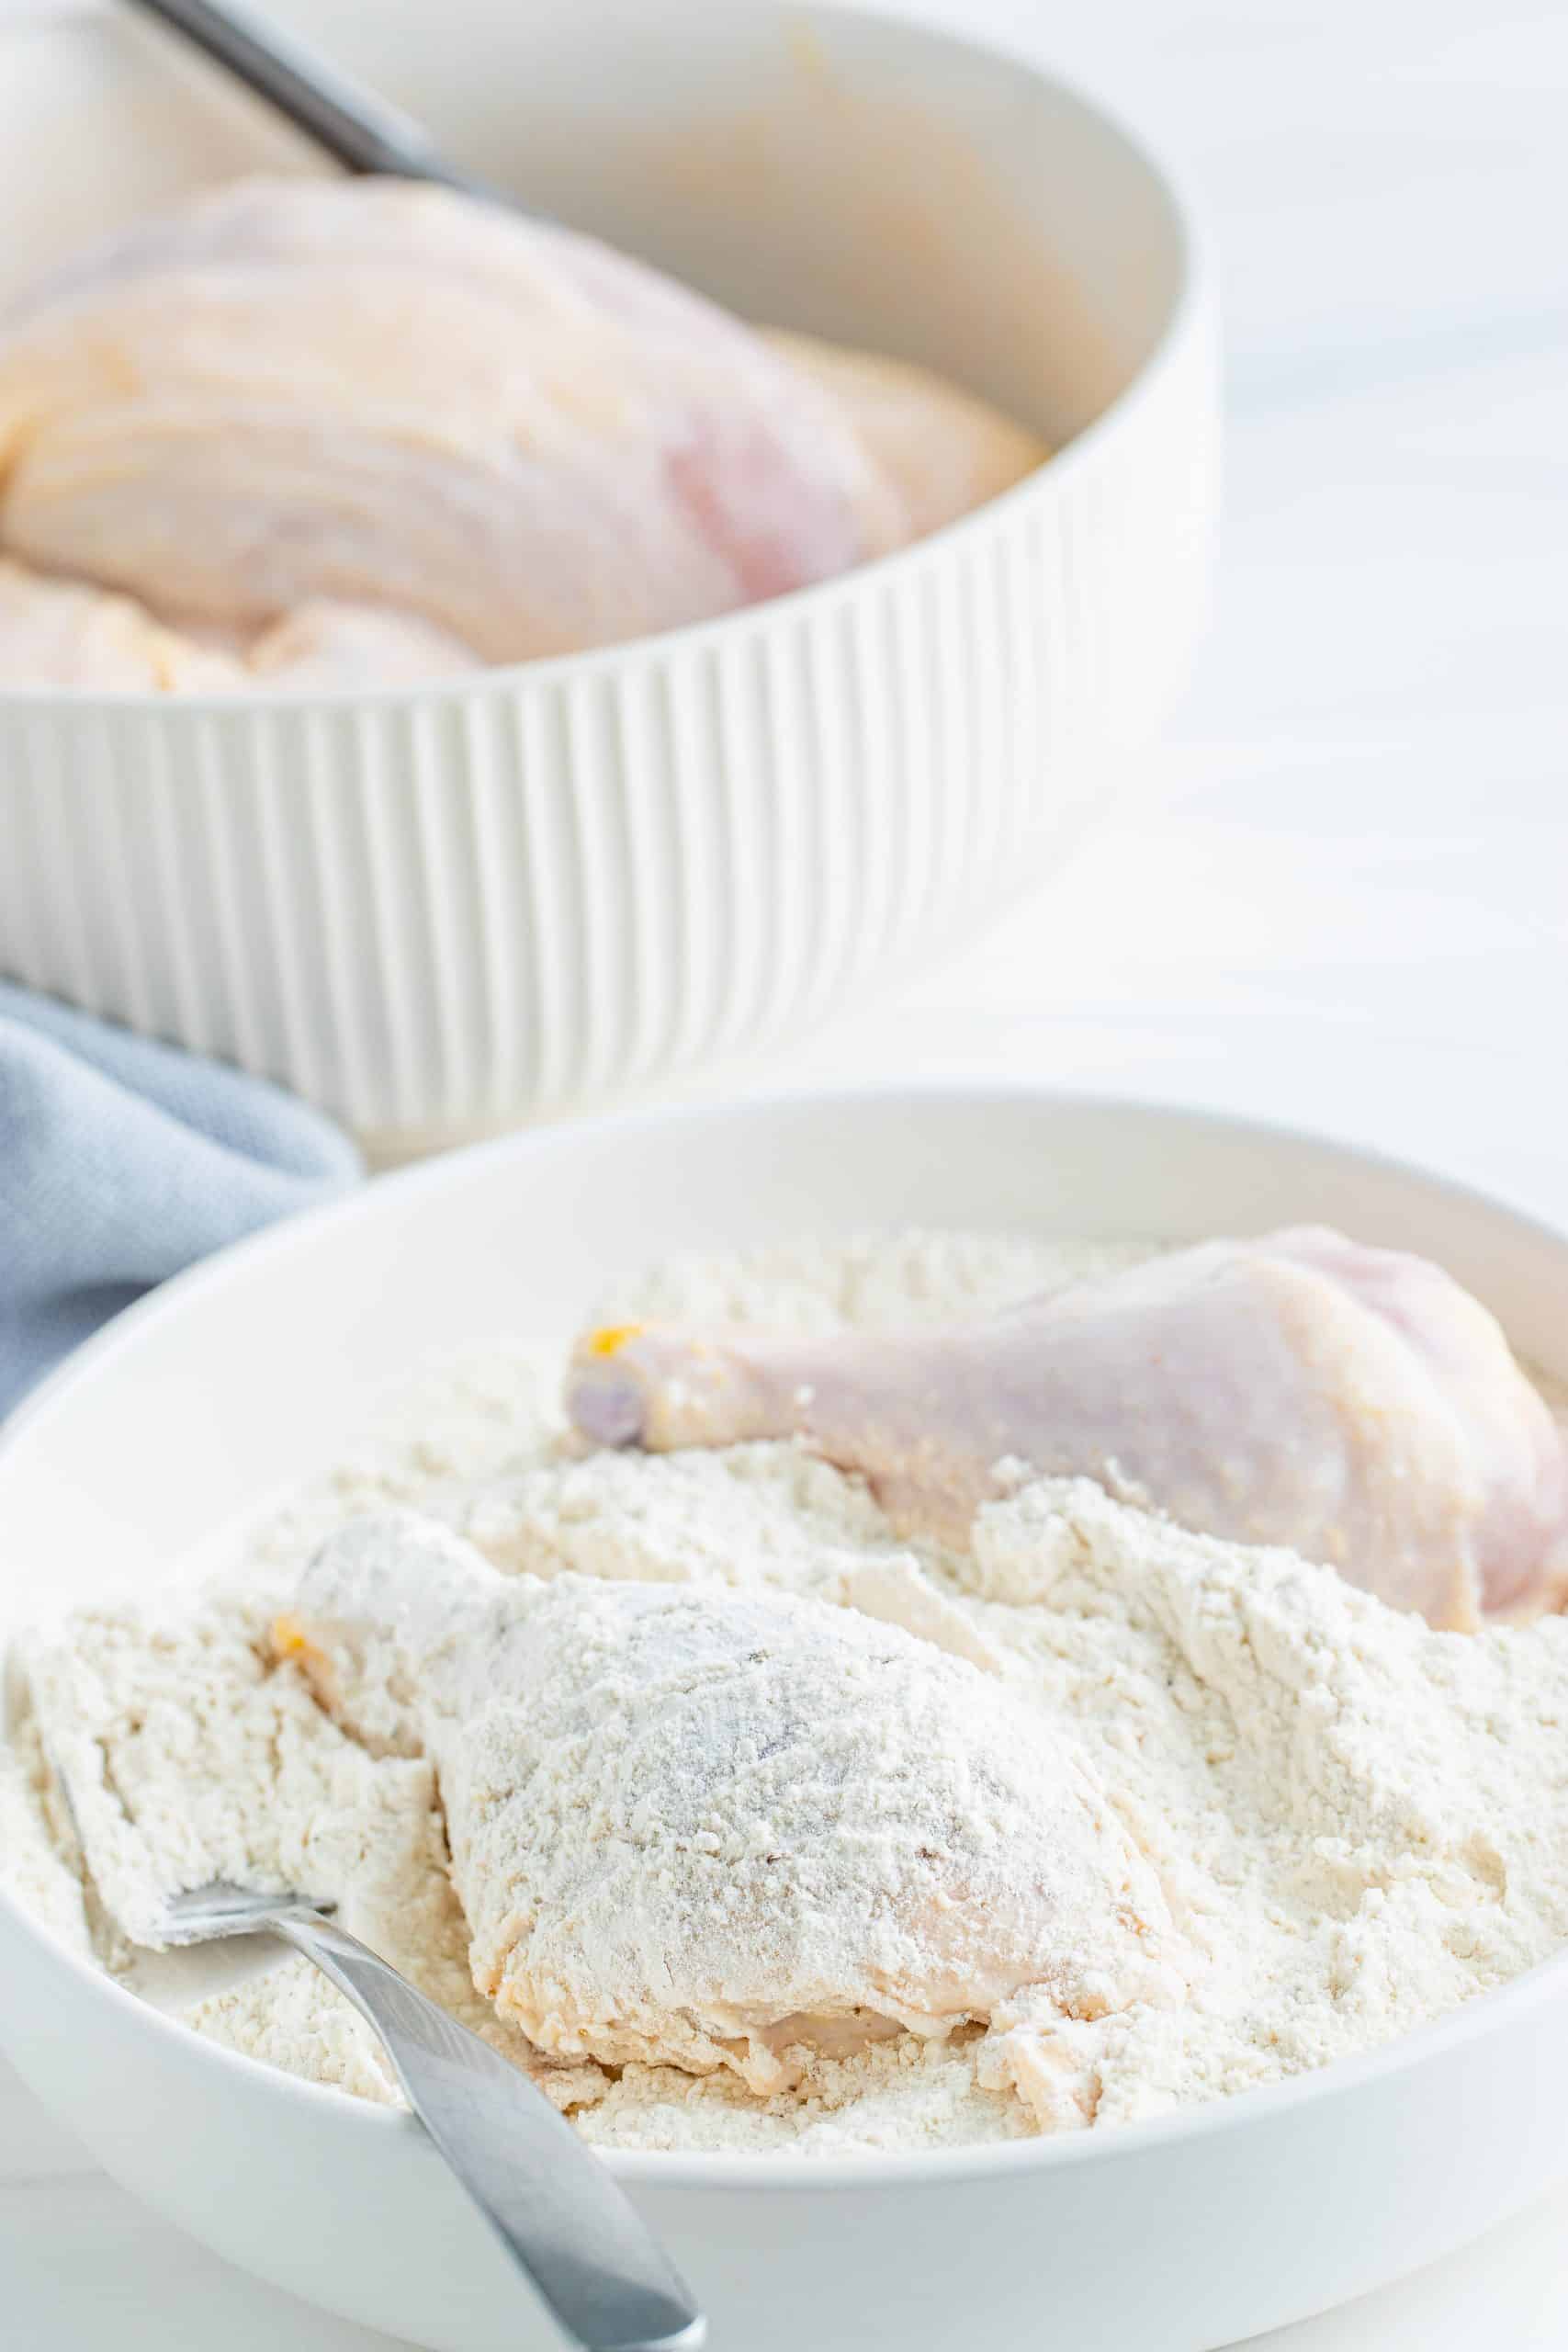
Taking the chicken pieces one at a time, let the excess buttermilk drip off. Coat in the flour mixture, make sure the chicken is well coated. Shake off any excess. Set the chicken aside and let it sit for a few minutes until the coating starts to look a little pasty.
Fill up a deep fryer with peanut oil (or neutral frying oil of your choice) and preheat to 325°F. (If using a dutch oven or cast iron skillet, I would recommend preheating to 300°F – you may need to turn down the heat if you notice it getting too hot – cast iron holds heat very well so it is easy for it to get too hot so please monitor.) Carefully add the piece of chicken to the deep fryer. Fry until golden brown, turning every few minutes. You will need to fry in batches so you do not overcrowd the fryer.

Chicken is done when golden brown and the internal temperature reaches 165°F. Depending on the size of the chicken, dark meat takes about 12-14 minutes and white meat takes 8-10 minutes.
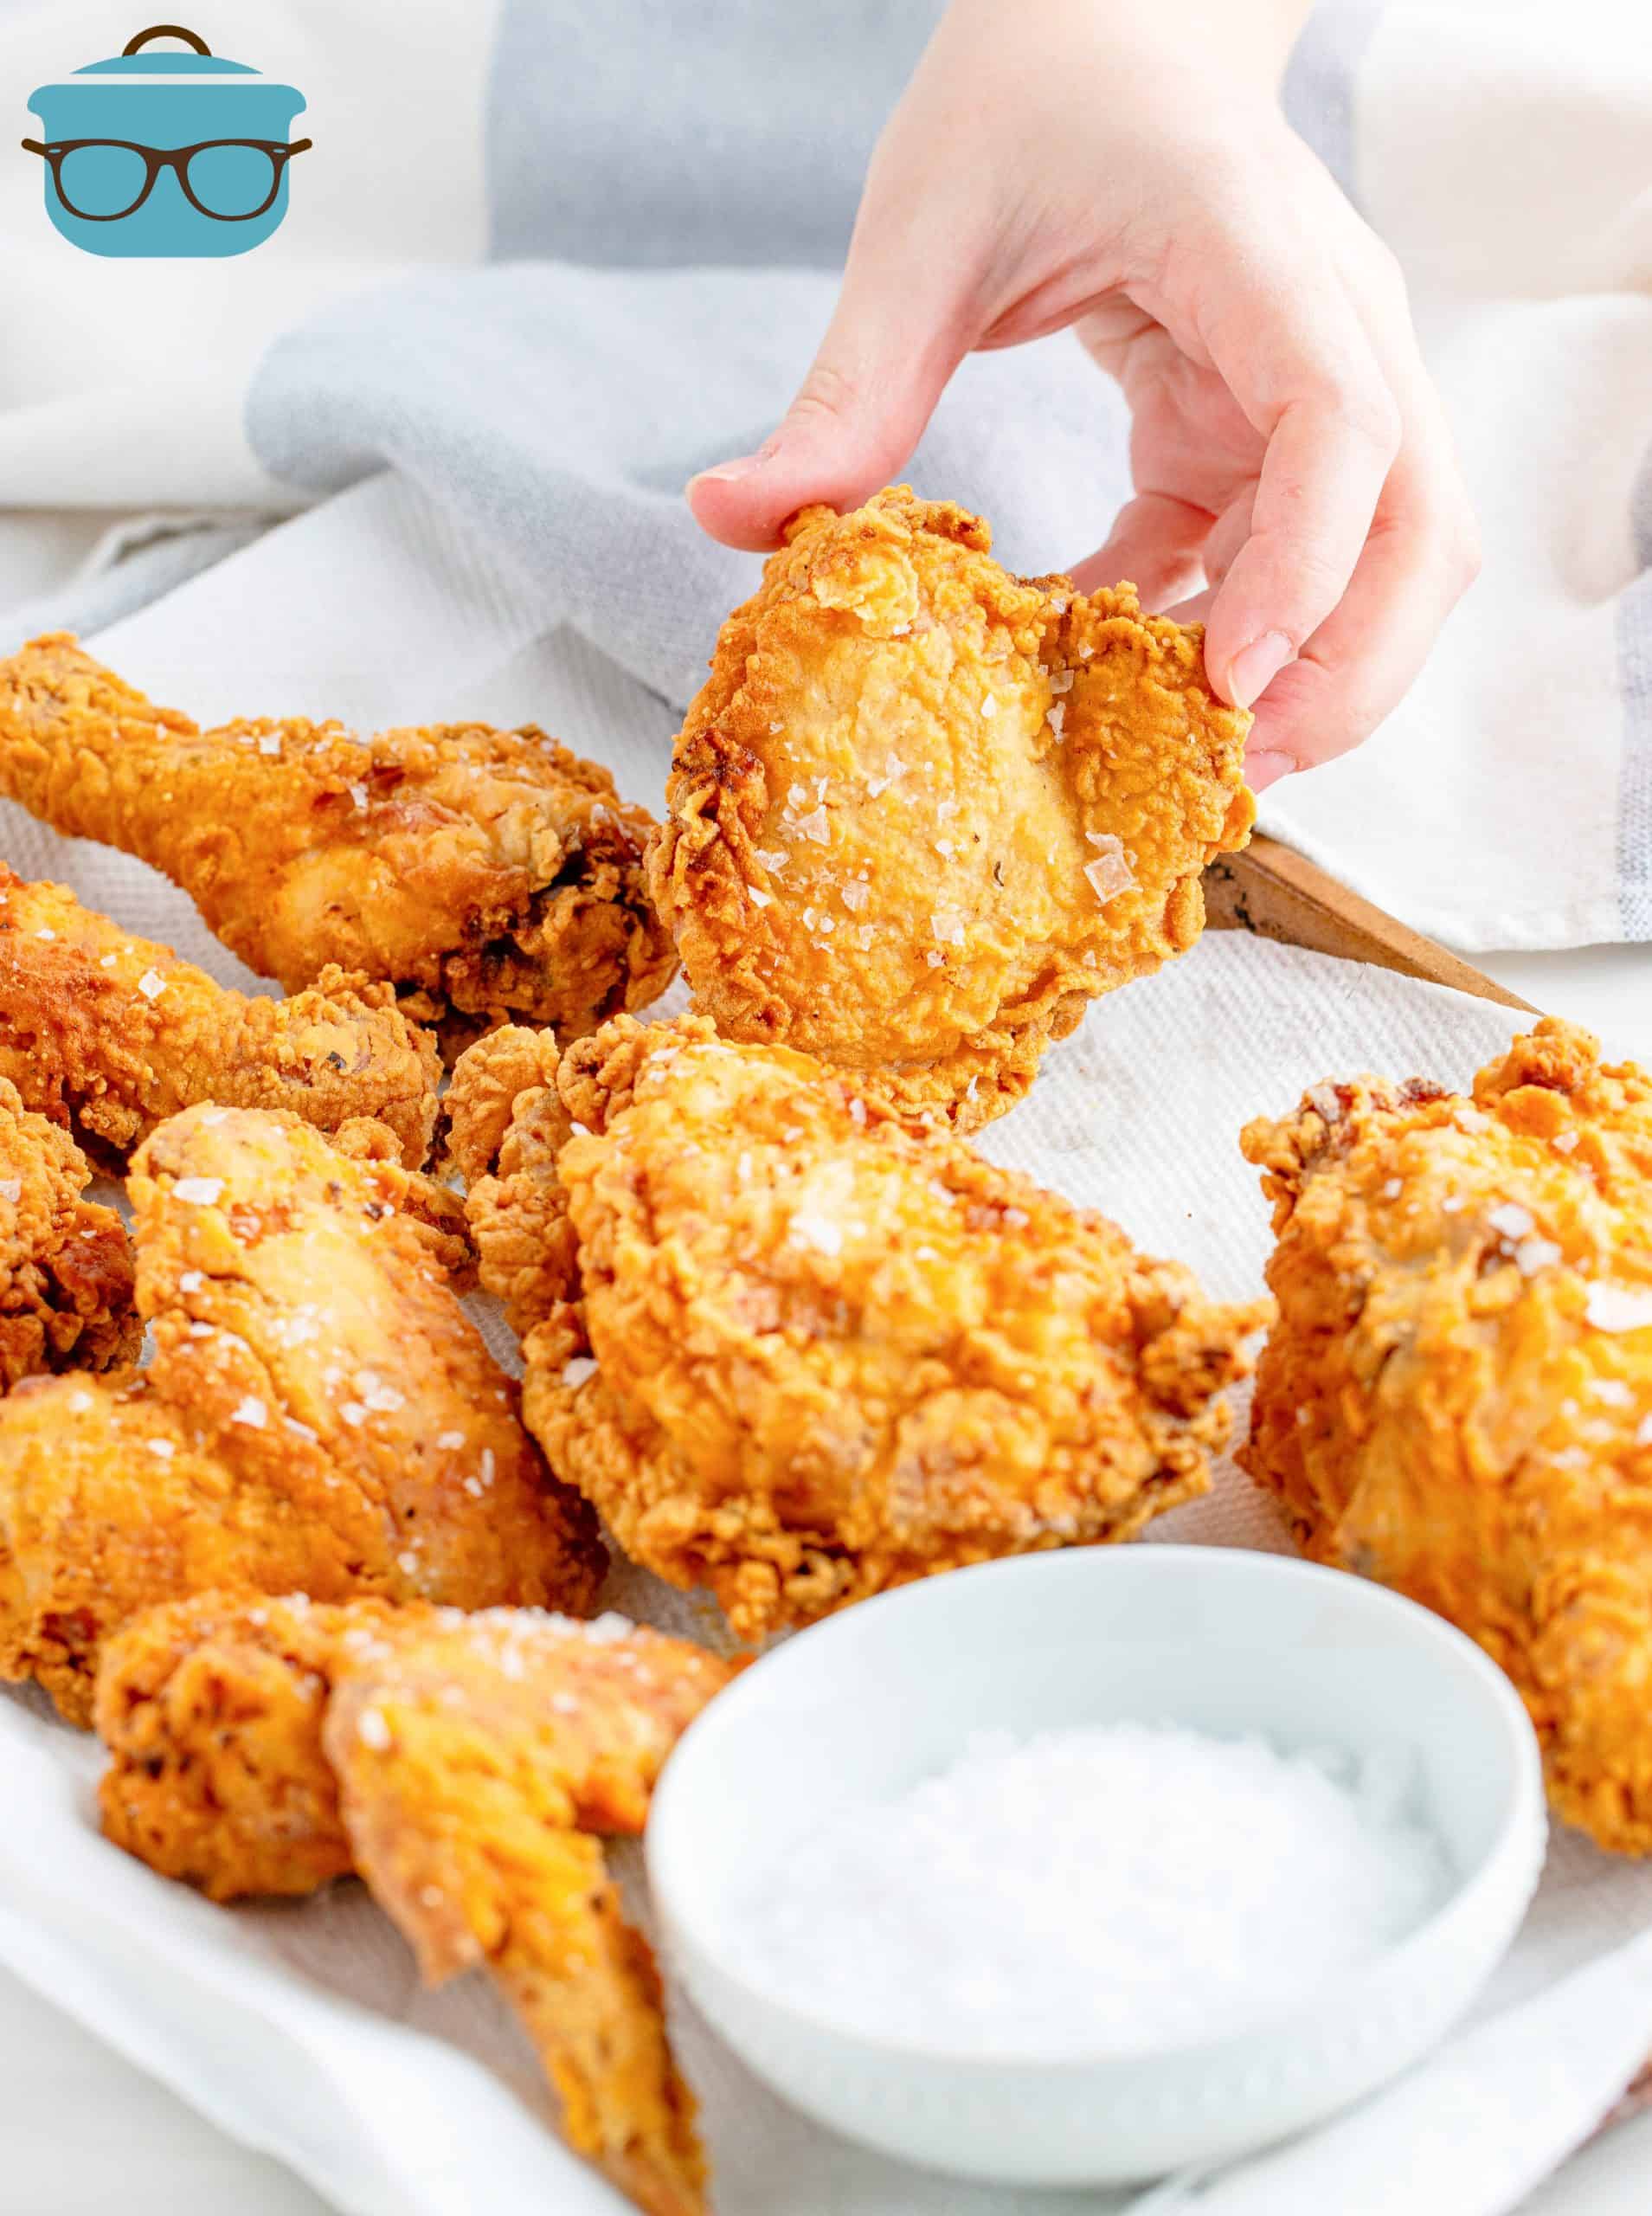
When the chicken is done frying, place it on a paper towel lined sheet tray and immediately sprinkle a little flaked salt on top. Continue with the rest of the chicken pieces.

- Chicken needs to be stored in the refrigerator. To do this, you will want to let the fried chicken cool completely before preparing to store, this will help the coating stay crisp.
- Place the cooked chicken in an airtight container and place it in the refrigerator where it will stay good for up to 5 days. You can reheat in the oven, microwave or an air fryer. The oven and the air fryer will help keep the skin crispy while re-heating.
- If you want to freeze the fried chicken then you will want to store in an airtight container and place in the freezer where it will stay good for up to 6 months.
- To reheat Fried Chicken from frozen you will want to let it thaw in the refrigerator and then bake it in the oven (at 400F degrees) or use an air fryer until heated through.
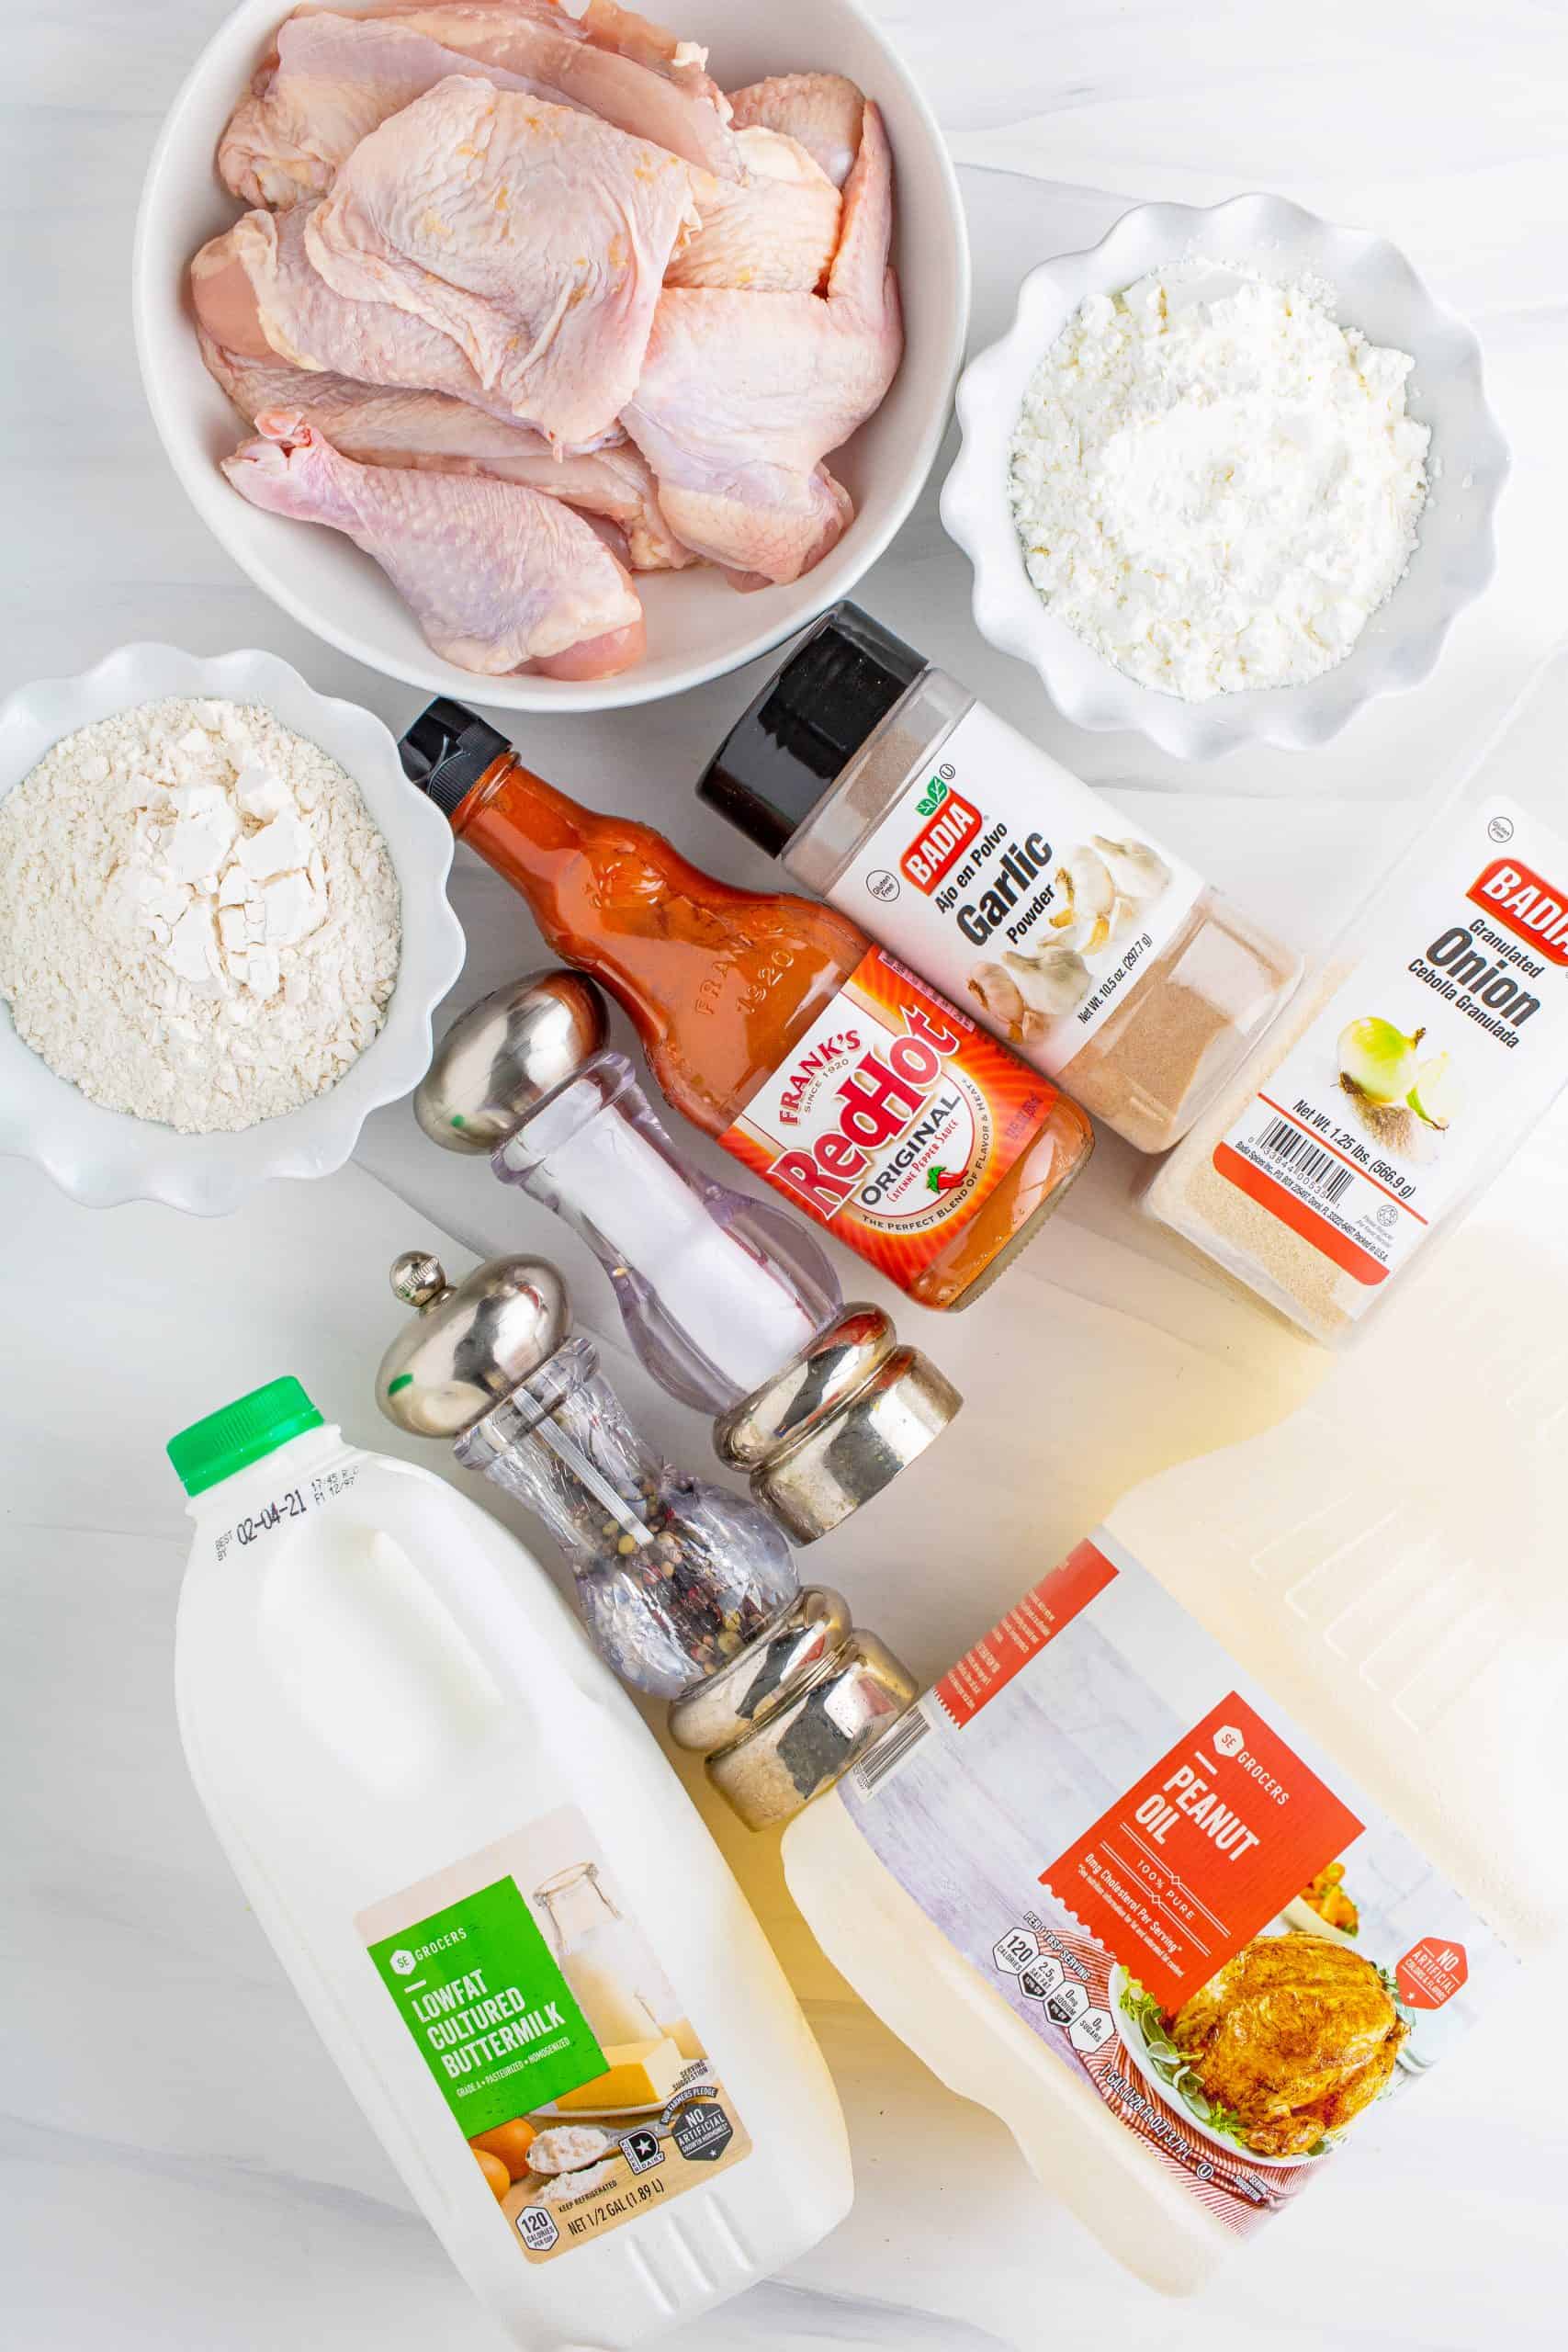
INGREDIENTS NEEDED: (SEE RECIPE CARD BELOW FOR THE FULL RECIPE)
- whole chicken (cut up) – you can just use your favorite cut of chicken here: breasts, thighs, wings, legs.
- salt, pepper, garlic powder, onion powder – this is the blend of seasonings I enjoy but feel free to use your favorite or use the copycat KFC seasoning blend above in the FAQ.
- buttermilk – I talk about this in more detail above in the Frequently Asked Question section. This really makes the meat so tender and keeps it from being dry. As I said above, there really is just no true substitute for buttermilk here. If you are in an absolute pinch, you can check out my post on How to Make Buttermilk (but seriously, try to use the real stuff here).
- hot sauce – this is optional but adds a nice little kick.
- cornstarch – this is what gives you that crispy skin so don’t skip it.
- peanut oil – this is my favorite oil to fry in since it isn’t going to take away flavor from the chicken (and its the less stinky kind of oil).