Home canning chicken broth is a great way to preserve the nutritional and flavor benefits of homemade broth for long term storage But proper pressure canning technique is crucial to ensure the safety of canned broth Learning how long to process chicken broth in a pressure canner will help you can it safely.
Why Pressure Can Chicken Broth
Chicken broth is a staple ingredient for many home cooks. It can be used to make soups, stews, risottos, gravies and more. Homemade chicken broth has significantly more flavor and nutrition compared to store bought broths. It’s also economical since you can make broth from leftover chicken bones and vegetable scraps.
However properly storing large batches of homemade broth can be a challenge. Chicken broth only lasts 3-4 days in the fridge. It will keep for 2-3 months in the freezer but takes up a lot of space. This is where canning can help.
Pressure canning enables long term room temperature storage of chicken broth, allowing you to stock up and have broth ready to use anytime. Canned broth will keep for 1-2 years. Broth cans don’t require thawing either – you can use broth directly from the jar.
Why Chicken Broth Must be Pressure Canned
Chicken broth must be pressure canned rather than water bath canned due to food safety risks. Chicken broth is a low acid food with a pH higher than 4.6.
At this pH level, harmful botulism spores can grow and produce a life-threatening toxin when oxygen is absent. Water bath canning does not get hot enough to kill the spores, only pressure canning does.
Using tested pressure canning processing times reliably destroys botulism spores in low acid foods like chicken broth. This prevents toxin production and makes the canned broth safe to eat after prolonged storage.
Step-by-Step Guide to Pressure Canning Chicken Broth
Pressure canning chicken broth is a straightforward process but there are some important steps to follow:
Select Equipment
-
Pressure canner with rack – 16 to 23 quart size recommended
-
Canning jars – 1 pint or 1 quart wide mouth jars with new lids and bands
-
Canning tools – jar lifter, lid lifter, funnel, bubble remover & headspace measuring tool
-
Clean towels – for de-bubbling jars and wiping rims
Prepare Broth
-
Make broth using chicken bones, vegetables and seasonings. Simmer until flavorful.
-
Chill broth overnight so the fat solidifies and can be removed. Skimming fat will help ensure a good seal.
-
Reheat broth just until simmering before canning. Do not boil or broth volume will decrease.
Fill Jars
-
Wash and sterilize canning jars. Keep them hot until filling.
-
Fill jars leaving 1-inch headspace. De-bubble each jar before placing the lid.
-
Wipe jar rims with a damp towel before putting on lids. Check for nicks in rims.
-
Use new pre-softened lids. Apply bands fingertip tight. Do not over tighten.
Process Jars
-
Place filled jars in canner fitted with rack and add hot water to correct level.
-
Vent canner for 10 minutes on high heat before closing vent.
-
Once it pressurizes, start timing based on your altitude. See processing times below.
-
When time is complete, turn off heat. Allow canner to depressurize naturally.
-
Remove jars once pressure gauge reads zero. Allow them to seal and cool undisturbed overnight.
-
Check seals before storing. Refrigerate unsealed jars immediately.
Recommended Pressure Canning Times for Chicken Broth
Chicken broth must be processed at 10-11 lbs pressure depending on your altitude. Here are the recommended pressure canning times:
At 0-1000 ft altitude
-
Pints – 20 minutes
-
Quarts – 25 minutes
At 1000-6000 ft altitude
-
Pints – 25 minutes
-
Quarts – 30 minutes
Refer to a pressure canning guide for increased processing times at altitudes above 2000 feet. Always follow the verified time for your altitude to ensure safety.
Note: These processing times are based on the canning recommendations from the USDA and Ball Canning.
Tips for Successful Pressure Canning
Follow these tips to safely preserve chicken broth in a pressure canner:
-
Maintain constant pressure during the entire processing time. Fluctuating pressure can lead to underprocessing risks.
-
Allow the canner to fully vent and cool down naturally. Do not rush the cooling process.
-
Use new properly fitting lids and check your canner for leaks before use. Old lids often fail to seal.
-
Test jar seals after 24 hours before storing. Refrigerate unsealed jars right away.
-
Label canned jars with contents and processing date. Store in a cool, dark place.
-
Consume broth within 1 year for best quality and safety. Discard jars with signs of spoilage.
Enjoy Your Home Canned Chicken Broth
Now that you know the proper canning time, you can pressure can large batches of chicken broth for scratch cooking all year round. Home canned broth is hands down better than anything from the store.
Always use USDA approved recipes and processing times when canning at home. This ensures your preserved foods are safe to eat for long term storage without refrigeration.

Why I Love Pressure Canning Broth
Pressure canning bone broth at home is a great way to ensure you have quick and easy ingredients on hand that are both healthy and very inexpensive to make.
With a family my size, having canned convenience meals or freeze dried convenience meals on the shelf can save dinnertime!
When it comes to broth, I typically make a minimum of two gallons at a time, which, for some families, is too much broth to use up before it goes bad.
This is where canning comes in so handy. You can easily pressure can bone broth to have it on the shelf for pennies, instead of paying nearly $8 for some brands of organic, free-range chicken broth.
If you don’t have time to can, try making homemade chicken bouillon out of your broth.

To can your own broth you’ll need a few supplies on hand:
- Canning jars – whatever size jar you prefer. I use quart-size jars because of our large family. But if you want to can some in pint-size jars to use for smaller portions, that’s great.
- Two-part sealing lids – to ensure a proper seal, be sure your sealing lids are new and not previously used.
- Funnel – I recommend using a stainless steel funnel like this.
- Vinegar – this is to clean the rim of the jar before placing the canning lids on to the jar.
- Clean towel – use a lint-free towel, if possible. A paper towel will also work here.
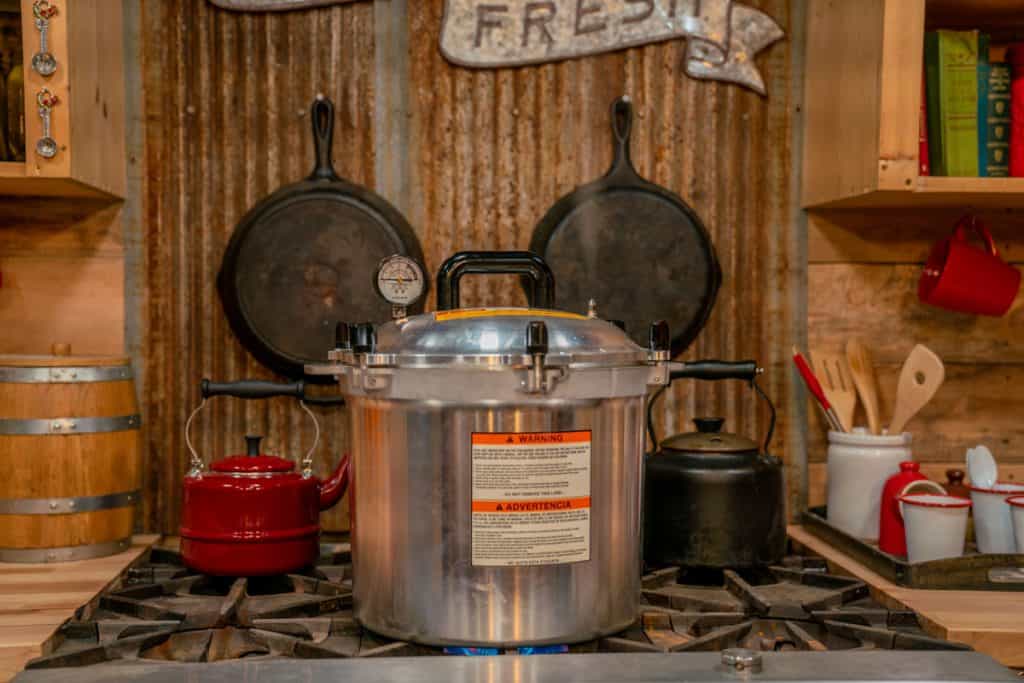
- Pressure canner – this is the All-American Canner that I have, love and recommend.
- Jar lifter – this is my favorite jar lifter. A jar lifter is not necessary, but we recommend one because we don’t want you to burn your hands!

This isn’t a recipe for broth but a “how-to” tutorial. The only ingredient needed is your previously prepared broth.
If you’re looking for a delicious and healthy homemade broth recipe, here’s our super immune-boosting chicken broth.
- I recommend chilling your broth for at least 12 hours or more to allow all the fat to rise to the surface of your broth. This isn’t a necessary step but will allow you to skim off any fat if desired. I like to skim off fat to use in cooking or leave it in for added flavor.
- There is some debate on whether you need to skim the fat off your broth before canning. My general rule of thumb is if you’re going to use the broth within six months of canning, you can leave the fat.
- If you’re not going to use your broth within six months, skim the fat so that it doesn’t have the potential to go rancid.
- Some people say you must skim the fat off your broth to ensure a proper seal, however, I have successfully canned broth with the fat many times. The choice is up to you! This is why we ALWAYS wipe the rim of the jar with vinegar which de-greases the rim of the lid so that the jar can seal completely. Using only water will not accomplish this!
- In the video above, I mention using water, but I have updated my methods to only use vinegar now. Don’t skip this important step of cleaning the rims with vinegar or you may in fact have jars that don’t seal properly.
- Read the manufacturer’s instructions for your specific pressure canner. Different pressure canners require different pounds of pressure for the same elevation. For more information on pressure canners and pounds of pressure visit the National Center for Home Food Preservation.
How to Pressure Can Broth or Stock

- Take your cooled broth or stock and skim off any fat (if desired).
- Pour broth into a large stockpot and bring to a boil.
- Meanwhile, start heating up your pressure canner and place jars in a sink full of very hot water.
- Have your other supplies ready for the next step.
- Taking one jar at a time, dump out the hot water, place the funnel into the jar, and, using a ladle, pour boiling broth into your hot jars.
- Leave one-inch head-space in your jar.
- Check each rim with your finger to be sure there are no knicks or chips. Then dip a towel into vinegar and wipe the rims of your jars to remove any residue.
- Seal each jar with lid, tightening bands to fingertip tight.
- Place jars, one at a time, into the pressure canner. Seal pressure canner following the manufacturer’s instructions and allow it to come to a full boil.
- Let the pressure canner release a steady stream of steam for 10 minutes before weighting or adding your rocker/jiggler.
- Place the rocker or weighted gauge onto the pressure canner and process at 10 pounds of pressure for a weighted gauge or 11 pounds of pressure for a dial gauge (adjust pressure for your elevation!).
- Once the dial gauge reaches pressure, process pint jars for 20 minutes and quart jars for 25 minutes.
- Turn off heat and allow pressure to come down to zero pressure naturally.
- Let jars sit for 10 more minutes inside the pressure canner, then remove the lid to your pressure canner and transfer jars onto a towel in a draft-free location. Allow them to sit, undisturbed overnight before labeling and moving to the pantry for long-term storage.

Did you try this tutorial? We’d love for you to give us a star rating in the recipe card below, then share your beautiful canned broth with us on social media by tagging us at @homesteadingfamily!
Pressure Canning Chicken Broth
FAQ
How long to you pressure can chicken broth?
Apply band and adjust until fit is fingertip tight. Process filled jars in a pressure canner at 10 pounds pressure 20 minutes for pints and 25 minutes for quarts, adjusting for altitude, according to your pressure canners directions.
Can you over pressure cook broth?
Another cool feature: By raising the boiling point, you can be sure that the liquid in your pressure cooker won’t boil, even though its contents will be well over 212°F (unless you allow it to over-pressurize, in which case the cooker will vent itself and boiling will occur).
How long to pressure cook chicken broth?
How long should you pressure can chicken?
Once you’re getting 4 “jiggles” per minute, or your dial gauge has come up to pressure, start your timer and process the chicken. If you’re canning pint jars, you will process them for 1 hour 15 minutes (75 minutes). If you’re using quart jars, you will process for 1 hour 30 minutes (90 minutes).