Oh yes. Here we go. Fresh ground lean beef. Fatty, delicious, thick cut bacon. When you smush them together, you get a juicy, tasty 60/40 beef bacon burger that will make you wonder why you ever put bacon ON your burger instead of IN it.
Now, this may seem obvious, but this is NOT a healthy burger recipe. Quite the opposite: this is a rich, indulgent, calorie fest. But if you ask me, it’s worth every single tasty bite. Moderation, right?!?.
Speaking of moderation, try these Crispy Cajun Fried Onion Strings on top of your burger. Perfection.
Grinding your own bacon is a great way to add bold, smoky flavor to burgers, meatballs, meatloaf and more. With a few simple tools and tips, you can easily grind bacon at home to mix into your favorite recipes.
Why Grind Your Own Bacon?
Grinding bacon offers several advantages over using store-bought pre-ground bacon or bacon bits
-
Customize texture – Grind to your preferred consistency from fine to coarse chunks
-
Control ingredients – Use high-quality artisan bacon with minimal added ingredients.
-
Enhance flavor – Freshly ground bacon has much more impact than pre-ground.
-
Mix with meats – Incorporate evenly throughout mixtures for burgers, meatballs, etc.
-
Versatility – Use in both sweet and savory dishes from pancakes to pasta.
-
Economical – Grind ends and pieces for less waste and cost.
Tips for Grinding Bacon
Follow these handy tips for grinding flavorful bacon at home:
1. Select the Right Bacon
Choose bacon with the ideal meat-to-fat ratio for flavor and texture. Thicker, artisanal-style bacon with nice marbling works best. Avoid thin or overly lean bacon.
2. Partially Freeze
Place bacon in the freezer for 15-20 minutes until slightly firm but not rock hard. This makes it easier to grind.
3. Cut into Pieces
Remove any rind and cut bacon into 1-inch pieces. Uniform sizing aids the grinding process.
4. Use a Food Processor
For small batches, a food processor quickly chops bacon into fine or coarse pieces. Pulse to control texture.
5. Or Use a Meat Grinder
For larger batches, a meat grinder on the fine or medium setting evenly grinds bacon. Chill grinder parts first.
6. Mix in Fat
For burgers, add some extra beef fat or oil when grinding to prevent dryness. Bacon has less fat than beef.
7. Cook Thoroughly
Cook ground bacon mixtures like burgers and meatballs to 160°F since raw bacon can harbor bacteria.
8. Store Properly
Refrigerate for up to 5 days. Freeze for longer storage. Usewithin 4 months for best quality.
Step-by-Step Guide
Follow these simple steps for grinding bacon at home:
1. Select the Bacon
Choose quality bacon with nice marbling of fat throughout the meat. Stay away from lean bacon that can dry out when cooked.
2. Partially Freeze
Place bacon on a baking sheet and freeze for 15-20 minutes. This firms it up for clean grinding.
3. Cut into Pieces
Remove any rind. Cut bacon into uniform 1-inch pieces so it grinds evenly.
4. Chill the Grinder
For stand mixer grinders, chill grinder parts in freezer 1 hour beforehand.
5. Grind the Bacon
For a coarse grind, pulse bacon in a food processor. For fine, use a grinder on medium setting.
6. Mix in Fat
For burgers, add beef fat trimmings or oil to prevent dryness.
7. Form Patties
Shape ground bacon mixtures into patties or meatballs. Refrigerate 30 minutes to firm up.
8. Cook Thoroughly
Cook burgers, meatballs, etc. to 160°F internal temperature since raw bacon can harbor bacteria.
9. Store Properly
Refrigerate for up to 5 days. For longer storage, freeze for up to 4 months.
Grinding Tips
-
Chilled bacon grinds more evenly.
-
Remove skin and excess fat before grinding.
-
Cut bacon into uniform pieces to grind evenly.
-
Pulse in a food processor for coarse texture.
-
Use a meat grinder on medium setting for fine grinding.
-
Mix in some added fat to prevent dryness.
-
Cook ground bacon thoroughly to safe temperature.
Favorite Recipes Using Ground Bacon
Mixed into the right dishes, ground bacon adds incredible flavor. Here are some top recipes to try:
-
Bacon Cheeseburgers – Mix ground bacon into the meat for juicy, bacon-loaded burgers.
-
Meatloaf – Adding ground bacon enhances the flavor and moisture.
-
Bacon Mac and Cheese – Stir crispy ground bacon into the cheese sauce for a smoky twist.
-
Bacon Cornbread – Freshly ground bacon baked into cornbread gives a delightful crunch.
-
Pasta Carbonara – Toss with pasta and egg yolk sauce for a rich, indulgent meal.
-
Bacon Chocolate Chip Cookies – For a sweet and salty twist, fold ground bacon into the cookie dough.
-
Bacon Vinaigrette – Puree soft boiled eggs and ground bacon into the vinegar and oil dressing.
-
Potato Soup – Crisp up ground bacon and sprinkle over thick, creamy potato soup.
FAQs
What’s the best cut of bacon to grind?
Choose bacon with nice marbling throughout the meat. Avoid overly lean as it can dry out. Thick, artisanal-style bacon works great.
Should you cook bacon before grinding it?
It’s best to grind bacon raw and then cook it thoroughly afterward. Pre-cooking can change the texture.
How do you grind bacon without it getting mushy?
Partially freezing the bacon first firms it up for clean grinding. Cutting it into uniform pieces also prevents mushiness.
Can you use a food processor to grind bacon?
Yes, a food processor easily grinds small bacon batches. Pulse to control the texture.
How long does ground bacon last in the fridge or freezer?
Properly stored, ground bacon lasts 3-5 days refrigerated and 4 months in the freezer.
The Joy of Homemade Ground Bacon
Grinding your own fresh bacon at home lets you customize textures and flavors for recipes from burgers to cookies. With the right practices, you can easily achieve perfectly ground bacon. So fire up your food processor or meat grinder and start enhancing your dishes with homemade ground bacon.

To season, or not to season?
And here is we get a little controversial. In all my years of making burgers, I’ve learned that this is a very polarizing topic. Of course you want to add salt and pepper. That’s always a given. Many people leave it at that, and vehemently defend that position. It allows the meat to do all the talking. THAT’S TOTALLY FINE! If you stopped at salt and pepper, this burger will still be delicious. It’s just not how I do it.
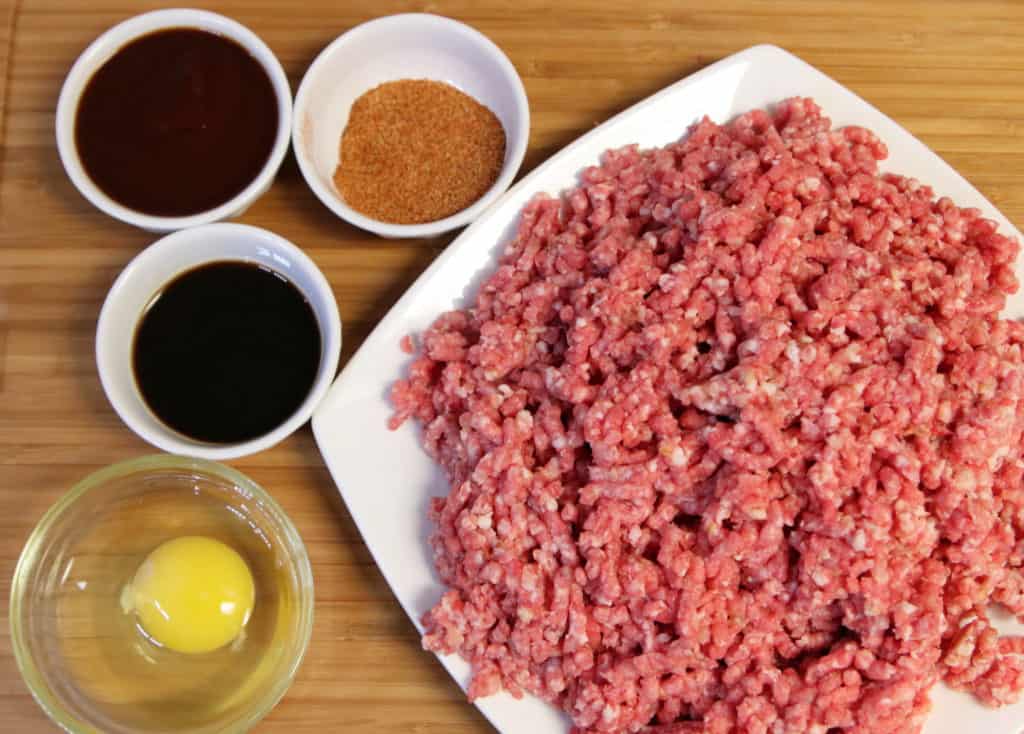
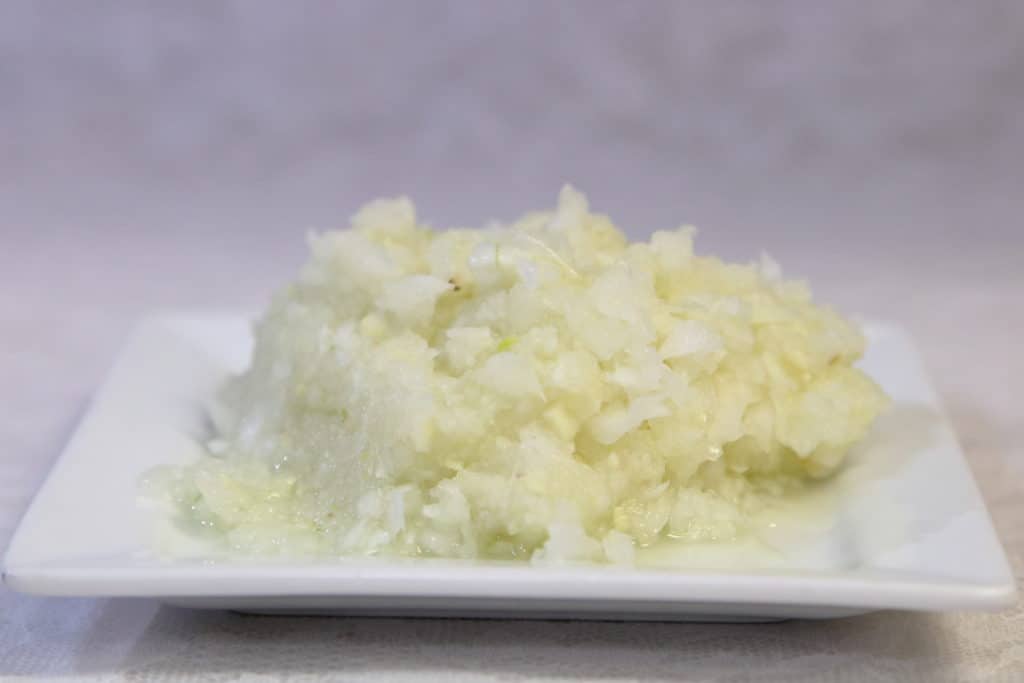
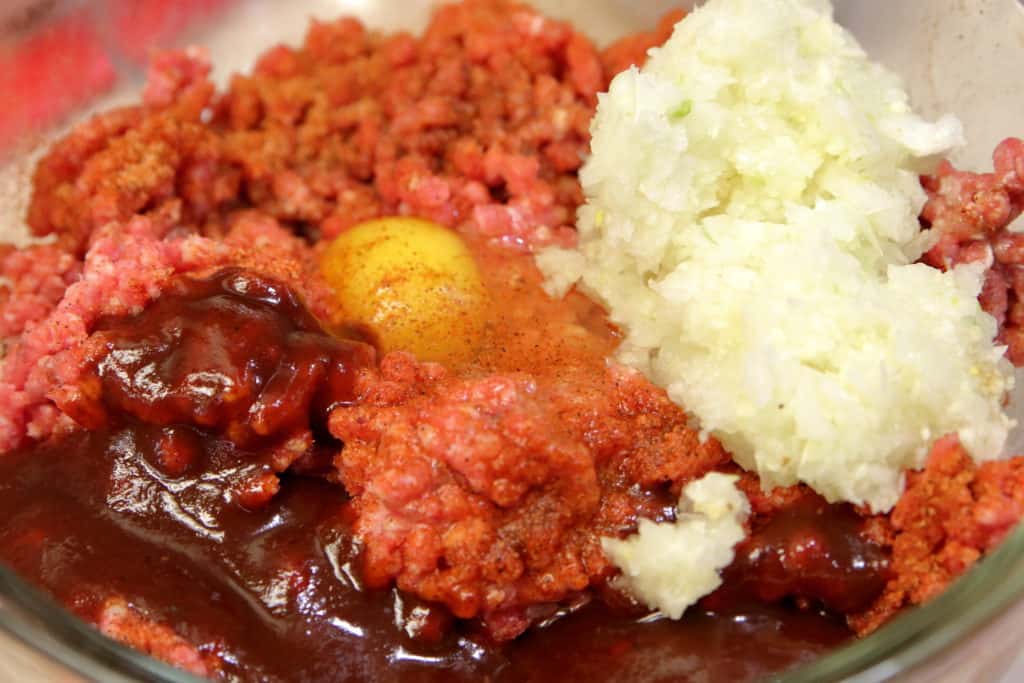
I’ve tried a lot of different ways to mix the things I like to put in my burger meat, but this is what I usually do:
- Whole egg
- Worcestershire sauce
- BBQ Sauce (I like Stubb’s Sweet Heat)
- Diced onion (very very small pieces)
- Tony Chachere’s (paid link)
Put it all in a bowl, and mush it all together. Warning: this can make for a bit of a wet mixture of meat. I thought it was fine, but if you think it was too wet and loose, you can add some breadcrumbs. You shouldn’t need any, though.
Mix everything together, then make the patties! I like to start with a chuck that’s a bit bigger than my first, ball it up, and flatten it out so that it’s a bit wider than the bun I’m going to use. These are super fatty so they will shrink up a bit. After you’ve got all your patties formed, you’re ready to get cookin’!.
Getting started on your 60/40 burger
You only need a meat grinder and a few other simple things to make this tasty food. The attachment that comes with my CuisineArt stand mixer works great, but any kind will do.
Before we get down to the nitty gritty of the ingredients, let me tell you a little secret. I don’t do a true 60/40 ratio. Even though I have made this burger with that amount of bacon before, I think it was a bit too much this time. Blasphemy, I know.
I actually prefer a 2:1 beef to bacon ratio, or a 67/33. You still get all that bacon-y goodness. It’s still rich, flavorful, and delicious- it’s just a liiiiittle more beef forward. In this case, I used 18oz of sirloin and 9oz of bacon.
Speaking of beef. When I buy regular old ground beef, I’ll get some that’s got fat in it. I don’t go for the super lean. The fat tastes great, but for this burger, I get a slab of lean sirloin and let the bacon do all the heavy lifting. I prefer the Wright brand thick cut applewood bacon. Ever time. It’s just so darn good. But then again, all bacon is good, amirite?!.
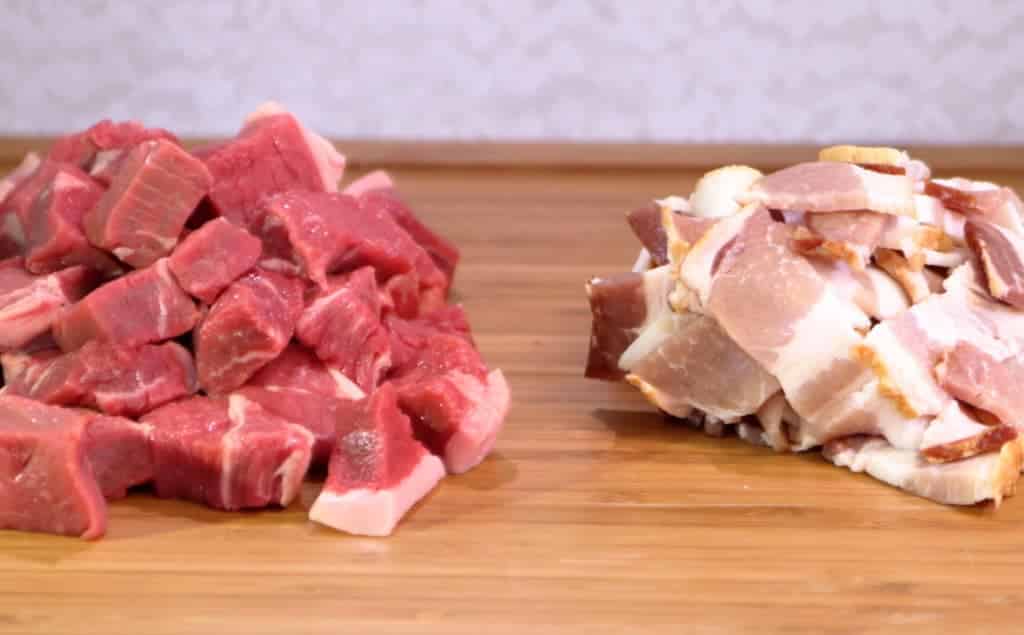
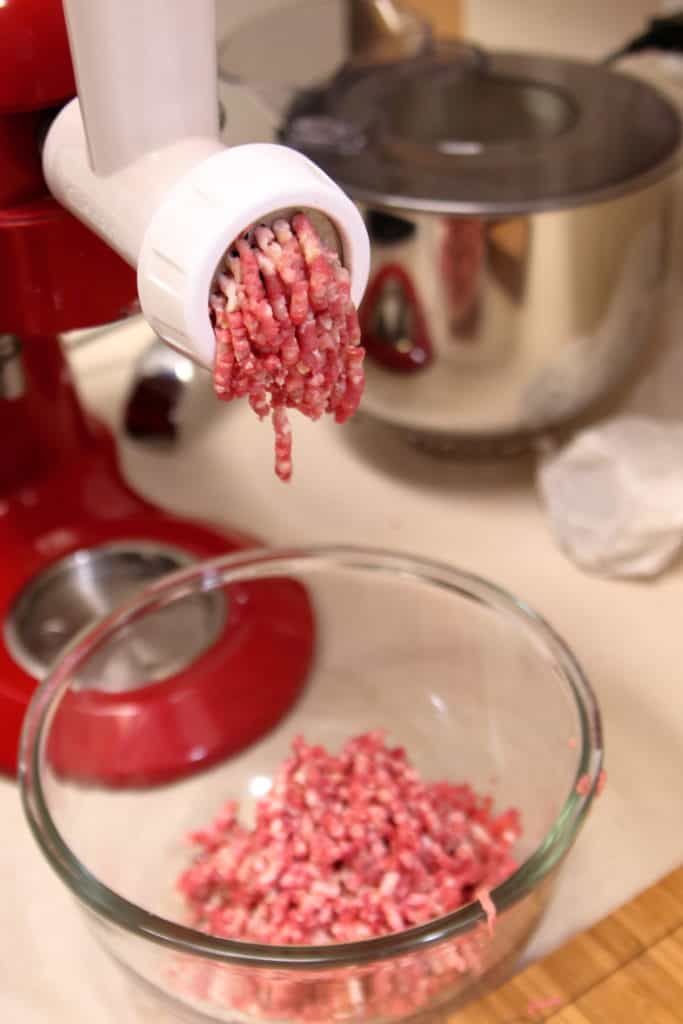
Getting the meat ready to form into patties is really quite simple. The first thing you need to do it chop the meat into cubes- about 1 inch. It just needs to be small enough to feed it through your grinder. When you have the meat chopped up, start grinding!.
Before you feed the meat through the machine, you don’t have to perfectly mix the meat before you start grinding it. It works just fine to alternate until you run out. I normally do a small handful of each one, however, here’s the trick:
After you run all the meat through the grinder, run in through again. This will cause the beef and the bacon to incorporate even better together. You’ll notice that the ground meat is a lot more evenly colored and less lumpy on the second pass through. It doesn’t necessarily grind it any smaller, it just mixes it very effectively.
