A miraculous technique for roasting turkey using aluminum foil smeared with butter to protect the breast from intense heat, while basting it. The foil is removed at the end so that the skin can crisp up. This article also has information about brining, and whether you should do it, as well as tons of tips for perfectly roasted turkey.
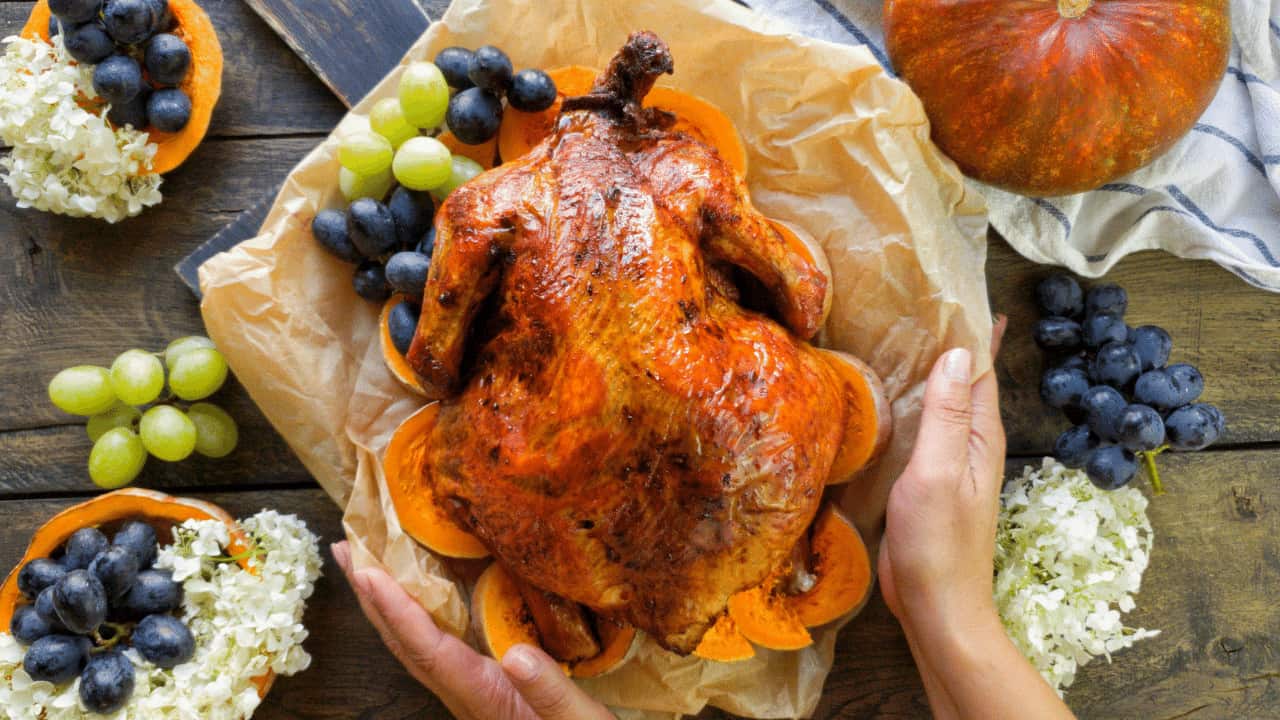
You probably know that my parents owned and operated restaurants when I was growing up. What you might not know is that they also did a lot of catering. We estimate that they’ve catered over a thousand turkey dinners, with each dinner requiring numerous turkeys. Their dinners have always had rave reviews, and now, I’m explaining to you my mom’s technique for perfect roasted turkey. First we’ll talk about the size of the turkey that you need, then we’ll get into the cooking technique (it involves basting and crisping the skin with butter!) that gets you perfectly cooked, juicy meat – even the breast meat is juicy!
Cooking a juicy, flavorful turkey breast is the highlight of many holiday meals. But one debate persists – should you cook a turkey breast covered or uncovered? Both methods have pros and cons. This article will examine the evidence and provide tips for ensuring moist, tender turkey breast regardless of your preferred technique.
Why Consider Cooking Turkey Breast Covered
Cooking the turkey breast covered has several potential benefits
-
Retains Moisture – Covering traps steam and moisture released by the meat inside, keeping it tender and juicy. This helps prevent the lean breast meat from drying out.
-
Promotes Even Cooking – The trapped steam distributes heat evenly around the turkey breast, reducing hot and cold spots.
-
Prevents Over-Browning – Direct oven heat can over-brown or even burn the skin before the interior cooks through. A cover protects the skin.
-
Cooks Faster – The moist enclosed environment transfers heat efficiently reducing total cooking time.
Many recipes suggest cooking the turkey breast covered for most of the cooking time, then removing the cover for the last 30-60 minutes. This crisps the skin at the end.
You can cover the turkey breast in various ways:
- Roasting pan with tight-fitting lid
- Tented tightly with aluminum foil
- Wrapped in a cheesecloth soaked in herb butter (a classic technique)
- Placed in a paper bag or cooking sleeve
Take care not to wrap too tightly, as this can cause steaming and soggy skin. Leave a little venting room.
Why Consider Cooking Turkey Uncovered
Although covering has advantages, uncovered roasting has its perks too:
-
Crispier Skin – Direct exposure to dry oven heat dehydrates the skin, resulting in a crispy, crunchy texture.
-
Better Browning – The high heat also produces appealing golden-brown coloration on the skin.
-
Faster Cooking – Uncovered, the turkey cooks more rapidly as heat circulates freely rather than steaming.
-
Easier Basting – It’s simpler to baste and add flavor without struggling to get under a cover.
-
Prevents Sogginess – No cover means no chance of trapped moisture ruining the crispy skin.
Getting the Best of Both Worlds
You don’t have to choose strictly covered or uncovered. Many experts recommend starting covered, then finishing uncovered.
For example, you could:
- Roast covered for the first 2/3 of the cooking time.
- Uncover and baste for the last 1/3 to crisp the skin.
- Tent just the breast with foil if over-browning, leaving the legs/thighs uncovered.
This gives you the juicy interior of covered cooking and the crispy skin of uncovered roasting.
Keeping Turkey Breast Moist When Cooking Uncovered
If going fully uncovered, techniques like these help retain moisture:
-
Brining – Soaking in a saltwater brine seasons the meat and helps it hold moisture.
-
Basting – Frequently basting the breast with butter, broth or drippings prevents drying.
-
Aromatics Under Skin – Rubbing garlic-herb butter or citrus slices under the skin adds flavor and moisture.
-
Low Temp – Cook uncovered at a lower oven temp (300-325°F) to prevent drying. Add cooking time.
-
Resting – Letting the breast rest after cooking allows juices to absorb back into the meat.
How to Tell When Turkey Breast is Done
Regardless of covered or uncovered cooking, use a meat thermometer to determine doneness. Turkey breast is safe to eat and fully cooked when it reaches:
- 165°F minimum internal temperature
- Clear, not pink, juices when pierced
Let the breast rest at least 15 minutes before slicing to allow juices to settle for moist, tender meat.
To Cover or Not to Cover?
Here are some key points to remember:
- Covering traps steam to keep turkey breast juicy and cook evenly
- Uncovered promotes crispy browned skin through dry oven exposure
- Go halfway – start covered, finish uncovered for best of both worlds
- Baste and use brine/aromatics when cooking uncovered to retain moisture
- Cook to 165°F minimum internal temperature
- Let rest before slicing to allow juices to absorb back into the meat
So go forth and cook turkey with confidence, knowing exactly how to keep that lean breast meat tender and flavorsome. May your holidays be filled with incredible turkey, surrounded by loved ones. Happy roasting!
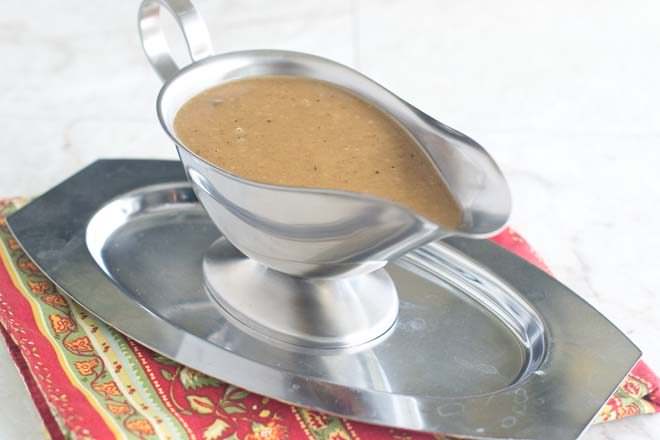
STEP #5: Make Gravy
You’re going to want to transfer the turkey out of the pan and to another container so that you can access the drippings that are in the roasting pan. These are liquid gold when it comes to making turkey gravy. I’m not going to get into all the how-to’s of making gravy here, but just a few things.
First, no matter what, you need to separate the fat off of the drippings. I like to use a gravy separator for that. Or you can just let them rise to the top and then spoon them off.
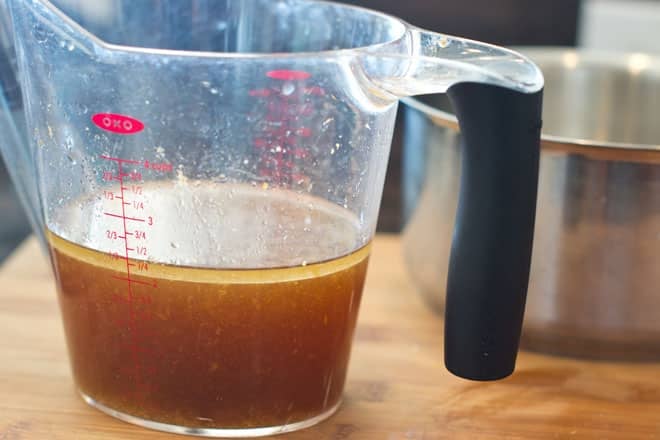
Next, if you brined your turkey (wet or dry) your drippings might be salty. When I brine poultry, I typically do this technique of making gravy without drippings (which can actually be done ahead of time!), but I don’t add any salt. Then, once my turkey is done, I taste the drippings and use their saltiness as seasoning.
If you haven’t done the make-ahead gravy without drippings though, don’t worry. This gravy tutorial really explains how to test your drippings and how to make use of them even if they’re too salty, so you can do that instead.
I’m also going to link to my cornstarch gravy here for you. If you have any people coming to your dinner who eat gluten-free, make this for everyone (but use your de-fatted turkey drippings in place of the broth). Another interesting thing to do is to make vegan gravy. If you have any vegetarians coming who are planning to make a meal out of sides, you can offer them this to put on their potatoes and stuffing. You can even make up the vegan gravy, divide it in half, and then add your turkey drippings to only one half of it.
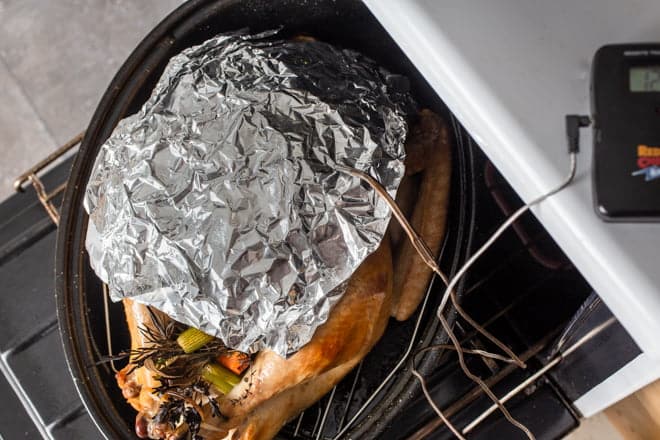
STEP #4: Roast The Turkey
Preheat the oven to 350F. Once it’s ready, put the turkey into a roasting pan and then into the oven. If you have an oven-safe rack that fits into your roasting pan, it’s a good idea to use that since the heat will then circulate more evenly. If you don’t have one, you can use a few uncooked full-sized carrots or celery ribs under the turkey. You won’t be eating them, they’ll just be there to prop the bird up a bit. They will add extra flavor to your gravy though!
If you have an oven-safe probe thermometer, you can use that. Insert it into the breast or the thickest part of the thigh, not touching bone. I don’t use one of these so I’m not really an expert on it. I just use an instant-read thermometer that I poke around with when I think the turkey is nearly ready.
Do you cook a turkey covered or uncovered?
FAQ
Is it better to cook a turkey breast covered or uncovered?
Should a turkey breast be roasted covered or uncovered? You should roast the turkey breast uncovered to get a good, crispy skin with a deep golden-brown color. If it starts to get too dark, just make a tent out of foil and lightly rest it on the turkey to keep it from burning on the outside.
Do you put water in the bottom of the roasting pan for turkey breast?
- No need for added liquid: The turkey breast will naturally release enough juices during cooking.
- Use a roasting rack: Always use a roasting rack to elevate the turkey breast above the pan bottom, allowing for better browning.
- Potential downsides of adding water: Adding water can create a steamy environment, leading to a less crispy skin and potentially less flavorful drippings for gravy.
How do you keep turkey breasts from drying out?
- Let the turkey breast marinate for a day (or even two). …
- Low and slow cooking method. …
- Add liquid to the roasting pan, so that there’s a constant supply of moisture as the roast turkey breast cooks. …
- Use a cooking thermometer.
Is it better to cook a turkey breast at 325 or 350?
-
Moist results:A lower temperature allows for slower cooking, which helps retain moisture in the turkey breast.
-
Even cooking:The lower heat ensures the turkey cooks evenly throughout, preventing overcooked parts.
-
Good for large breasts:If you are cooking a large turkey breast, 325°F is especially recommended to prevent the outside from burning before the inside is fully cooked.