Preserving turkey wings is a rewarding way to create memorable hunting trophies, decorative wall hangings, or decorative art pieces. With proper preparation and drying techniques, preserved turkey wings can last for many years. Follow this comprehensive guide to learn how to preserve a turkey wing through every step of the process.
Why Preserve Turkey Wings?
There are several great reasons to preserve your own turkey wings
-
Create hunting trophies to display your successful hunts and memorable experiences out in the field.
-
Make decorative wall hangings and art pieces for your home cabin or office.
-
Save precious memories by preserving wings from turkeys taken on meaningful hunts
-
Give personalized preserved turkey wing gifts to hunting buddies or as thank you gifts for land access.
-
Practice and perfect taxidermy skills on turkey wings before tackling larger preservation projects.
Supplies Needed
Before getting started, gather the following supplies:
-
Sharp hunting or skinning knife
-
Scissors or shears
-
Wire brush, wheel or scraper (optional)
-
Borax or salt
-
Cotton string or thread
-
Sewing needle
-
Large bowl or bucket
-
Liquid preserving solution (optional)
-
Drying rack, wires or peg board
Step-by-Step Guide to Preserving a Turkey Wing
Follow these detailed steps for perfectly preserved turkey wings:
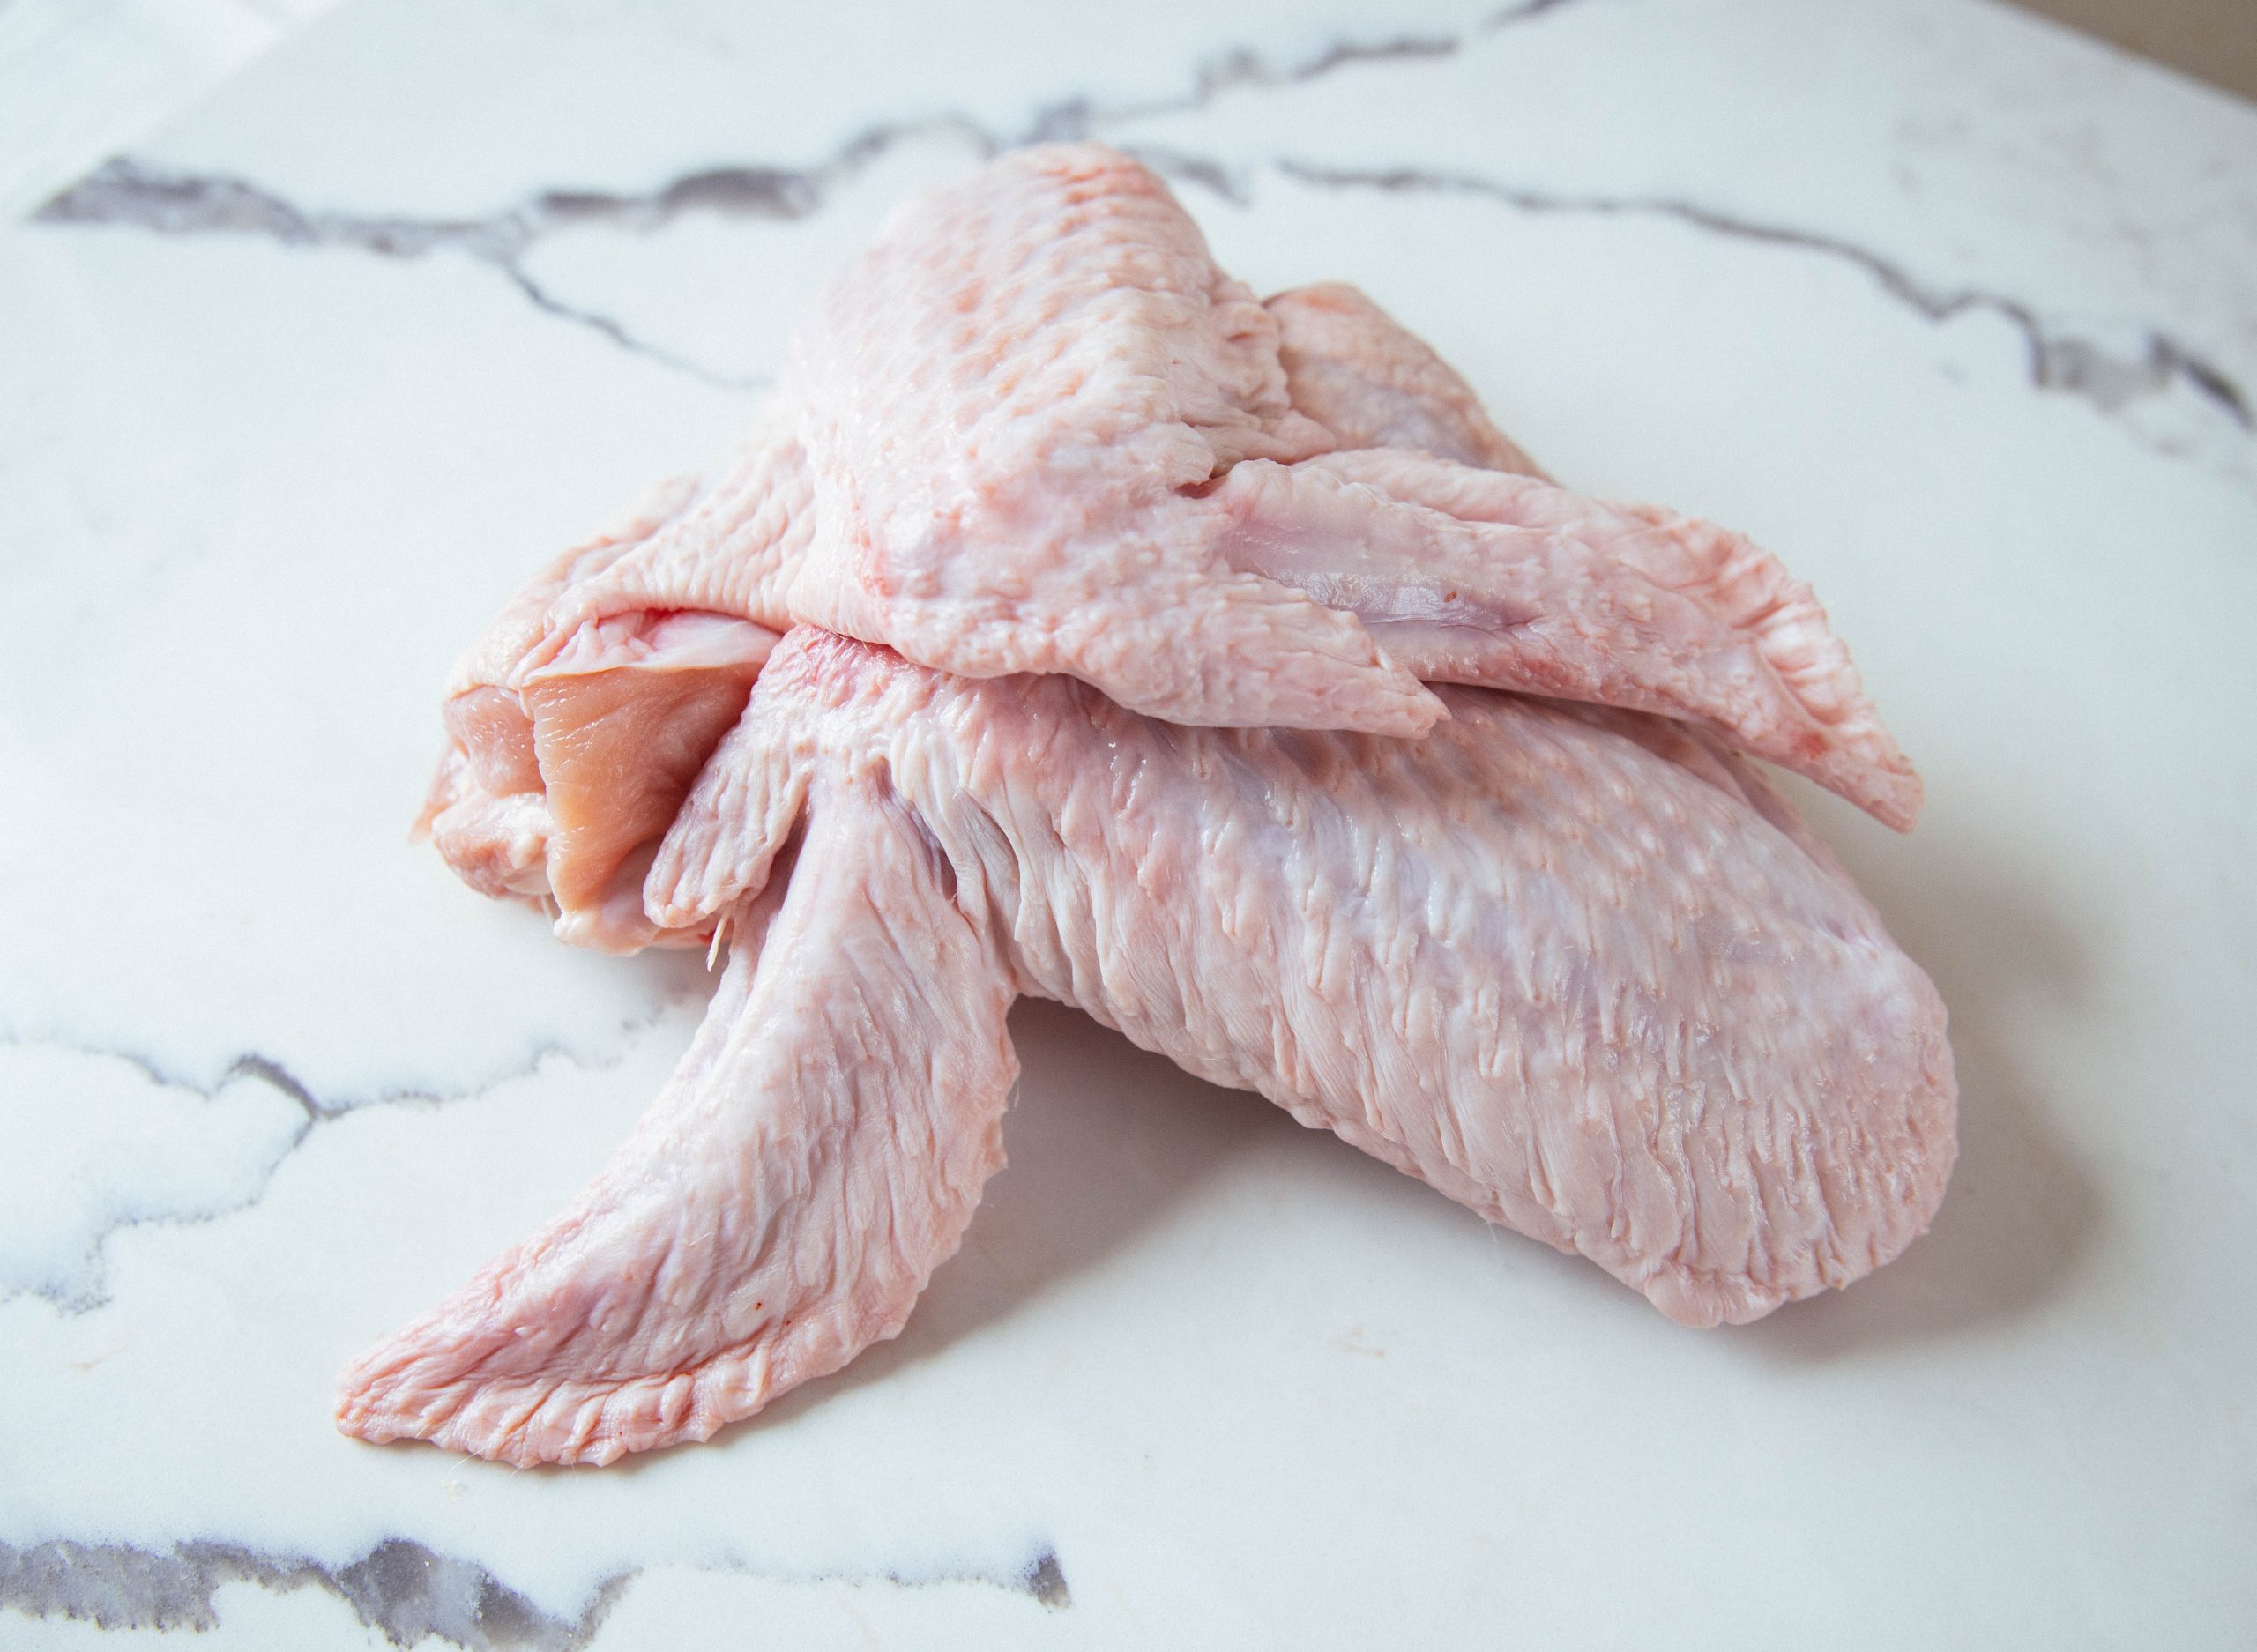
1. Harvest and Prepare the Wing
Start by cleanly harvesting your turkey and removing the wings. Cut through the skin, meat and ligaments at the wing joints to fully detach the wings from the body.
Carefully lay the harvested wings on a clean work surface and inspect for any damage. Look for broken feather shafts or bloody, unappealing areas that may need trimming. Use sharp shears to neatly trim any imperfect sections.
2. Remove All Meat, Fat and Glands
Turn the wings over to expose the underside. Using a sharp knife, make an incision along the full length of the wing bones. Open up the skin to expose the interior.
Thoroughly scrape or peel away all fat, membrane tissue, tendons and oil glands from both wings. Be meticulous – any remaining tissue or oil will rot and cause foul odors.
Use a wire brush, wheel or scraper to help remove stubborn fat deposits from the wing skin. Take care not to tear the delicate skin.
Once fully cleaned, wash wings with mild soap and water, rinsing away all blood and residue. Pat dry with clean paper towels.
3. Apply Borax and Preservative Chemicals
There are two options for preserving turkey wings:
Dry preserving uses borax to absorb all moisture from the skin and bones. Thoroughly coat the interior of the wings with borax powder.
Wet preserving uses chemical solutions like formaldehyde injected into the wing bones. Use a syringe to fully saturate the wing bone ends.
Many experts recommend using both borax and liquid preservatives together for the very best results.
4. Shape and Position the Wings
Once preservatives are applied, shape and position the wings. Carefully spread the wings open into your desired display position.
Place heavy books or weights onto the feathers to hold the wings in position as they dry and stiffen. Tie joints together with string to help maintain the desired wing shapes.
5. Allow Wings to Dry and Cure
Hang or lay the positioned wings out on a drying rack or board. Provide plenty of airflow in a clean, insect-free space away from direct sun.
Allow at least 4-6 months for the turkey wings to completely dry and cure. Check periodically for any beetles or bugs that may need removal. The skin will stiffen and feathers will set firmly when fully dried.
6. Final Mounting and Display
Once dried, the preserved wings are ready for mounting. Carefully trim any excess string and sand rough edges. Apply acrylic sealer and touch up any loose feathers with glue.
Arrange the finished wings on a plaque, mount to a trophy shield, or hang on the wall. Add labeled nameplates for personalized hunting trophies.
Follow these steps properly, and your preserved turkey wings will last for generations as cherished keepsakes of your memorable hunts.
Tips for Successful Turkey Wing Preservation
-
Work in a very clean area to prevent maggots and bugs on the wings.
-
Remove every single bit of fat, membrane and oil glands to prevent rotting.
-
Use wing weights to hold feathers in position as they dry and stiffen.
-
Allow 4-6 months minimum for thorough drying before final mounting.
-
Apply liquid preservative and borax together for enhanced preservation.
-
Check periodically for beetle infestations and remove any found.
-
Repair loose feathers with glue and touch up with acrylic sealer.
With the right techniques and care, you can create turkey wing trophies and art pieces to cherish for years to come.
Frequently Asked Questions
What is the best way to preserve a turkey wing?
The best preservation method is to thoroughly remove all fat and meat, apply borax powder and liquid preservatives, position the wing with weights, and allow 4-6 months to fully dry and cure before final mounting.
How long does it take to preserve a turkey wing?
It takes a minimum of 4-6 months for a turkey wing to fully dry and cure when preserving it for display. Be sure to check periodically for any pest infestations during the drying period.
What supplies do I need to preserve a turkey wing?
The supplies needed include a sharp knife, wire brush, borax, liquid preservative, thread, needle, drying rack, wing weights, glue, acrylic sealer, and mounting materials.
Can I preserve just part of a turkey wing?
It is best to preserve the entire turkey wing intact for the most attractive display. Attempting to preserve only a portion of the wing is very difficult.
What is the best way to mount a preserved turkey wing?
The most common mounting methods are attaching the preserved wing to a wooden plaque or shield, or hanging it directly on the wall using specialized plaque hangers.
How do I prevent bugs while drying turkey wings?
Work in a very clean, enclosed space free of insects. Check wings periodically and remove any beetles or larvae found on the feathers or skin. Apply pest deterrent chemicals if needed.
What causes odor problems when preserving turkey wings?
Odors are caused by failing to remove all fat, membrane and oil glands from the wing interior before drying. Any leftover tissue will rot and stink.
With some practice, patience, and the right techniques, you can learn how to flawlessly preserve your own memorable turkey wings for lasting displays.
How to preserve and add real wings to your decoy.
Decoy realism counts in turkey hunting, but I’m not yet ready to spend several hundred dollars on an ultra-realistic model. Instead, I make use of the spoils of a previous hunt. On a decoy that has a good-looking head and a spot to attach it, I add a fan. And when I want to go all out, I use the wings, too.
Adding real wings isn’t revolutionary, but most decoys I’ve seen don’t allow the full wing to be attached, and when it’s cut at the lower joint, you’re selling your decoy short.
Using this process, your decoy will be almost indistinguishable from the real thing, and moreover, it will appear to be in strut.