Have you ever been to a fair or theme park and couldn’t resist getting one of those delicious juicy turkey legs? You know, the kind that look like something Fred Flintstone would eat. With the crispy skin and tender, flavorful meat they’re pretty hard to pass up.
Well, I’m excited to tell you that you can easily recreate those succulent fair-style turkey legs in your own oven at home! In this post, I’ll walk you through my simple step-by-step method for making oven-baked turkey legs that look and taste just like the ones from the fair.
Why Make Your Own Fair-Style Turkey Legs?
There are a few reasons why making turkey legs at home is better than only eating them when you go to a fair or festival:
-
It’s cheaper. Fair food is notoriously overpriced. You’ll save a lot of money making them yourself.
-
It’s healthier You control exactly what goes into your turkey legs when you make them yourself No mystery ingredients.
-
You can eat them anytime You don’t have to wait for fair season to roll around Enjoy juicy turkey legs in the comfort of your own home.
-
Impress your family/friends. Serve these up at a backyard cookout or dinner party and prepare to be the new MVP.
Tips for Choosing Your Turkey Legs
You’ll want to start with high-quality turkey legs to end up with the best finished product. Here’s what to look for when selecting your turkey legs:
-
Get drumsticks, not wings. The meatier drumsticks work much better. Wings tend to dry out.
-
Big legs are better. Opt for large turkey legs that weigh around 1 pound each. More meat = more juicy goodness.
-
Choose legs, not whole thighs. The thigh bone makes them harder to eat. Legs are easier.
-
Get fresh, never frozen. Fresh legs have more moisture for better flavor and texture.
-
Pick legs without blemishes. Avoid legs with bruises or discoloration for best appearance.
Step-By-Step Instructions for Oven-Baked Fair-Style Turkey Legs
Once you’ve got some nice plump turkey legs ready to go, it’s time to transform them into amazingly delicious oven-baked turkey legs. Just follow these simple steps:
1. Pat the Turkey Legs Dry
-
Take the turkey legs out of the packaging.
-
Pat them completely dry with paper towels. Getting them nice and dry will help the flavors and spices stick better in the next steps.
2. Season the Turkey Legs
-
For maximum flavor, you’ll want to generously season the legs all over. Here’s a tasty spice rub blend that will give you that signature fair-style turkey leg flavor:
-
1 tablespoon paprika
-
2 teaspoons garlic powder
-
1 teaspoon onion powder
-
1 teaspoon dried oregano
-
1 teaspoon salt
-
1 teaspoon black pepper
-
-
You can tweak the measurements of the spices to suit your tastes.
-
Massage the spice rub all over each turkey leg so they are completely coated. Rub it in so it adheres nicely.
3. Poke Holes for Better Flavor
-
Use a fork or skewer to poke holes all over the turkey legs.
-
Make sure you poke deep enough to penetrate the meat.
-
This will allow the flavors and juices to penetrate into the meat rather than just sitting on the surface.
4. Brush on Oil or Butter
-
For an extra crispy skin, brush the legs all over with a thin layer of olive oil or melted butter.
-
You could also use a spray oil like Pam. This helps conduct heat and browns the skin.
5. Bake Uncovered at High Heat
-
Place the seasoned legs on a wire rack set on a foil lined baking sheet.
-
Make sure there is space between each leg so air can circulate for even browning.
-
Bake at 425°F for 30 minutes.
6. Flip and Bake Until Crispy
-
Remove pan from the oven and carefully flip each leg.
-
Return to oven and bake for another 25-30 minutes until deeply browned and crispy.
-
An instant read thermometer inserted into the thickest part should read 165°F when done.
-
The total cooking time will be around 60 minutes.
7. Let Rest Before Eating
-
When the turkey legs come out of the oven, let them rest for 10 minutes before digging in.
-
This allows the juices to redistribute throughout the meat for better flavor and texture.
-
Dig right in and enjoy your perfectly crispy, juicy, fair-style turkey legs!
Make-Ahead and Leftover Tips
If you want to get a head start or have leftovers, here are some useful tips:
-
Season/poke the turkey legs up to 2 days in advance and store covered in the fridge until ready to cook.
-
Cooked turkey legs keep well in the fridge for 3-4 days. Reheat gently in a low oven.
-
Slice leftover meat off the bone and use for sandwiches, salads, casseroles, soups.
Alternative Cooking Methods
While the oven method above is quick and easy, here are some other ways you could cook your seasoned turkey legs:
-
Grill over indirect heat, turning occasionally until done.
-
Smoke low and slow at 225-250°F for extra flavor.
-
Cook in an air fryer at 400°F for about 40 minutes, flipping halfway.
-
Finish on the grill after baking in the oven for extra char.
Serving Suggestions
Fair-style turkey legs aren’t complete without the appropriate sides! Here are some fun ways to serve them:
-
With classic fair food like corn on the cob, french fries or tater tots, coleslaw, baked beans, cornbread, etc. Go all out!
-
On a platter with crunchy pickles, bbq sauce, and blue cheese or ranch dressing for dipping.
-
With lighter sides like a fresh green salad, fruit salad, roasted veggies.
-
On cheesy turkey leg sandwiches with lettuce, tomato, avocado.
-
Diced up in soups, salads or casseroles to stretch the meat.
-
With eggs for a hearty turkey leg breakfast.

Introduction: Smoked Turkey Legs, County Fair Style
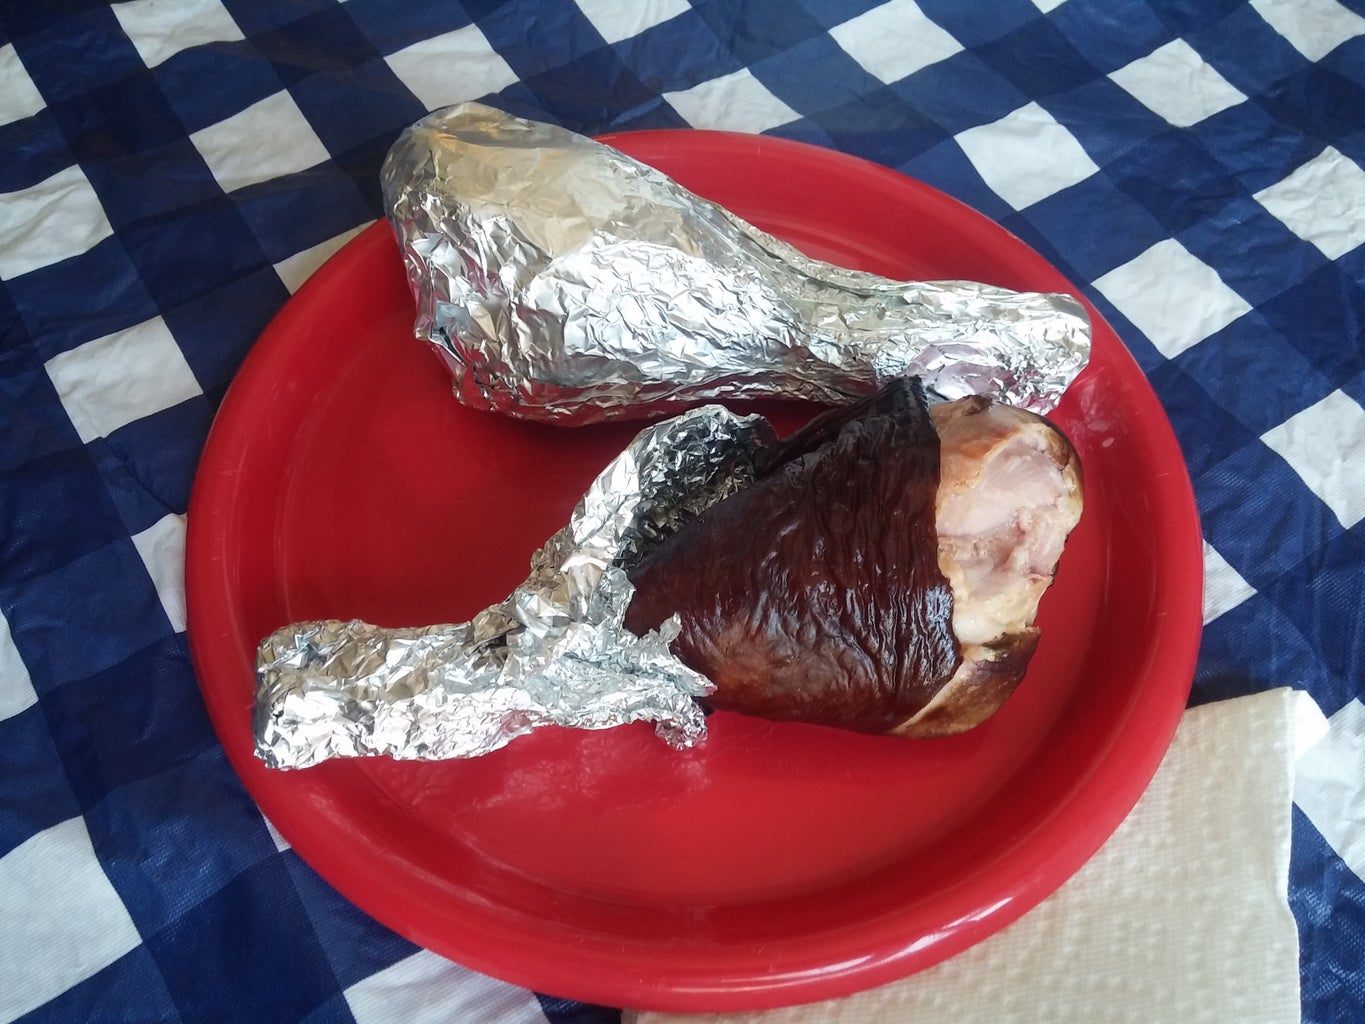
I want to start by saying I love smoked turkey legs. With a turkey leg in your hand, you can take in the sights at a county fair or amusement park. well, lets just say this is bringing back some memories for me.
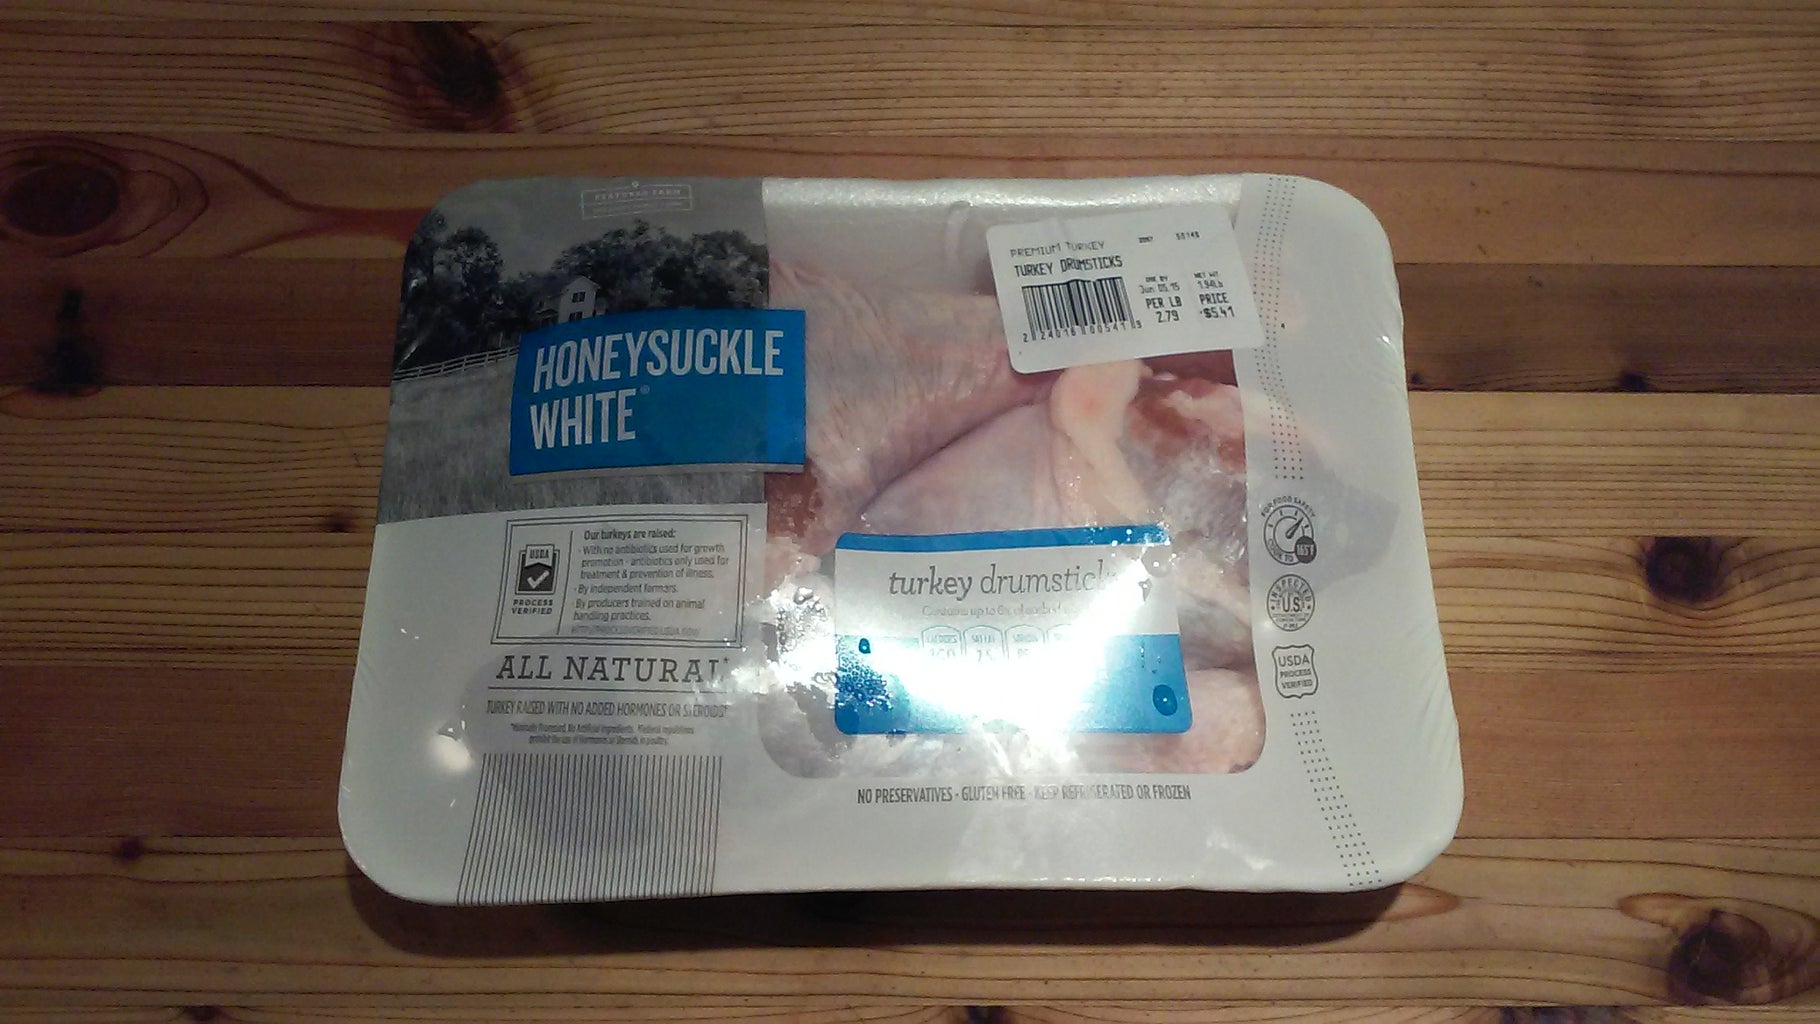
Turkey legs, of course. Most of the legs used by amusement park vendors are the huge ones from male tom turkeys. Of course, legs from turkey hens are just as tasty, albeit smaller.
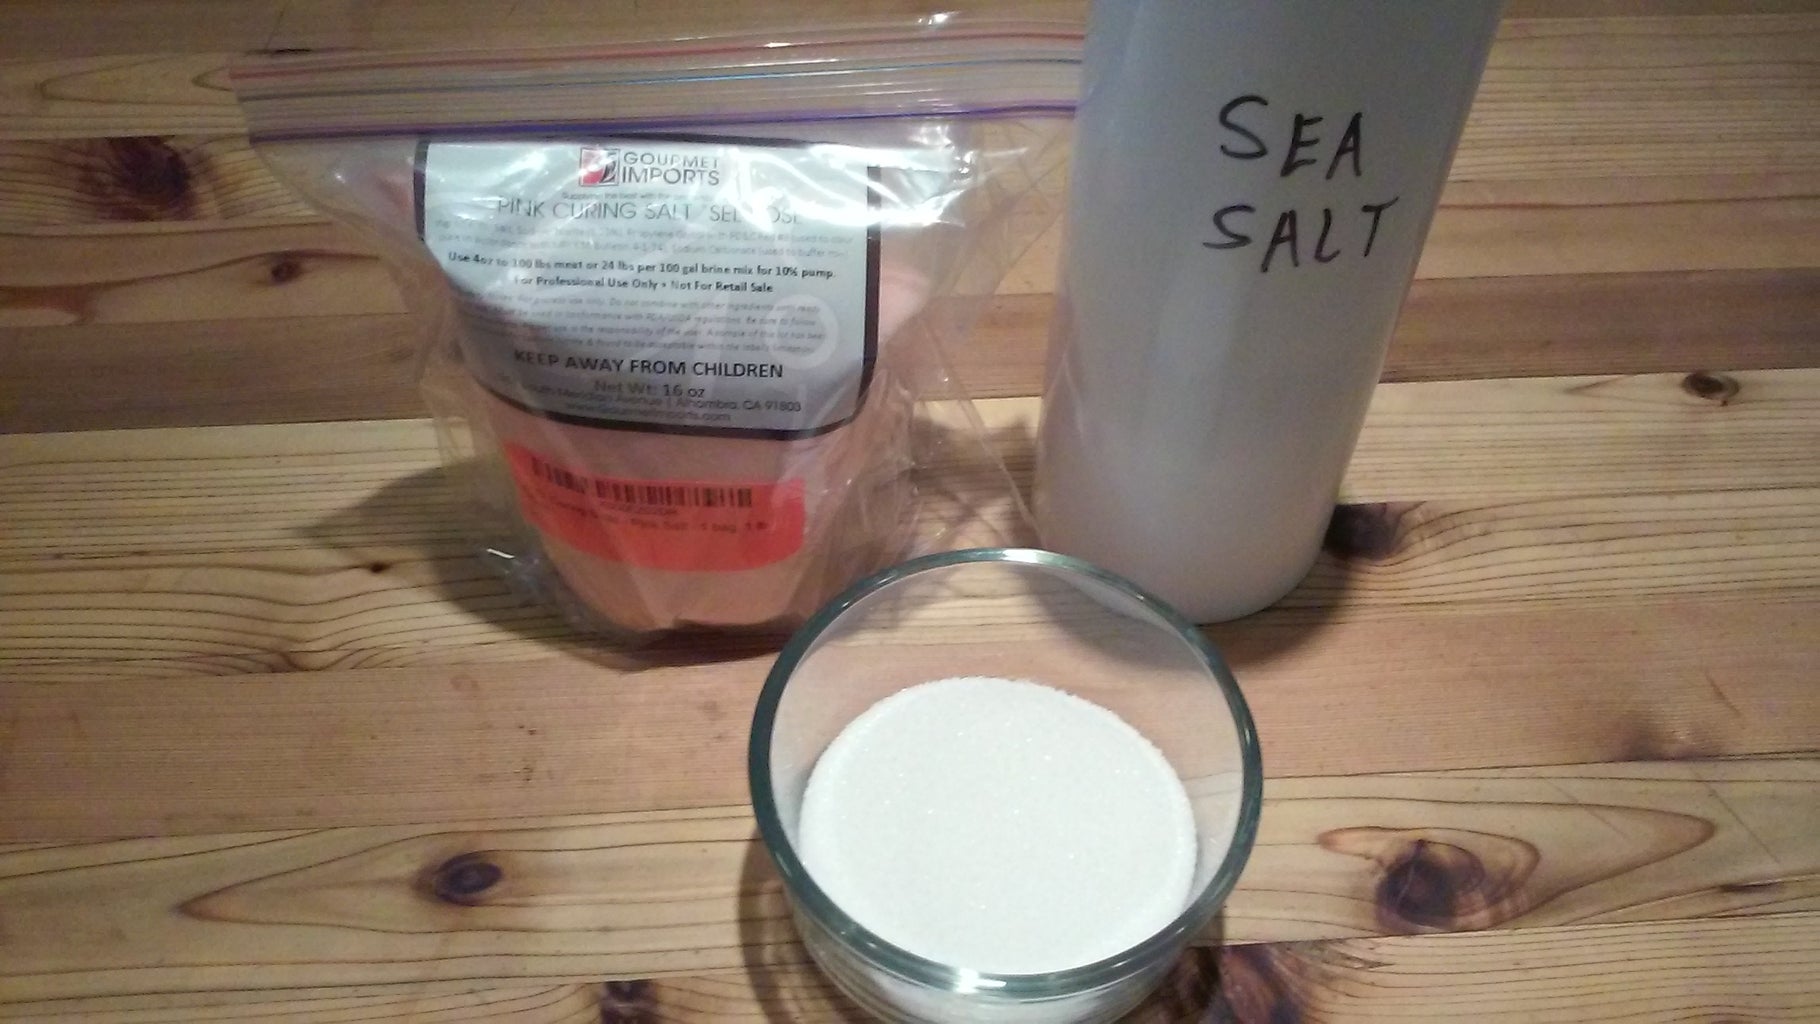
1/2 cup sea salt
1/2 cup white sugar
1 tsp. pink salt (curing)
-A word on pink salt, curing salts-
Curing salts should never be used to season food in the cooking process or at the table. Curing salts were first made hundreds of years ago, before refrigeration, as a way to keep meats like bacon, hams, and corned beef fresh. They all contain salt and nitrite, and some contain both nitrite and nitrate. Both these preservatives are very effective against the botulism bug. Some curing salts have a little red dye added to them, which makes them look different from table salt. The small quantities used in curing meats is harmless, but in large quantities can be lethal. Pink salts are not the same as pink Himalayan rock salt. Pink Himalayan rock salt is just salt with some tiny pink particles mixed in.
Step 2: Brining the Legs
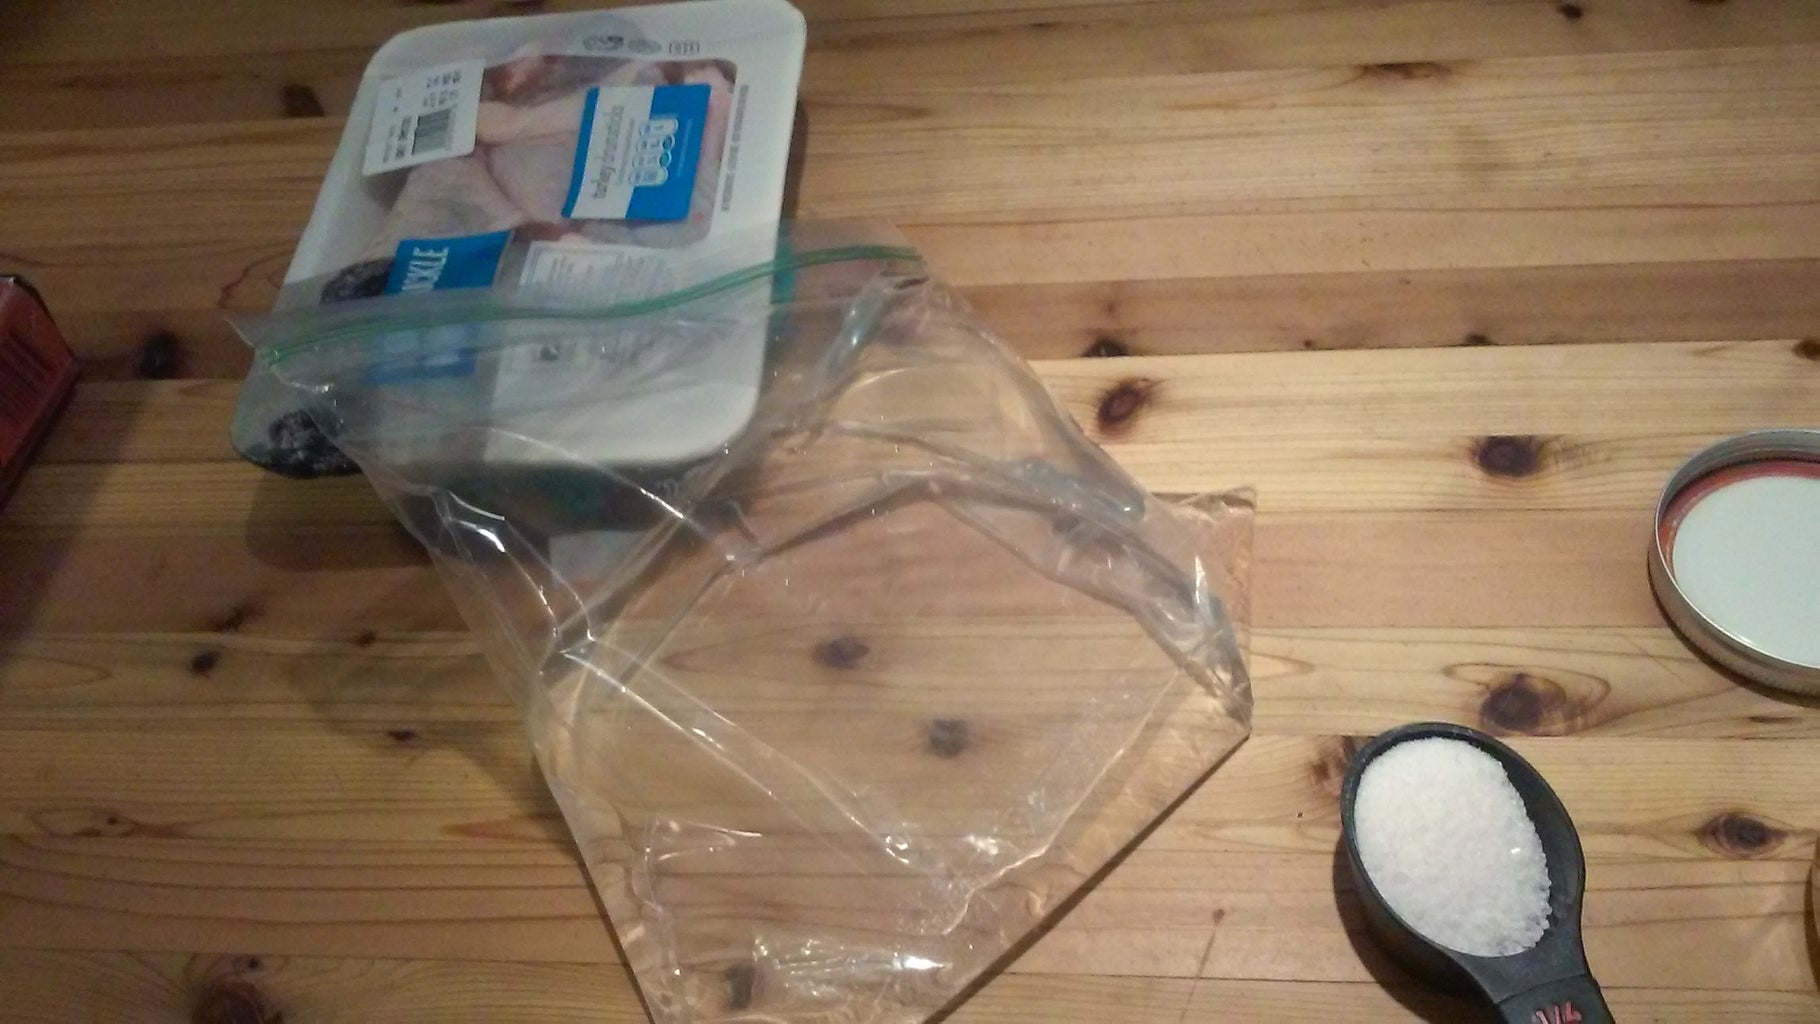

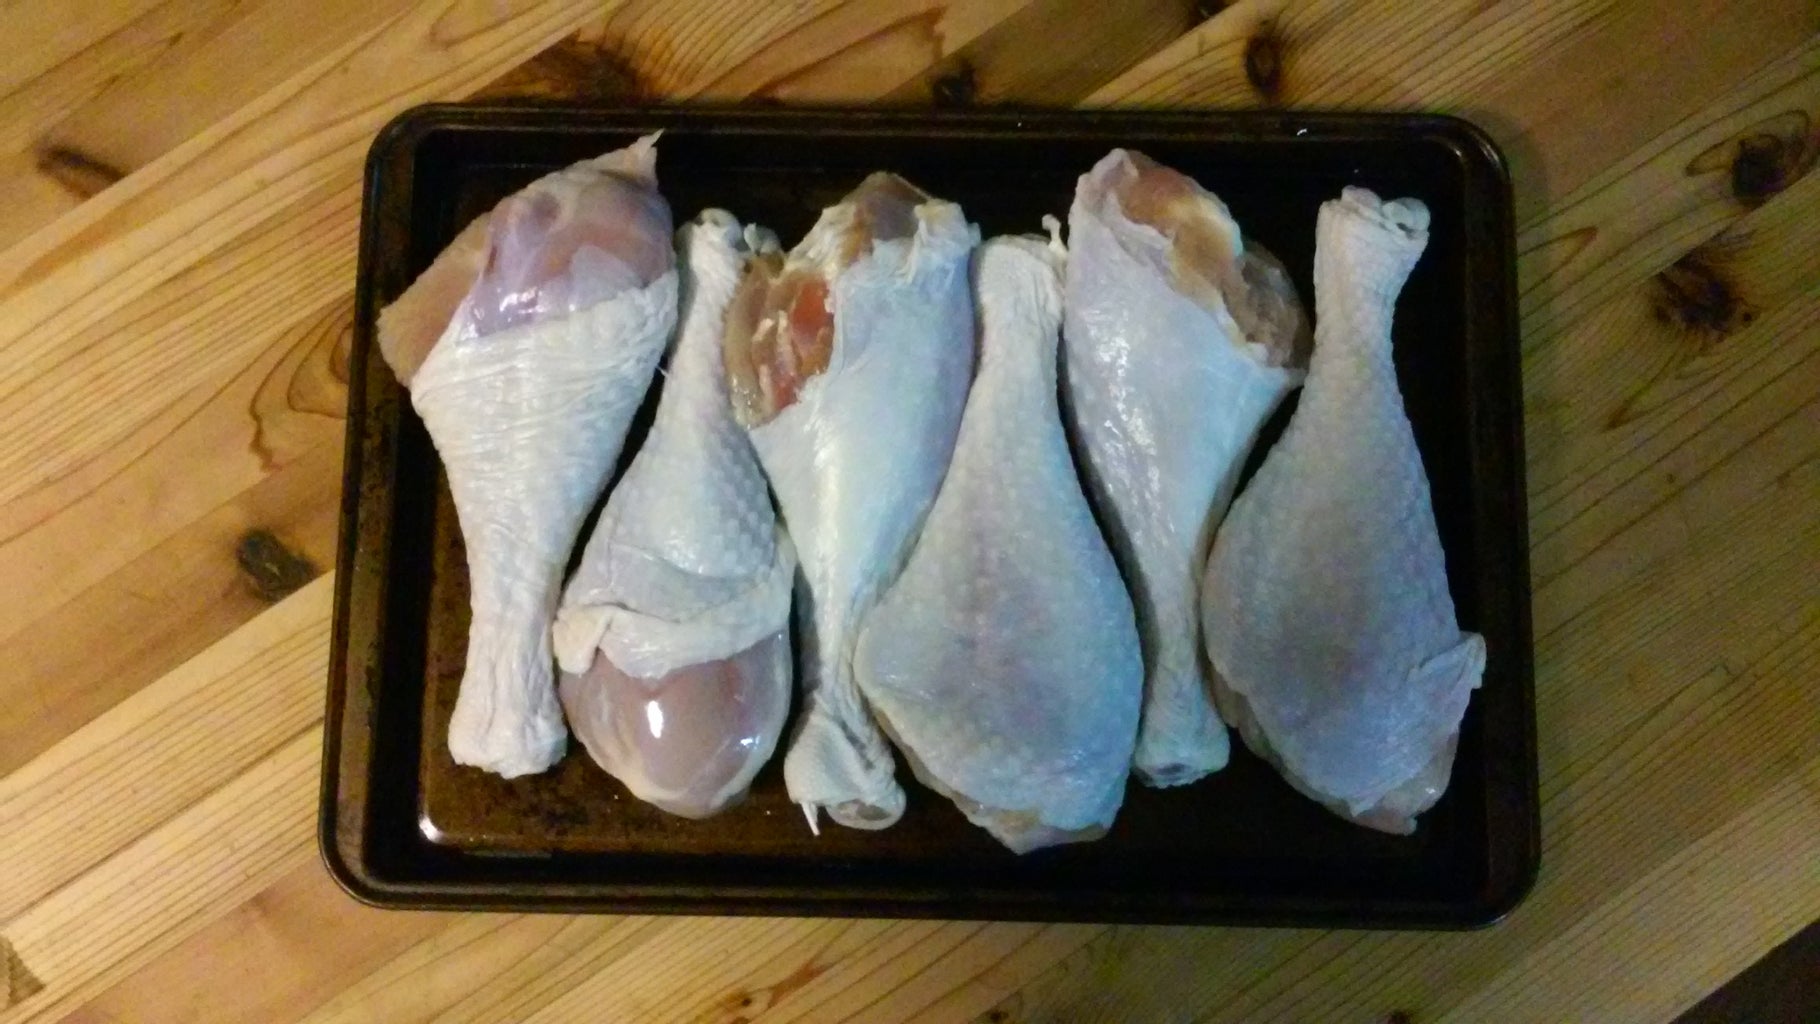
The secret to recreating that perfect smoked treat is brining your turkey legs. Because turkey is so low in fat. The turkey legs will be soft and juicy when you’re done cooking them, and you’ll be proud to serve them to your guests.
Mix the sugar, salt, and pink salt into the water, then put it all in a gallon zipper bag.
Add the meat and refrigerate in the cure for about 12-24 hours. Any longer and it can get too salty. After that, you can take them out of the cure and put them in the fridge for one or two days before cooking.
-I allowed mine to stay in the solution for about 16 hours.-
Festival-Style Smoked Turkey Legs
FAQ
How do they make turkey legs at the fair?
What meat is a fair turkey leg?
Should I wrap my turkey legs in foil?
Do I have to brine turkey legs?
How do you make turkey legs taste like a fair?
There are a few things you can do to make turkey legs taste like they’re from the fair. 1. Use a brine. Brining is a great way to add flavor and moisture to turkey legs. To brine your turkey legs, mix 1 gallon of water with 1 cup of salt, 1/2 cup of brown sugar, and 1 tablespoon of each garlic powder, onion powder, and black pepper.
Are turkey legs good?
Turkey legs, of course. Most of the legs used by amusement park vendors are the huge ones from male tom turkeys. Of course, legs from turkey hens are just as tasty, albeit smaller. Brine ingredients. Curing salts should never be used to season food in the cooking process or at the table.
How do you brine turkey legs?
Mix all the brine ingredients in a large container with a lid and add turkey legs. Let sit in brine for 12-24 hours, stirring occasionally. Prepare charcoal grill for indirect cooking at about 325F. Meanwhile, remove turkey legs from brine, rinse and pat dry. Mix rub ingredients together in a small bowl (except the olive oil).
Are roasted turkey legs a State Fair?
These big, meaty roasted turkey leg are reminiscent of the ones you’d munch on at your local state fair! While a few state fairs are happening right now, the one in my state (as is the case with many others) has drawn to a close. But do not mourn, my friends: I’ll still be posting some yummy state fair-inspired recipes.
How do you spice up turkey legs?
For example, a simple salt and pepper rub is a great way to highlight the natural flavor of the turkey legs. For a more complex flavor, you can try a rub that includes garlic powder, onion powder, paprika, and cayenne pepper. When choosing spices, it’s important to consider the overall flavor profile you’re trying to achieve.
How do you know if turkey legs are done cooking?
To check if your turkey legs are done, insert a meat thermometer into the thickest part of the meat. The meat should be white and opaque throughout, and the juices should run clear. If your turkey legs are not done cooking, continue to cook them at 350 degrees Fahrenheit for another 15-20 minutes.
