All products are independently selected by our editors. If you buy something, we may earn an affiliate commission.
To some, turkey is a succulent holiday centerpiece—to others, merely a vehicle for gravy. Whichever camp you fall into, knowing how to cook and prepare a turkey so it emerges from the oven golden on the outside and juicy within is the key to keeping everyone happy.
Whether you’re a Thanksgiving pro ready to try something new (Will it be a spatchcocked turkey this year? A grilled bird? How about confit? ) or a holiday-hosting newbie preparing a whole turkey (or even a turkey breast) for the first time, allow this to be your guiding principle: You don’t need a complicated Thanksgiving turkey recipe; just stick to the basics and let the side dishes make it a show. Ahead you’ll find everything you need to know, including step-by-step instructions for cooking and preparing the best turkey for your holiday table.1. Thaw your turkey.
The ideal place to thaw a frozen turkey is in the fridge. Depending on the size of your bird, this can take up to a week.
If you’re short on time, there are faster ways to thaw a turkey, but thawing it in the refrigerator is your best bet when it comes to safe kitchen practices.
4–12 lb.: 1 to 3 days 12–16 lb.: 3 to 4 days 16–20 lb.: 4 to 5 days 20–24 lb.: 5 to 6 days
Want to brine your turkey? Now’s the time. If you go with a wet brine, you can submerge a frozen turkey right away; for a dry brine, wait a day or two until you can remove the giblets from the turkey cavity and the skin is more pliable, which will allow it to better hold on to the rub. (A fresh turkey should also get some dry brine action at least one to two days before cooking.)2. Temper your turkey.
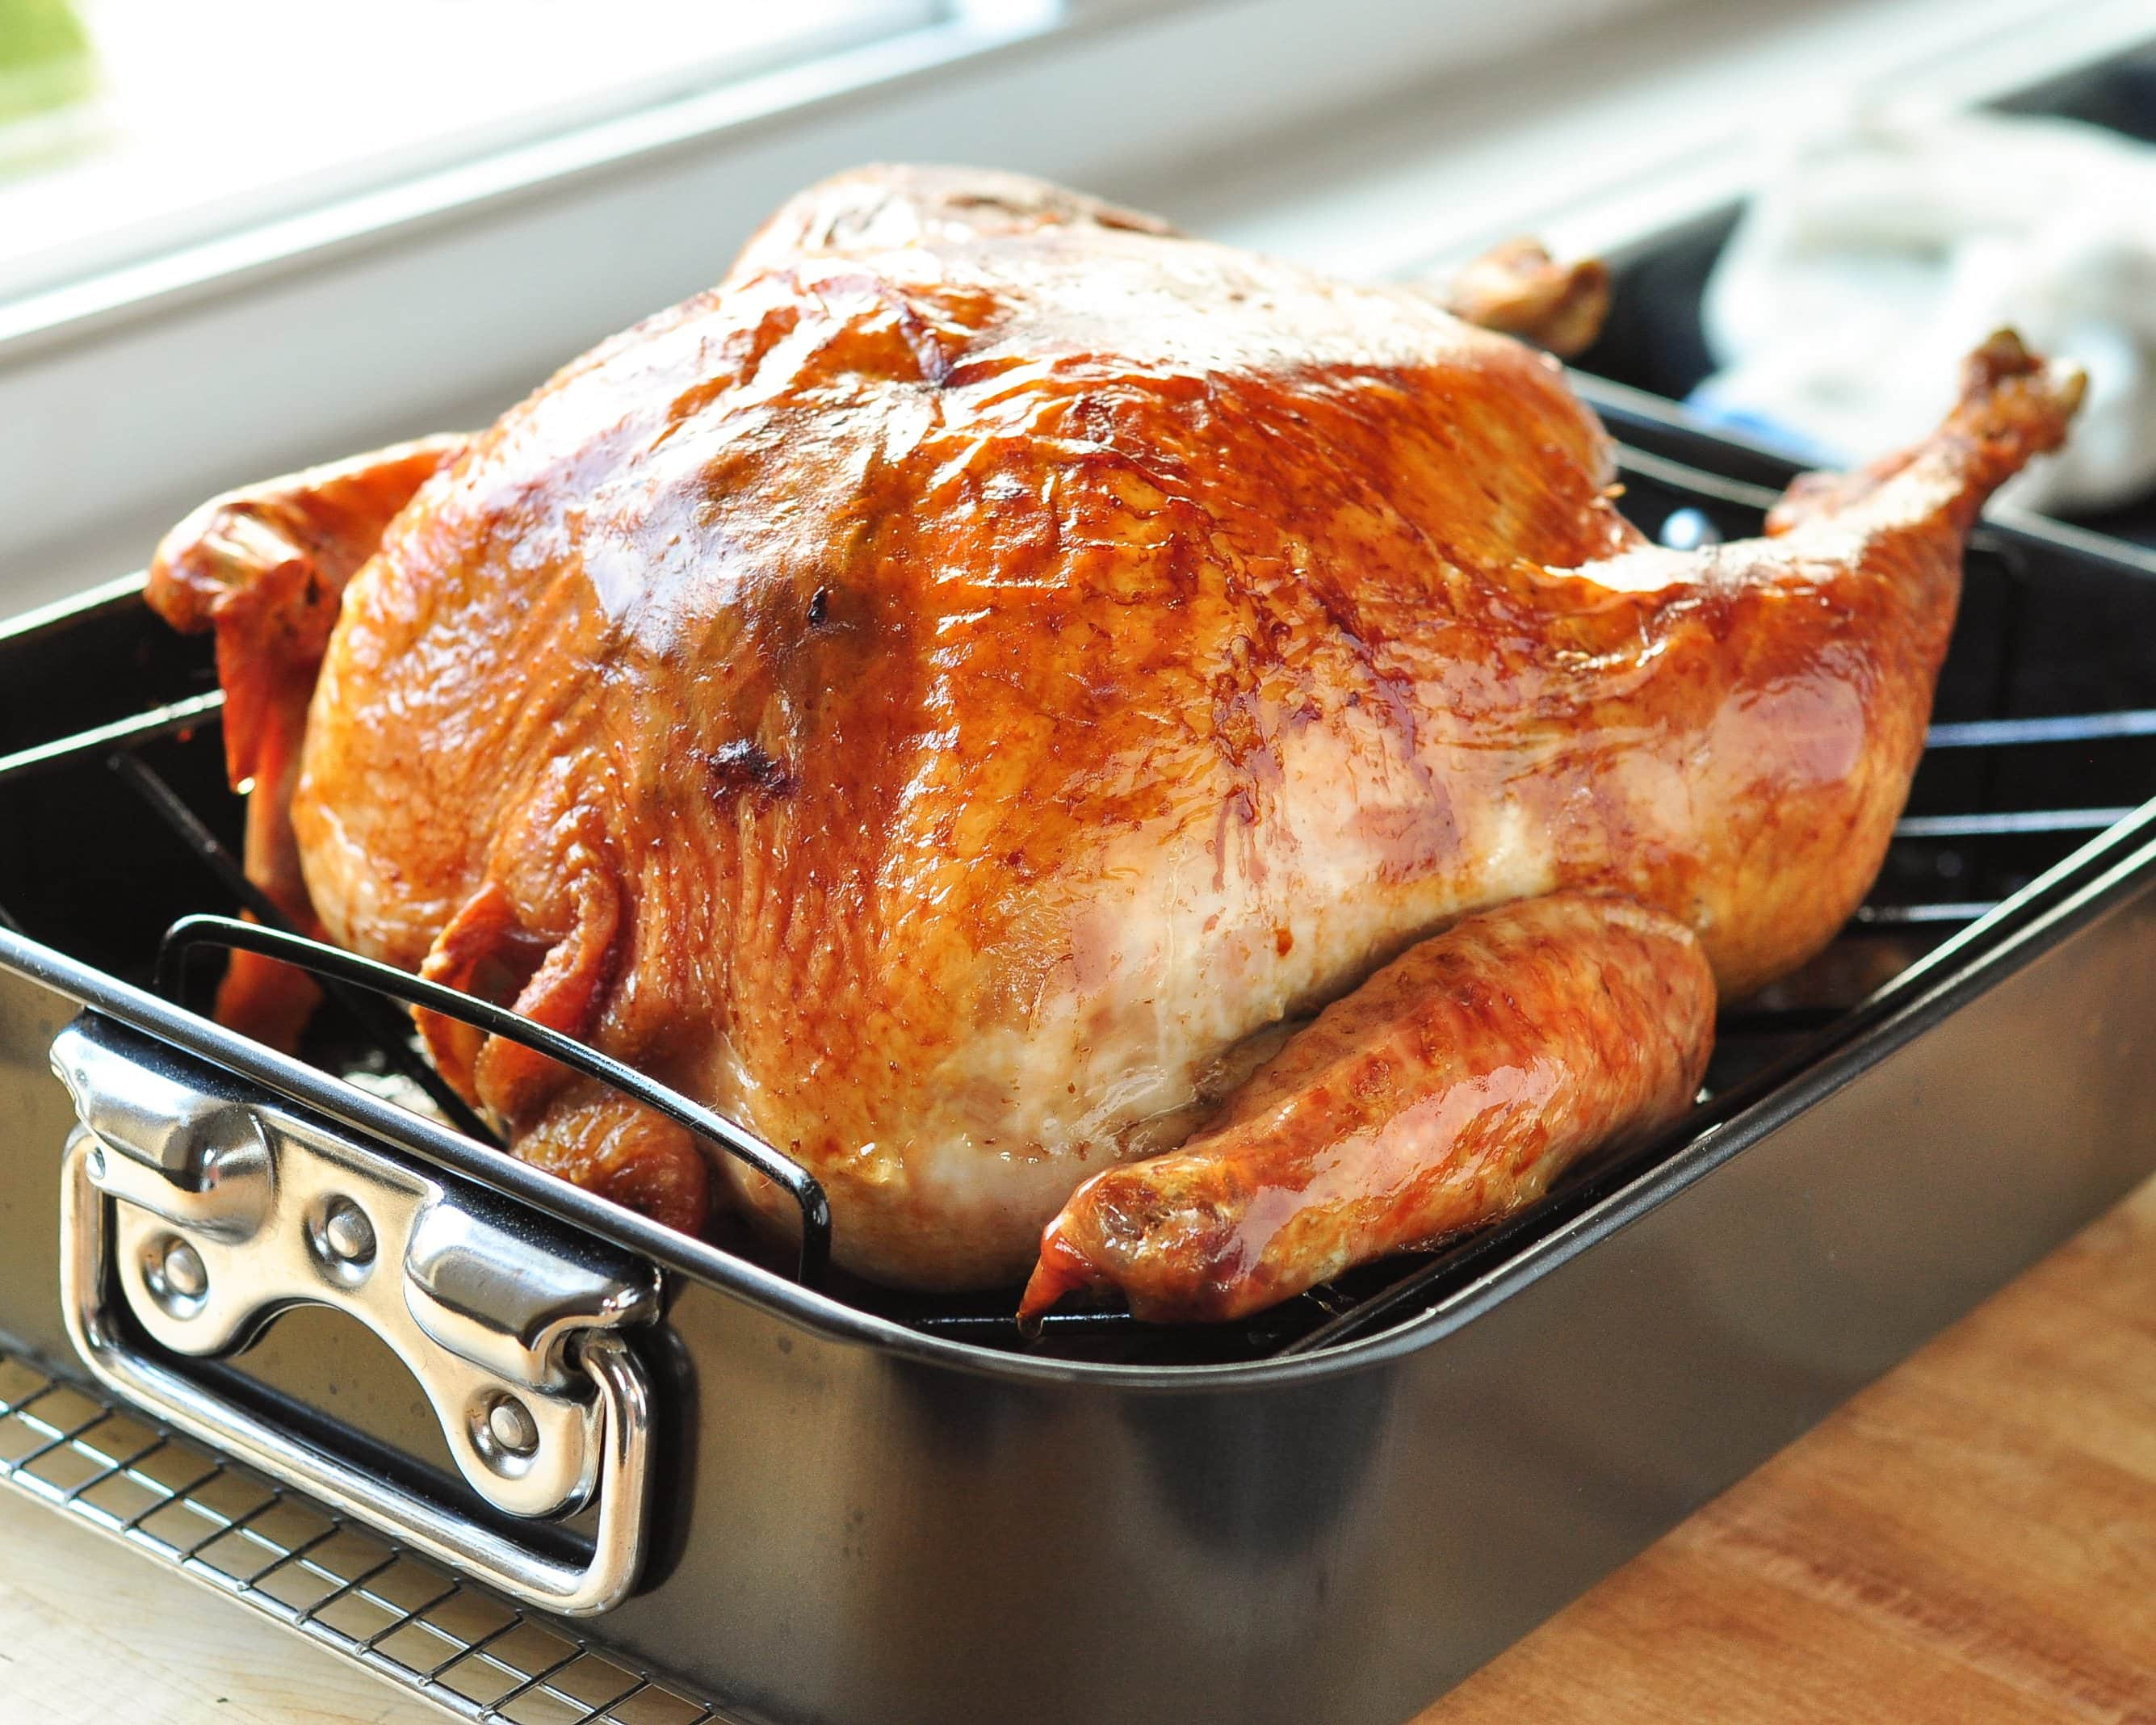
About one hour before you plan to cook your turkey, remove it from the fridge—it’ll cook more evenly when it’s not super chilled. Set it on a roasting rack—one that allows the turkey to sit at or just below the top of your largest roasting pan (this will allow air to circulate all around the bird, which will help you achieve crispy skin across the turkey’s entire surface). No roasting pan? You can also use a cooling rack set inside a large sheet pan.3. Tidy up the turkey.
If you haven’t yet removed the giblets, do so now. Check the neck cavity too. If you’d like, save the neck and giblets for stock, stuffing, gravy, or another use. You might also come across the occasional feather quill stuck in the bird—you can yank these out with your fingers or with some clean needle-nose pliers.
There is no need to rinse the turkey, but if you’re just pulling it out of a wet brine (or out of the packaging), you’ll want to pat it dry with reusable or paper towels.
About 15 minutes before you plan to roast, position your oven rack on the lowest rung and preheat the oven to 350°F. Some recipes instruct you to briefly roast the turkey at a high oven temperature before lowering the heat for the duration of the cooking time. The belief is that the high heat “sears” the bird and the low heat gently cooks it through, yielding a turkey that’s juicier and more succulent than average. We haven’t found this method to make a huge difference, and it can cause the skin to brown very quickly (often too quickly). Steady heat means less tending to, freeing you up to do other things, like prep your mashed potatoes and other Thanksgiving side dishes.5. Butter your turkey.
Set your turkey breast side up on the roasting rack and rub room-temperature salted butter—or your favorite flavored compound butter—all over it. (For a 12-to-14-pound turkey, you’ll need about ½ cup [1 stick] of butter.) Slowly work your fingers under the skin, starting at the neck, being careful not to tear the skin or separate it completely at the large cavity. Rub most of the butter under the skin, a little inside the large cavity, and the rest over the skin.
You could swap the butter for a neutral oil like canola or safflower if preferred. Whichever fat you choose, follow these proportions to elicit crispy, golden brown skin and juicy meat.6. Season your turkey (if necessary).
If you’ve chosen to brine your bird (via a wet brine or dry brine), you can skip this final seasoning. For kosher turkeys, which are already salted, there’s no need to salt the cavity, but you will want to salt the skin. Here’s how to do it: For a 12-to-14-pound bird, sprinkle 1½ teaspoons each kosher salt and freshly ground black pepper in the large cavity and another 1½ teaspoons each over the skin. You can add other ground spices and seasonings to your mix at this point too. Go for smoky cumin or lemony coriander. Some cooks like to add a teaspoon or two of brown sugar. These flavorings aren’t essential, but they’ll go a long way toward giving your Thanksgiving turkey some personality.
Sounds random, we know. But stuffing the neck cavity (not the large cavity) with a halved apple—placing the cut side against the turkey’s flesh with the rounded side facing out—buffers the breast from heat, protecting it from overcooking. But don’t fill the main cavity with stuffing—it’ll only slow down your cooking time. Instead, prep your stuffing recipe in a casserole dish and bake it on the side.8. Add some aromatics.
Not stuffing your bird means there’s room in the cavity for aromatics and veggies, which will add flavor and aroma to the bird and add complexity to the pan drippings (used to make turkey gravy). Think fresh herbs, like sprigs of fresh thyme, rosemary, or parsley, or wedges of onion and celery sticks. Lemon or orange slices are good too. How about a dried chile? Have some fennel stems left over from making a holiday side dish with just the bulb? Toss those in. Again, none of these things are strictly necessary, but they will perfume your turkey with lots of flavor.
You can also place some aromatics right in the roasting pan, under the rack. These will caramelize in the more direct heat, perfuming the meat and further flavoring the drippings. Whether you choose to add aromatics or not, pour two cups of water into your roasting pan to prevent the drippings from burning.9. Truss the turkey.
Trussing isn’t totally necessary, but it will help to secure anything you’ve stuffed into the cavity and encourage your bird to cook more evenly. It doesn’t hurt that a trussed bird will look a little more Norman Rockwell–esque than an untrussed bird.
There’s no need to get fancy with a full truss (which requires a needle); just tuck the wing tips behind the bird’s shoulders to lock them in place and protect them from scorching. The positioning of the wings also helps stabilize the cooked bird on a serving platter or cutting board. Next, tie the “ankles” (the ends of the drumsticks) together using kitchen twine, kite string, or unwaxed, unflavored dental floss. Wrap twine once or twice around each ankle, pulling the drumsticks together, then wrap around both and, finally, tie the twine in a knot. For a tighter knot, make a regular overhand knot, and before tightening it, thread one end back through the loop a second time, then tighten.10. Cover (and then uncover) the turkey.
Loosely tent the bird with aluminum foil, shiny side out (to deflect heat) at the very beginning of roasting. Shielding the turkey with foil keeps its skin from getting too dark too soon; but keeping it loose prevents that skin from steaming and staying flabby. Remove the foil about halfway through cooking to get that burnished glow.11. Skip the basting.
Some traditional recipes call for basting the turkey, ostensibly to moisten and flavor the bird. We’ve found that opening the oven door too often lets too much heat escape, lengthening the cooking time. Additionally, squirting or brushing broth onto the skin prevents it from browning evenly and can cause it to lose any crispness it might achieve. The better way to ensure a moist bird is to dry-brine it before cooking.12. Calculate turkey cooking time and temperature.
The simplest way to figure out turkey roasting times is to calculate 13 minutes per pound at 350°F for an unstuffed turkey (that’s about 3 hours for a 12-to-14-lb. turkey), or 15 minutes per pound for a stuffed turkey. Check the temperature about three quarters of the way through that time, and then again every 10 minutes, and roast until the temperature reads 165°F (or 150°F as the case may be; more on that below) when checked at the thickest part of the thigh meat and the thickest part of the breast meat.
If, however, you prefer to roast your turkey at a higher or lower temperature, follow these guidelines. (The following cook times are for unstuffed birds. Our general rule is to avoid stuffed turkeys and instead to bake our favorite stuffing recipe alongside so it can easily reach a safe temperature.)Cooking time per pound of turkey:For an 8-to-12-pound turkey:
According to the USDA, a turkey must be cooked to a minimum internal temperature of 165°F to kill harmful bacteria. For the juiciest meat, you’ll want to remove your bird from the oven when the temperature reaches 150°F. The temperature will continue to rise as the turkey rests and should reach 165°F within 30 minutes of being removed from the oven. Some cooks, including food director Chris Morocco, prefer dark meat cooked to an internal temperature of 190°F, which will allow more of the collagen and connective tissues to break down, rendering the tenderest meat. This higher temp would dry out white meat, so it’s best to only aim for it when cooking your turkey in parts.
Whichever turkey roasting temperature you choose, be sure to use an accurate meat thermometer to confirm the final temperature. In the past, home cooks used to look at the color of the meat as an indication of doneness: The turkey was pierced with a knife, and if the juices were clear instead of pink, it was considered done. This is not a reliable method for several reasons: First, pinkness can disappear before a safe temperature is reached; contrarily, some turkeys (especially organic and heritage breeds) may never lose their pink color, even when cooked to well above 165°F.
To check the temperature of the turkey, you can use either an instant-read thermometer or a remote food thermometer (the type that has a probe you insert before cooking, which connects to a digital display that sits on your counter). Either way, insert the thermometer so that its point reaches the thickest part of the turkey’s breast. Be careful not to touch the bone, which will skew the reading. You should also check the thigh to ensure the turkey cooks evenly throughout.
If you find the skin is getting too dark and the desired internal temperature hasn’t been reached, loosely tent the browned parts with a double-thick layer of buttered aluminum foil to protect them from the heat.
When the roast turkey has reached the right temperature, it’s essential to let it rest for at least 30 minutes before carving. This gives the juices time to settle and be reabsorbed into the bird; carving it too soon will allow the moisture to run out, leaving you with parched meat in a cutting board puddle. It is not necessary to cover the turkey with aluminum foil while it rests, and doing so will only cause the skin to go limp. The turkey can rest for up to 90 minutes and still be hot when it’s time to carve—which means you’ve got plenty of time to make the gravy.
Cooking the Thanksgiving turkey can easily become the most stressful part of the holiday if you don’t know how long to cook it. Undercooking leaves you with raw poultry, but overcooking results in dry, stringy meat. With proper planning and preparation, though, you can take the guesswork out of roasting a turkey and end up with a golden brown, moist and tender bird that will be the star of your holiday table.
Factors That Affect Cooking Time
When determining how long to cook a 14 pound turkey there are a few key factors to take into account
-
Weight – A good rule of thumb is to calculate 15-20 minutes of cooking time per pound for an unstuffed turkey The heavier the bird, the longer the cook time
-
Stuffed vs. Unstuffed – Stuffing adds extra insulation to the turkey, requiring longer cook times. Plan for approximately 30-45 more minutes if stuffed.
-
Oven Temperature – The most common temperatures for roasting turkey are 325°F and 350°F. Higher heat decreases cook time but can dry out the meat.
-
Fresh vs. Frozen – A fully frozen turkey will take at least 50% longer to cook than a fresh or thawed one.
-
Cooking Method – The traditional roasted method takes the longest, while grilling, smoking, or deep frying all shorten the cook time.
Cooking a 14 Pound Unstuffed Turkey
For a 14 pound unstuffed turkey cooked at 325°F, the approximate cooking time is:
- 14 lbs x 15 minutes per lb = 210 minutes (3.5 hours)
- 14 lbs x 20 minutes per lb = 280 minutes (4.5 hours)
To allow for carryover cooking and to ensure the breast doesn’t dry out before the dark meat cooks through, it’s best to allot the full 4.5 hours for a 14 pound bird at 325°F.
If cooking at 350°F, reduce the time slightly to:
- 14 lbs x 13-15 minutes per lb = 182-210 minutes (3-3.5 hours)
For a juicy bird, cook a 14 pound unstuffed turkey for around 35 hours at 350°F or 4.5 hours at 325°F. Always use a meat thermometer to confirm the thigh and breast have reached 165°F at the end
Cooking a Stuffed 14 Pound Turkey
With stuffing, the cooking time increases. For a 14 pound stuffed turkey cooked at 325°F, plan on:
- Unstuffed time: 210-280 minutes (3.5-4.5 hours)
- Add 30-45 minutes for stuffing
- Total Time: 240-325 minutes (4-5.25 hours)
Ideally, allow 4.5-5 hours for a stuffed 14 pound turkey at 325°F and 4-4.5 hours if cooking at 350°F. Monitor the temperature and add more time if needed until 165°F is reached in the thickest section.
For food safety, I recommend cooking stuffing in a casserole dish on the side rather than inside the turkey. However, if you want that classic flavor, just be sure to factor in extra time.
Checking for Doneness
Using an instant read thermometer is the only reliable way to determine when your turkey is fully cooked. For optimal safety and taste, you want to reach the minimum safe internal temperature of 165°F as measured in the innermost part of the thigh, wing, and thickest section of breast.
Once 165°F is achieved in those areas, the turkey can be removed from the oven. The temperature will continue rising another 5-10°F during the resting time. Resting for at least 20 minutes before carving allows the juices to redistribute evenly for better moisture.
Extra Tips for Roasting Success
Follow these tips for bonus insurance your holiday turkey turns out perfectly cooked:
-
Thaw frozen turkeys gradually in the fridge 1 day for every 4 lbs of weight.
-
Pat the turkey dry before seasoning and roasting to help crisp the skin.
-
Use a V-rack in a roasting pan to elevate the bird for even cooking.
-
Baste every 30 minutes with pan drippings for added moisture and flavor.
-
Tent loosely with foil if the skin starts to get too brown before the interior is done.
-
Let rest 20-30 minutes before carving for juicy, tender meat.
When you calculate the weight-based cooking time, factor in the stuffing, oven temperature, and thawing status, roasting a turkey doesn’t have to be complicated or nerve-wracking. For a 14 pound turkey cooked at 325°F, I recommend planning for around 4.5 hours unstuffed or 5 hours stuffed. Use a meat thermometer to confirm it reaches 165°F in the thighs and breasts before removing from the oven. With the proper prep and cook time, you’ll enjoy a perfectly cooked centerpiece to your holiday table. What matters most is that you apply the simple guidelines and prepare the turkey with love to share with family and friends.
How to cook a heritage turkey:
With longer thighs and drumsticks, a leaner breast, and a more diminutive size compared to a standard supermarket turkey, heritage turkeys look, taste, and cook differently than your average Thanksgiving fowl. Heritage birds generally top out at 14 to 16 pounds. If you plan on serving a larger crowd, you might want to roast two birds side by side. The bonus is that smaller birds cook more quickly than their fleshy cousins, so you don’t need to rise at dawn if you like to eat Thanksgiving dinner at noon.
Because they tend to have a more active lifestyle, heritage turkeys must be roasted differently to prevent toughness. Roasting the bird slowly, at a lower temperature, is the best way to achieve tender meat. You should still prep the bird with softened butter, salt, and pepper, as described above (or dry-brine it). To cook, set your oven to 325°F and roast for 3½ to 4 hours for a 12-to-14-pound bird. Most important, pay attention to the internal temperature. It’s important to note that, due to the nature of some heritage breeds, their flesh and bone may bear a pinkish hue, even when fully cooked. As long at the temperature has reached 165°F on a reliable meat thermometer, you needn’t worry.
How long does it take to cook a 14 lb turkey at 350 degrees?
FAQ
Do you cook a 14 lb turkey at 325 or 350?
How long to cook a 14 lb turkey? Using a conventional oven you will need to cook a 14 lb turkey for 3.5 hours to 4 hours and 40 minutes at 325°F until the internal temp reaches 165°F.
How long does it take to cook a 14 lb butterball turkey?
| Weight | Cook Time (Unstuffed) | Cook Time (Stuffed) |
|---|---|---|
| 7-10 lbs. | 2½-3 hrs. | 2¾-3½ hrs. |
| 10-18 lbs. | 3-3½ hrs. | 3¾-4½ hrs. |
| 18-22 lbs. | 3½-4 hrs. | 4½-5 hrs. |
| 22-24 lbs. | 4-4½ hrs. | 5-5½ hrs. |
How long should a 14 lb turkey rest?
About 45 minutes or so gives it time to reabsorb the juices; otherwise they’ll dribble out when you slice, and the meat will be dry.Nov 27, 2024
Do you put water in the bottom of a roasting pan for turkey?
You can pour a little of water in the bottom of the roasting pan, but keep in mind the turkey will release drippings as well as it cooks. However, if you’re making gravy, it’s best to add about a cup of water to the roasting pan.