As a home cook, one of the most frustrating things is when you carefully bread your chicken only to have that crispy coating fall right off during cooking or serving. We’ve all been there – you put time and effort into breading beautiful chicken cutlets or tenders, but as soon as they hit the hot oil or come out of the oven chunks of your hard work are left behind on the pan.
So why does this breading betrayal happen, and more importantly, how can you prevent it? I’ll walk through the common causes of breading failure, as well as provide a foolproof step-by-step breading method. With the right techniques, you’ll never have to deal with bare naked chicken again.
Understanding Why Breading Falls Off
Before we dive into solutions, it helps to understand the core reasons behind breading malfunction:
Moisture Is the Enemy
Excess moisture is public enemy number one when it comes to breading. If the surface of the chicken is too wet, the flour can’t properly adhere and provide a foundation for the rest of the coating. Even a small amount of moisture can undermine the entire breading process.
Weak Adhesion Between Layers
Breading is only as strong as the connections between each layer If the flour doesn’t stick to the chicken, the egg wash won’t stick to the flour, and the crumbs won’t stick to the egg wash. Each step builds on the next
Insufficient Coverage
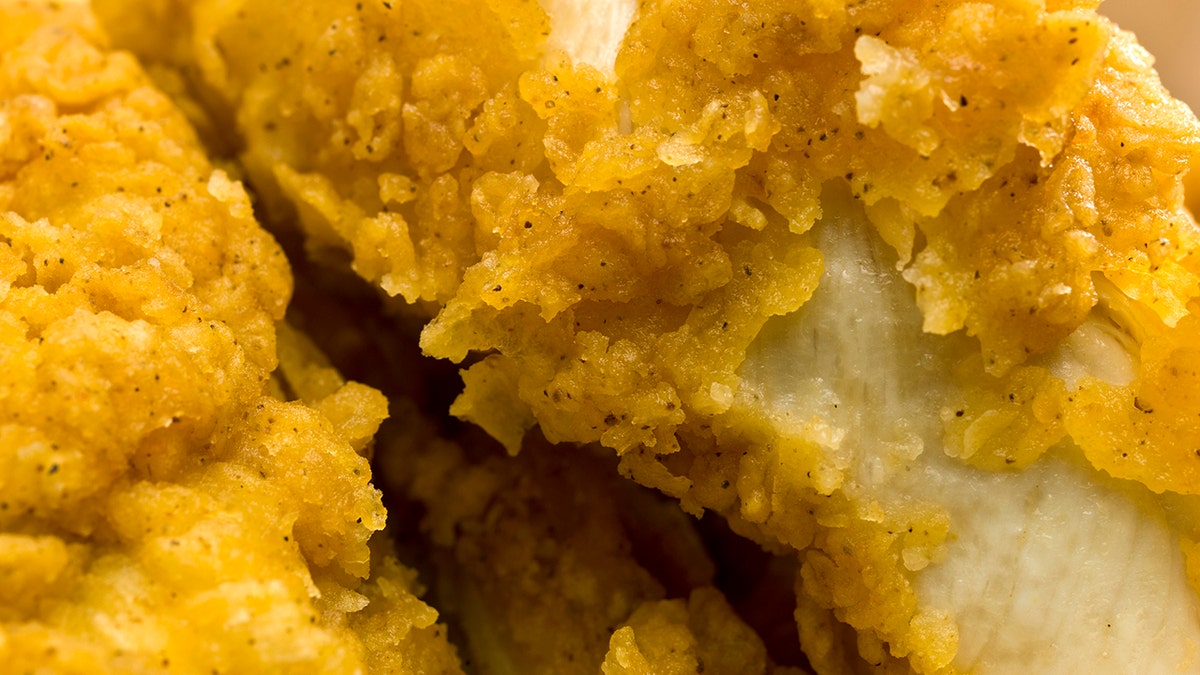
Skimpy breading leads to bare spots. Every nook and cranny needs to be thoroughly coated to protect against detachment during cooking. Those crumbs aren’t just for looks – they keep everything in place.
Improper Cooking Temperatures
Frying or baking at the wrong temperature can cause disaster. Too hot, and the outside burns before the inside cooks. Too cold, and the breading absorbs grease and turns gummy. Getting the heat right is imperative.
Pressing and Resting Issues
If you don’t press the breading firmly into the chicken, it won’t adhere correctly. And letting it rest before cooking sets the coating and strengthens those all-important bonds. Skipping these two simple steps can undermine your beautiful bread job.
Mastering the Perfect Breading Process
Armed with knowledge of what causes breading to betray you, let’s get into the tried-and-true process for picture-perfect chicken:
Step 1: Pat the Chicken Dry
Excess moisture is public enemy number one, so thoroughly drying the chicken is a must. Give each piece a good pat down with paper towels to soak up surface moisture.
Step 2: Apply a Light Flour Coating
Dredge each piece of chicken lightly in flour. All-purpose works great, or get fancy with seasoned flour. The flour provides a tacky base layer. Shake off any excess after dredging.
Step 3: Coat with Egg Wash
Dip the floured chicken in beaten egg, whether plain, seasoned or mixed with a touch of milk or cream. The egg is the “glue” that binds everything together, so coat thoroughly.
Step 4: Cover Generously with Crumbs
Breadcrumbs provide crispy texture, so layer them on generously. For ultimate crunch, use panko breadcrumbs. Press the crumbs firmly onto the chicken.
Step 5: Let the Chicken Rest
Before cooking, let the chicken rest for at least 15-30 minutes. This helps the coating set up and adhere better.
Step 6: Fry or Bake at The Right Temperature
Maintain proper oil or oven temperature. For frying, 350-375°F prevents burning. For baking, start at 400°F then reduce heat to prevent over-browning.
Follow those steps, and you’ll never have to deal with a naked chicken tragedy again! The well-structured layers will hold up beautifully, delivering crispy fried chicken or oven-baked cutlets with breading intact.
For even more insurance, double-breading (flour-egg-crumbs-egg-crumbs) creates an ultra-secure seal. Now that you’ve got the basics down, check out the FAQs below for advanced tips and tricks.
Frequently Asked Questions About Breading Chicken
Can I use buttermilk instead of egg for the wash?
Absolutely! Buttermilk adds delicious tang and tenderizes the chicken. The adhesion might not be quite as strong as egg wash, so make sure the flour coating is thorough.
What’s the best type of breadcrumbs?
For ultimate crispiness and crunch, panko breadcrumbs can’t be beat. Their light, flaky texture fries up incredibly crispy. For a finer crispness, traditional breadcrumbs work well too.
Can I freeze breaded chicken?
Yes, freeze it uncooked, in a single layer on a sheet pan until solid, then transfer to a freezer bag. This prevents the breading from getting smashed and stuck together.
How do I get ultra crispy breading?
Crispiness comes down to a few key factors: panko crumbs, double-breading, proper oil temperature (350-375°F), and allowing the breading to set before cooking. Follow those guidelines for maximum crunch factor.
Should I season the breadcrumbs?
Absolutely! Seasoned breadcrumbs pack extra flavor. Try garlic powder, onion powder, herbs, parmesan, paprika, salt, and pepper. Get creative with your own spice blends too.
How long should breaded chicken rest before cooking?
Let it rest 15-30 minutes after breading to allow the coating to adhere firmly. As tempting as it is to toss it right into the hot oil, be patient! Resting leads to better adhesion.
Can I use an air fryer for breaded chicken?
Air fryers are amazing for breaded chicken! The hot circulating air cooks the chicken crisp and perfect. Lightly spritz breaded chicken with oil before air frying for best texture.
My breading is still falling off – what am I doing wrong?
Double check your oil temperature, and make sure chicken is dried properly before breading. If issues continue, try double breading to strengthen the coating, and reduce heat slightly if crumbs are browning too fast.
Can I use gluten-free flour and crumbs?
Yes, gluten-free options work great! Choose a blend made for baking, and opt for finely ground breadcrumbs. The texture might not be quite as flaky, but adhesion and flavor will still be excellent.
How do I prevent the breading from burning before the chicken is cooked?
If your breading tends to burn, reduce the baking temperature slightly, and tent loosely with foil towards the end of cooking to prevent over-browning. This will allow the inside to finish cooking without charring.
Is it better to pan-fry or deep fry?
For ultra-even cooking and crispy breading, deep frying generally works best, since the chicken is submerged in hot oil. However, pan frying uses less oil and can still produce delicious results with close monitoring.
Can I bread chicken using a breading station?
Yes, using three shallow dishes or trays to hold the flour, egg wash, and breadcrumbs helps keep things neat and efficient. Dredge, dip, coat – it’s an easy breading assembly line!
So there you have it – everything you need to know to get perfectly crispy, flavorful chicken with the breading staying exactly where it should. With the right techniques and a little practice, soon you’ll be churning out professional-level fried chicken, nuggets, and so much more. Never suffer bare naked chicken again!
You Don’t Start Dry
The first step to breading chicken is crucial; make sure the chicken is completely dry before starting the dredging process. Using a paper towel, pat the meat dry on all sides. Excess moisture will cause the flour to get soggy and thus will not adhere properly to the chicken.
Not Shaking Off the Flour
Be sure to shake off any excess flour on the chicken. Excess flour will create a coating that prevents the egg mixture from latching on to the chicken, which ultimately will prevent the breading from sticking properly. For crispy, flavorful chicken, make sure to remove any excess flour before proceeding.