Cooking chicken can seem simple enough – just throw it in the oven or on the grill and take it off when it’s done right? Not quite. Properly cooking chicken requires a bit more nuance especially when it comes to the question of whether or not to flip it during cooking. In this guide, we’ll explore when and why you should flip chicken, along with tips for getting perfect results every time.
Why Flipping Chicken Matters
Flipping (or not flipping) chicken during cooking serves a few key purposes
-
Promotes Even Cooking Flipping ensures even exposure to heat so no single side is over or undercooked. This prevents dry, burnt sections
-
Encourages Browning: Exposing all sides to heat caramelizes the skin and juices, enhancing flavor and texture.
-
Controls Thickness: Thinner parts cook faster. Flipping moves them away from direct heat, preventing them from drying out.
-
Distributes Moisture: Juices are redistributed when flipped, keeping meat tender and helping carry flavor.
-
Improves Presentation: Multi-sided browning gives chicken an appetizing, finished appearance.
So in most cases, flipping is recommended. But when and how often you flip depends on a few factors.
When to Flip Bone-In Chicken Parts
For bone-in parts like drumsticks, thighs, wings, and bone-in breasts, flipping halfway through is usually best. Some guidelines:
-
Grilling: Flip once when about halfway done. Bone-in parts take 15-30 minutes total to grill.
-
Baking: Flip once halfway through baking time, which is usually 30-45 minutes total at 350-425°F.
-
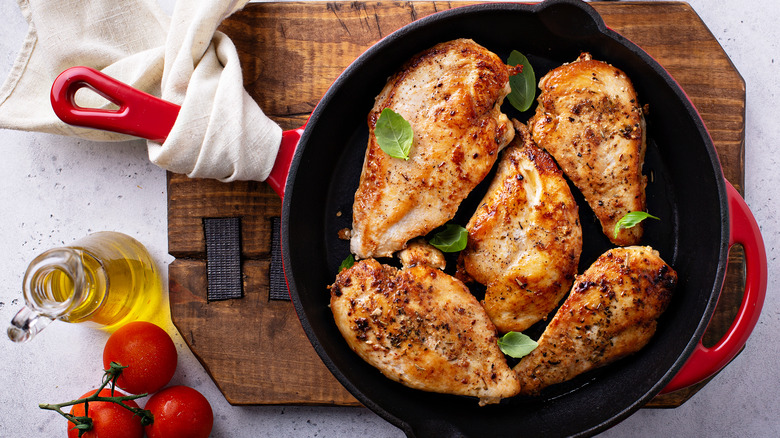
Pan Frying: Cook skin-side down first. Flip after 12-15 minutes, then cook 5-10 minutes on second side.
Flipping earlier can cause skin to stick. Flipping later can lead to uneven cooking. Be sure to use tongs or a spatula to gently flip, avoiding moisture loss.
When to Flip Boneless Chicken Breasts
Boneless breasts require more attentive flipping:
-
Grilling: Flip every 2-3 minutes to prevent drying and burning. Grill for 6-8 minutes total per side.
-
Baking: Flip halfway through at around 15 minutes, then check often until done at 25-30 minutes.
-
Pan frying: Flip every 1-2 minutes until browned and cooked through, around 6-10 minutes total.
Frequent flipping prevents thin ends of breasts from overcooking. Use a thin spatula to gently flip smaller pieces.
When to Flip a Whole Chicken
For whole chickens and roasting:
-
Flip breast-side down after 20 minutes when roasting at 350-425°F.
-
Flip again breast-side up 15 minutes later to brown skin.
-
Roast until 165°F in breast, about 15-20 minutes more.
The initial flip lets legs and thighs cook evenly with the breast before crisping the skin.
Flipping Tips for Perfect Results
Follow these tips for flawless flipped chicken every time:
-
Allow chicken to release from the pan or grill before flipping. Don’t force it or the skin can tear.
-
Use tongs or a thin spatula to gently flip. Piercing meat leads to moisture loss.
-
Flip away from you to avoid oil splatter.
-
Flip bone-in chicken gently to keep coating, seasoning, or skin intact.
-
Avoid moving or poking chicken once flipped. Let it cook undisturbed.
-
Double check temperature with a meat thermometer before removing from heat.
With the right technique, flipping chicken helps ensure it turns out moist, tender and full of flavor. Just be sure to flip at the right times during cooking based on the cut, method, and whether bones are present. Mastering the flip will lead to perfect chicken every time.
Frequently Asked Questions About Flipping Chicken
Should you flip chicken in the oven?
Yes, flipping chicken while baking in the oven helps ensure even cooking. Bone-in parts can be flipped once halfway through baking. Boneless breasts should be flipped every 15 minutes or so.
Is it necessary to flip chicken while grilling?
It’s highly recommended. Frequent flipping while grilling prevents chicken from burning or drying out over direct heat. Boneless breasts should be flipped as often as every 2-3 minutes on the grill.
What is the best way to flip chicken?
Use tongs or a thin spatula to gently lift chicken and flip it away from you. Avoid piercing chicken which can lead to moisture loss. Let chicken release from the pan or grill before attempting to flip it.
Should you flip chicken skin-side down first?
When pan frying, yes. Starting skin-side down renders fat and makes the skin deliciously crispy. Flip after browning, then finish cooking on the second side.
What if I forgot to flip my chicken?
If chicken wasn’t flipped, the side facing up may be overdone while the other is undercooked. Finish cooking the undercooked side by gently flipping and monitoring temperature. Expect uneven browning and texture.
Can I flip chicken too much?
It’s difficult to over-flip poultry. As long as you are gentle, flipping frequently helps prevent drying out and overcooking, especially for boneless cuts. Just avoid moving chicken once flipped and let it cook undisturbed.
Properly flipping chicken during cooking is crucial for evenness, moisture, and ideal texture. Remember to flip bone-in parts halfway through cooking. Boneless cuts need more frequent flipping. With the right flipping technique, you’ll enjoy perfectly cooked chicken every time.
Here, we offer some do’s and don’ts to create the perfect bird.
1. If you’re short on time, boneless chicken breasts cook quickly and offer up a great canvas for seasonings…
2. …but breasts can also dry-out easily, and they become tough when overcooked. Quick-cooking methods such as pan-frying, grilling, broiling, sautéing and stir-frying can help prevent the meat from becoming dry.
3. When it comes to quick-cooking methods (see No. 2), do limit your flipping. Once (or twice, tops) will allow the breasts to cook while also providing that oh-so-desirable sear.
4. To help cook the meat quickly and evenly, use a meat mallet or rolling pin to pound the raw chicken breasts between sheets of plastic wrap or waxed paper, creating a uniform thickness.
5. Even if you aren’t a skin-eater, keep the skin on while grilling and broiling to prevent meat from drying out.
6. If you plan on stir-frying or sautéing the breasts, cut them across the grain to prevent meat from shrinking, shriveling and becoming tough.
7. Or, perhaps you plan on adding your breast pieces to a soup or stew? Keep a close eye on the time and be sure to simmer very gently. An intense boil can toughen the meat quickly.
8. Poaching is another option to ensure your chicken breasts won’t dry out. The key to this moist-heat cooking method is to keep the cooking liquid — use broth instead of water for added flavor — at a very gentle simmer.
9. While boneless chicken breasts get a lot of love, that doesn’t mean their dark-meat neighbors should be ignored. Drumsticks, wings and thighs (with or without the bone) bring a rich meaty flavor along with a level of juiciness not often found in breasts.
10. When it comes pan cooking — and this goes not only for chicken, but vegetables and other meats, too — overcrowding the pan is a big no-no. Unless, that is, you want a soggy end result (and you really don’t). Limit what you put in the pan to prevent the items from steaming instead of searing.
11. For the most part, recipe cook times aren’t written in stone as there are many variables at play. And while juices that run clear when you cut into the meat offer a good sign of doneness, that isn’t the gospel either. Temperature is the safest indicator of doneness — an internal temp of 165°F in the thickest part (don’t touch the bone!) to be exact. In other words: Keep your thermometer handy.
12. And speaking of temperature, to get a proper sear on your chicken — be it breasts, thighs, wings or drumsticks — it’s necessary to use high heat, which means olive oil’s low smoking point just won’t cut it. Instead use coconut, safflower or sunflower oils.
13. Cooking a whole bird? Be sure to cook with adequate heat. Hot and fast is usually the best way to go as it promotes even cooking and browning.
14. Another whole bird tip: Coat the skin with oil or butter before roasting. Doing so promotes that coveted golden appearance and delicious crispy skin.
15. And while your home will inevitably smell delicious from that bird roasting in your oven, resist the urge to dive in immediately after taking it out. Let it rest 10 to 15 minutes before carving for best results.
Get local news delivered to your inbox! * I understand and agree that registration on or use of this site constitutes agreement to its user agreement and