Ever stared at a whole chicken in the grocery store and thought, “I could totally grill that!” but then chickened out? (Sorry for the terrible pun, I couldn’t help myself.) Well, you’re not alone! Grilling a whole chicken might seem like a challenge reserved for BBQ masters, but I’m here to tell ya that it’s actually way easier than you think.
I’ve been obsessing over perfecting this technique for years, and today I’m sharing everything I’ve learned By the end of this article, you’ll have all the knowledge you need to impress your friends and family with a perfectly grilled whole chicken that’s juicy on the inside with that gorgeous crispy skin we all crave.
Why Grilling a Whole Chicken is Totally Worth It
Before we dive into the how-to. let’s talk about why you might want to grill a whole chicken in the first place
- Cost-effective: Whole chickens are usually cheaper per pound than individual parts
- Maximum flavor: The bones and skin help lock in moisture and deliver incredible flavor
- Impressive presentation: There’s something primal and satisfying about serving a whole grilled bird
- Versatile leftovers: Use extra meat for sandwiches, salads, tacos, and more
- Feed a crowd: One good-sized bird can serve 4-6 people
What You’ll Need: Equipment Checklist
Let’s get organized! Here’s what you’ll need to make this happen:
- Grill with a lid (gas or charcoal – both work great!)
- Meat thermometer (seriously, don’t skip this)
- Tongs and grill gloves (for safely handling the chicken)
- Kitchen shears (if you’re going the spatchcock route – more on that later)
- Basting brush (for applying marinades or sauces)
- Drip pan (catches drippings and prevents flare-ups)
Choosing Your Chicken
Not all chickens are created equal! Here’s what to look for:
- Size matters: Aim for a 3.5 to 4.5 pound bird for even cooking
- Fresh vs. frozen: Fresh is ideal, but frozen works too (just make sure it’s completely thawed)
- Quality options: Free-range or organic chickens often have better flavor, but conventional works fine too
Preparing Your Chicken for Grilling Success
This is where the magic happens, folks! The prep work sets the stage for an amazing grilled chicken
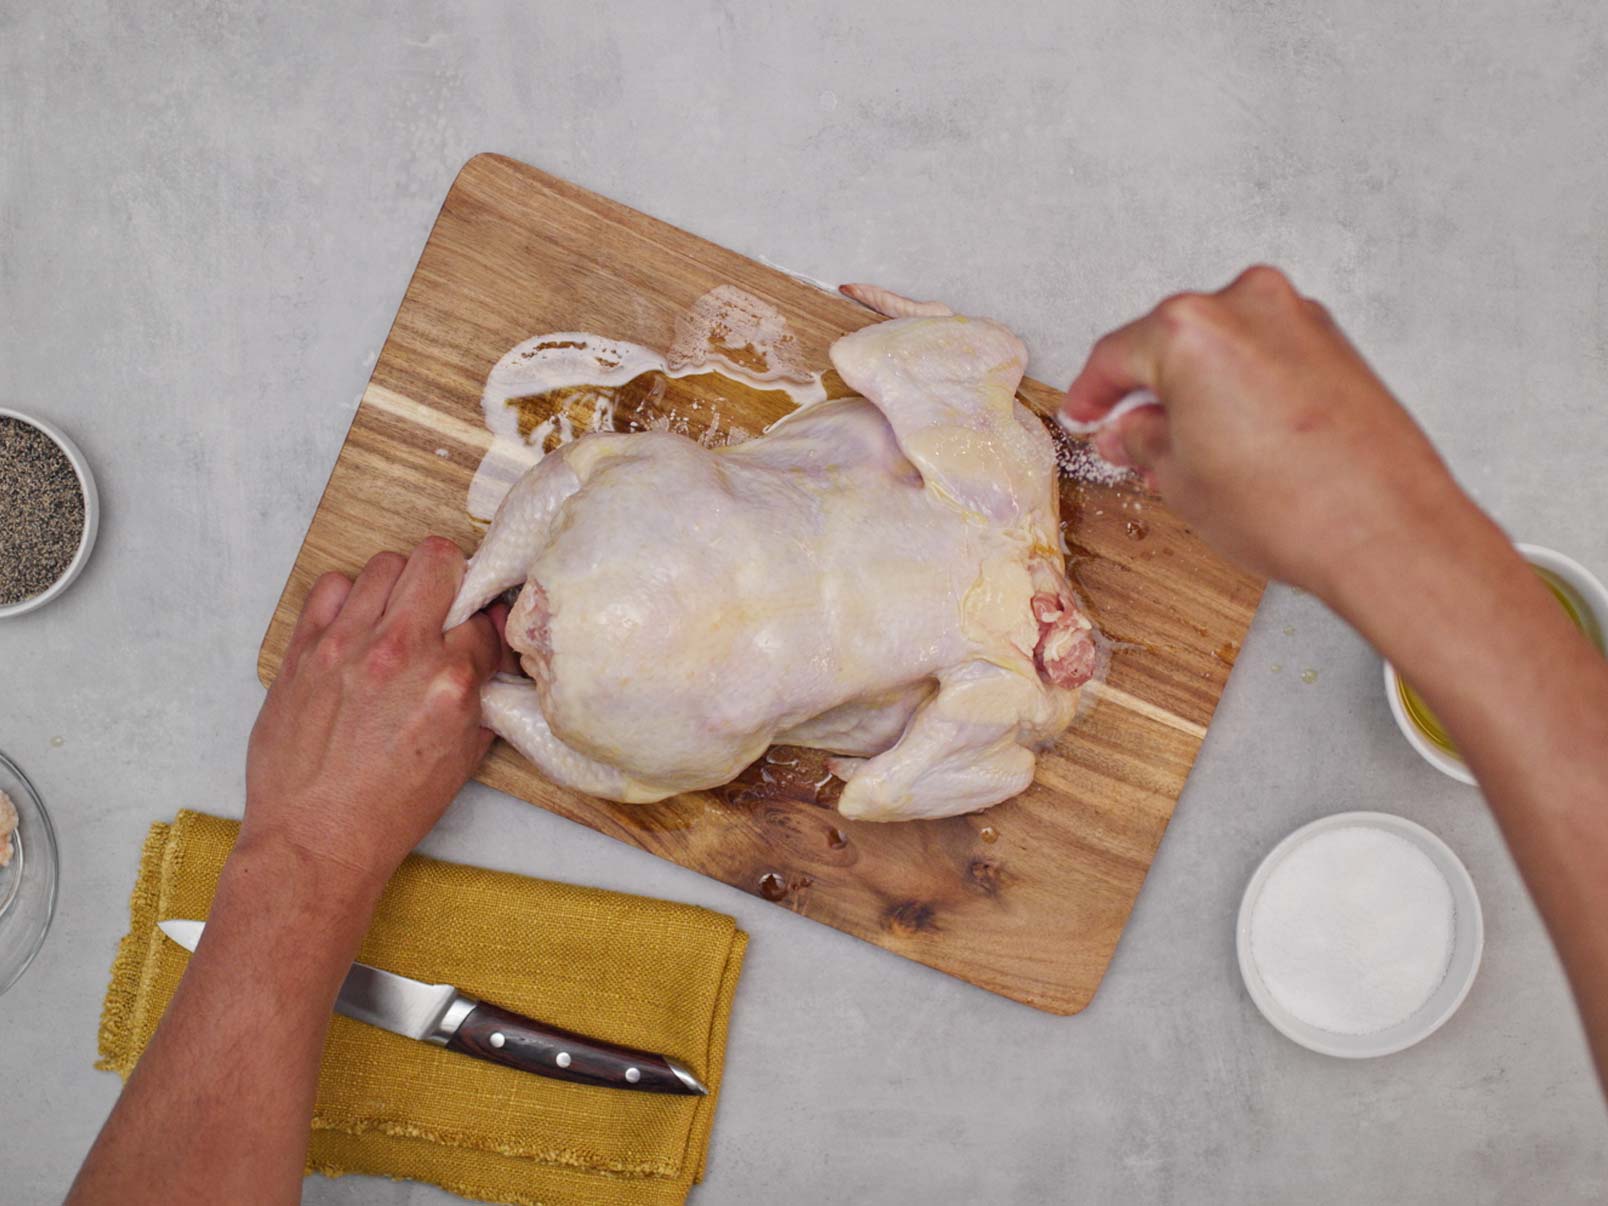
Step 1: Clean and Dry
Remove the giblets from the cavity (those little paper packages of organs) and pat the chicken completely dry with paper towels. This might seem like a small step, but it’s crucial for crispy skin! Moisture = enemy of crisp.
Step 2: To Spatchcock or Not to Spatchcock?
Spatchcocking (removing the backbone and flattening the bird) is highly recommended but optional. Here’s why it’s awesome:
- Reduces cooking time by about 30%
- Ensures more even cooking (no more dry breast meat!)
- Makes it easier to flip the chicken
- Creates more surface area for flavor
To spatchcock: Use kitchen shears to cut along both sides of the backbone, remove it, then flip the chicken over and press down firmly on the breastbone to flatten. It sounds complicated but takes less than a minute once you’ve done it a couple times.
Step 3: Season Like You Mean It
This is where you can get creative! Here are some tried-and-true options:
Basic Dry Rub Recipe:
- 2 tbsp paprika
- 1 tbsp garlic powder
- 1 tbsp onion powder
- 1 tsp black pepper
- 1 tbsp brown sugar
- 1 tsp salt
Rub this all over your chicken, including under the skin if you can gently separate it from the meat.
Simple Marinade Option:
- 1/2 cup olive oil
- Juice of 2 lemons
- 2 cloves minced garlic
- 1 tbsp fresh herbs (rosemary, thyme, oregano)
- Salt and pepper
Let your chicken marinate in this mixture for at least 2 hours, preferably overnight.
Brining Method:
For super juicy results, try brining your chicken in a solution of:
- 1/4 cup salt
- 4 cups water
- Optional: herbs, garlic, peppercorns
Soak for 12-24 hours in the refrigerator, then rinse and pat dry before seasoning.
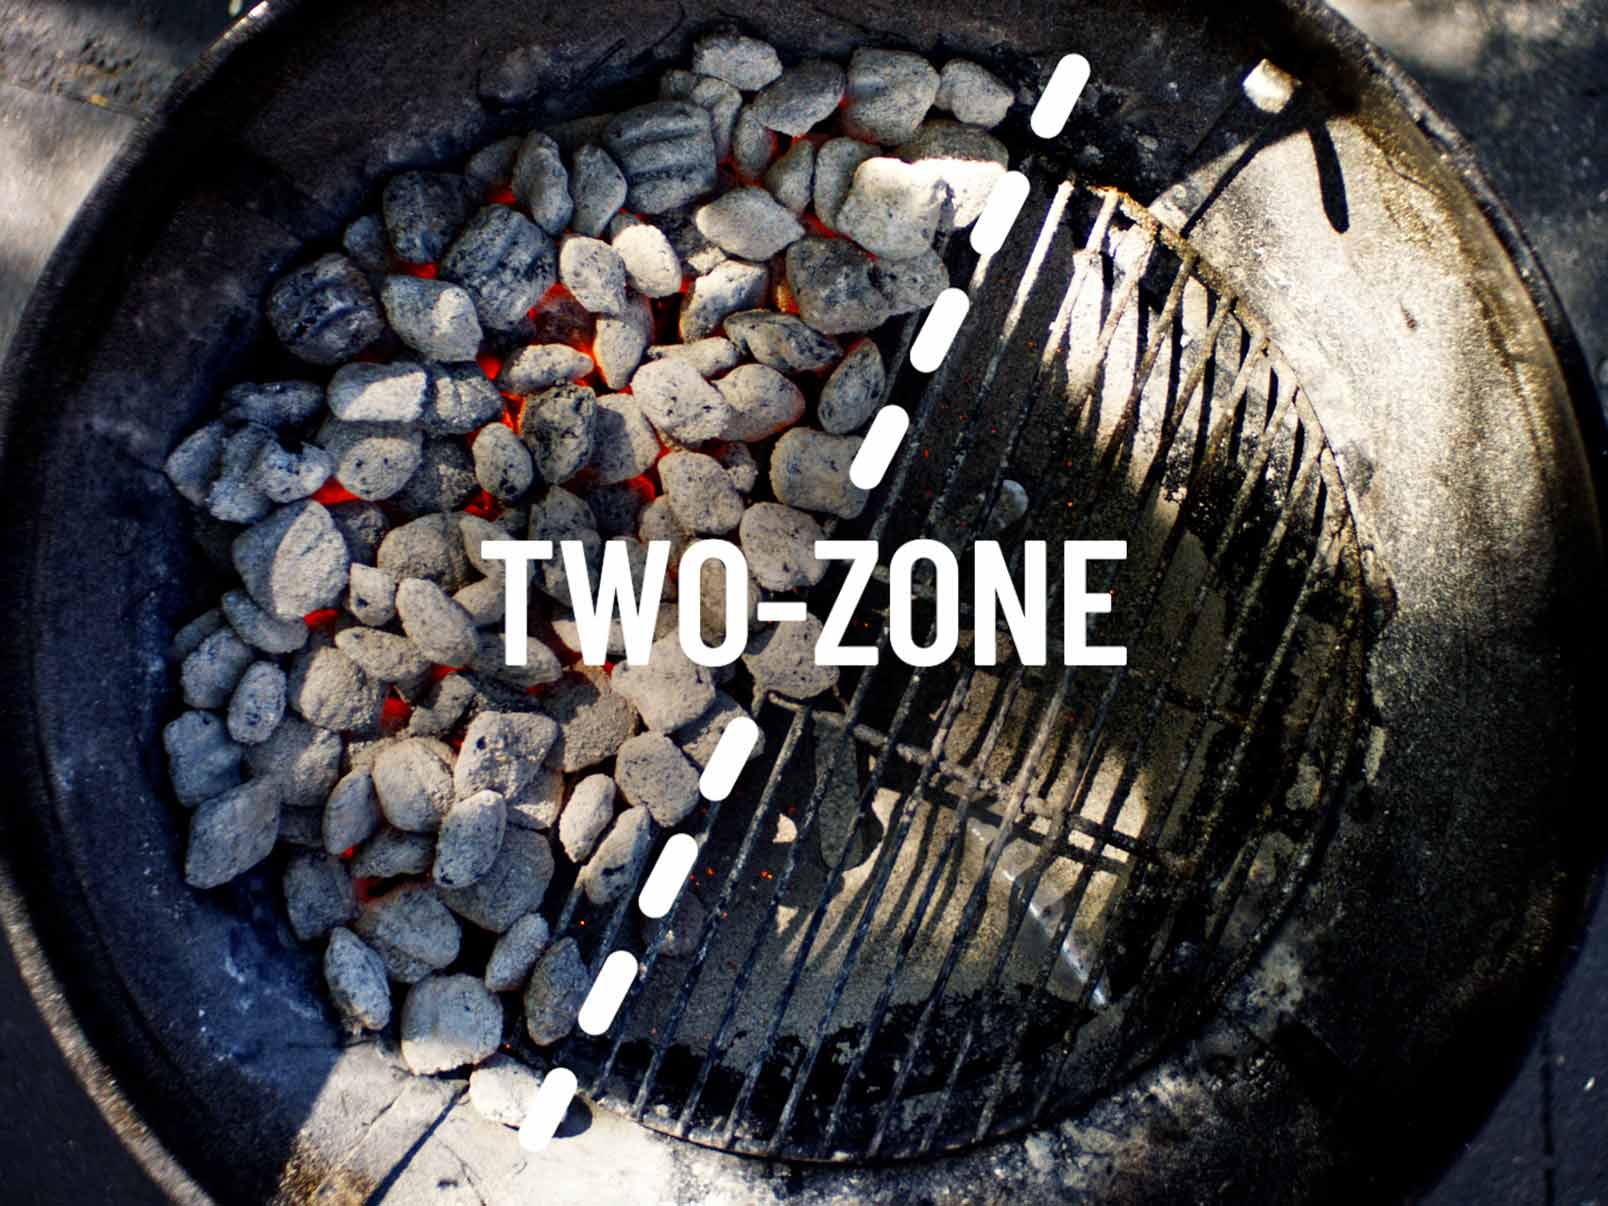
Setting Up Your Grill: The Secret to Perfect Results
The number one secret to grilling a whole chicken is using indirect heat. This means the chicken isn’t directly over the flame or coals, which prevents burning while allowing for thorough cooking.
Gas Grill Setup:
- Turn on one side of the burners to medium-high (around 350-400°F)
- Leave the other side off completely
- Place the chicken over the unlit side
- Close the lid to create an “oven-like” environment
Charcoal Grill Setup:
- Light your charcoal and let it burn until covered with white ash
- Push all the coals to one side of the grill (or arrange in a ring around the edges)
- Place a drip pan in the center or under where the chicken will sit
- Place the grill grate on top and put the chicken on the side without direct coals underneath
- Close the lid
Grilling Time: Let’s Cook This Bird!
Now for the fun part! Here’s the step-by-step process:
- Preheat your grill to 350-400°F using the indirect setup described above
- Place the chicken on the indirect heat side, breast side up if not spatchcocked
- Close the lid and let it cook
- Check occasionally but try to keep the lid closed as much as possible to maintain temperature
- Baste if desired every 20-30 minutes with butter, oil, or your favorite sauce (only add BBQ sauce in the final 15 minutes to prevent burning)
- Cook until done – approximately 60-90 minutes depending on the size of your chicken and whether it’s spatchcocked
How Do I Know When It’s Done?
This is where your meat thermometer becomes your BFF! The chicken is safely cooked when:
- The breast meat reaches 165°F
- The thigh meat reaches 175°F
- The juices run clear when pierced
Don’t rely on appearance alone – the thermometer never lies!
The Essential Resting Period
Once your chicken reaches those target temperatures, RESIST THE URGE to cut into it immediately! Instead:
- Remove it from the grill
- Tent loosely with foil
- Let it rest for 10-15 minutes
This resting time allows the juices to redistribute throughout the meat. Skip this step and those precious juices will end up on your cutting board instead of in your mouth!
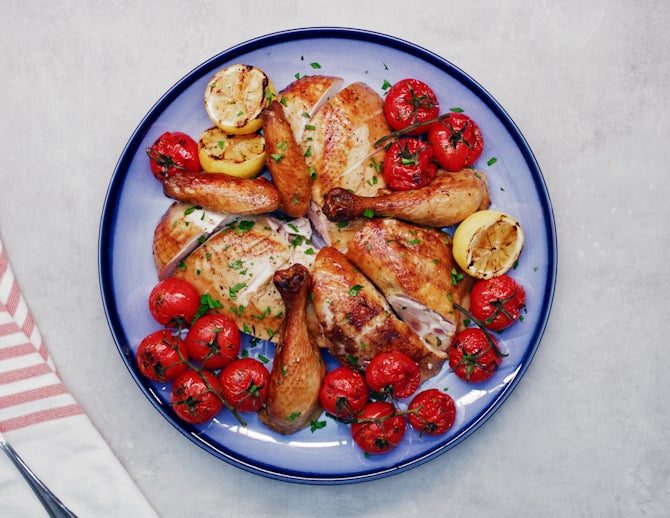
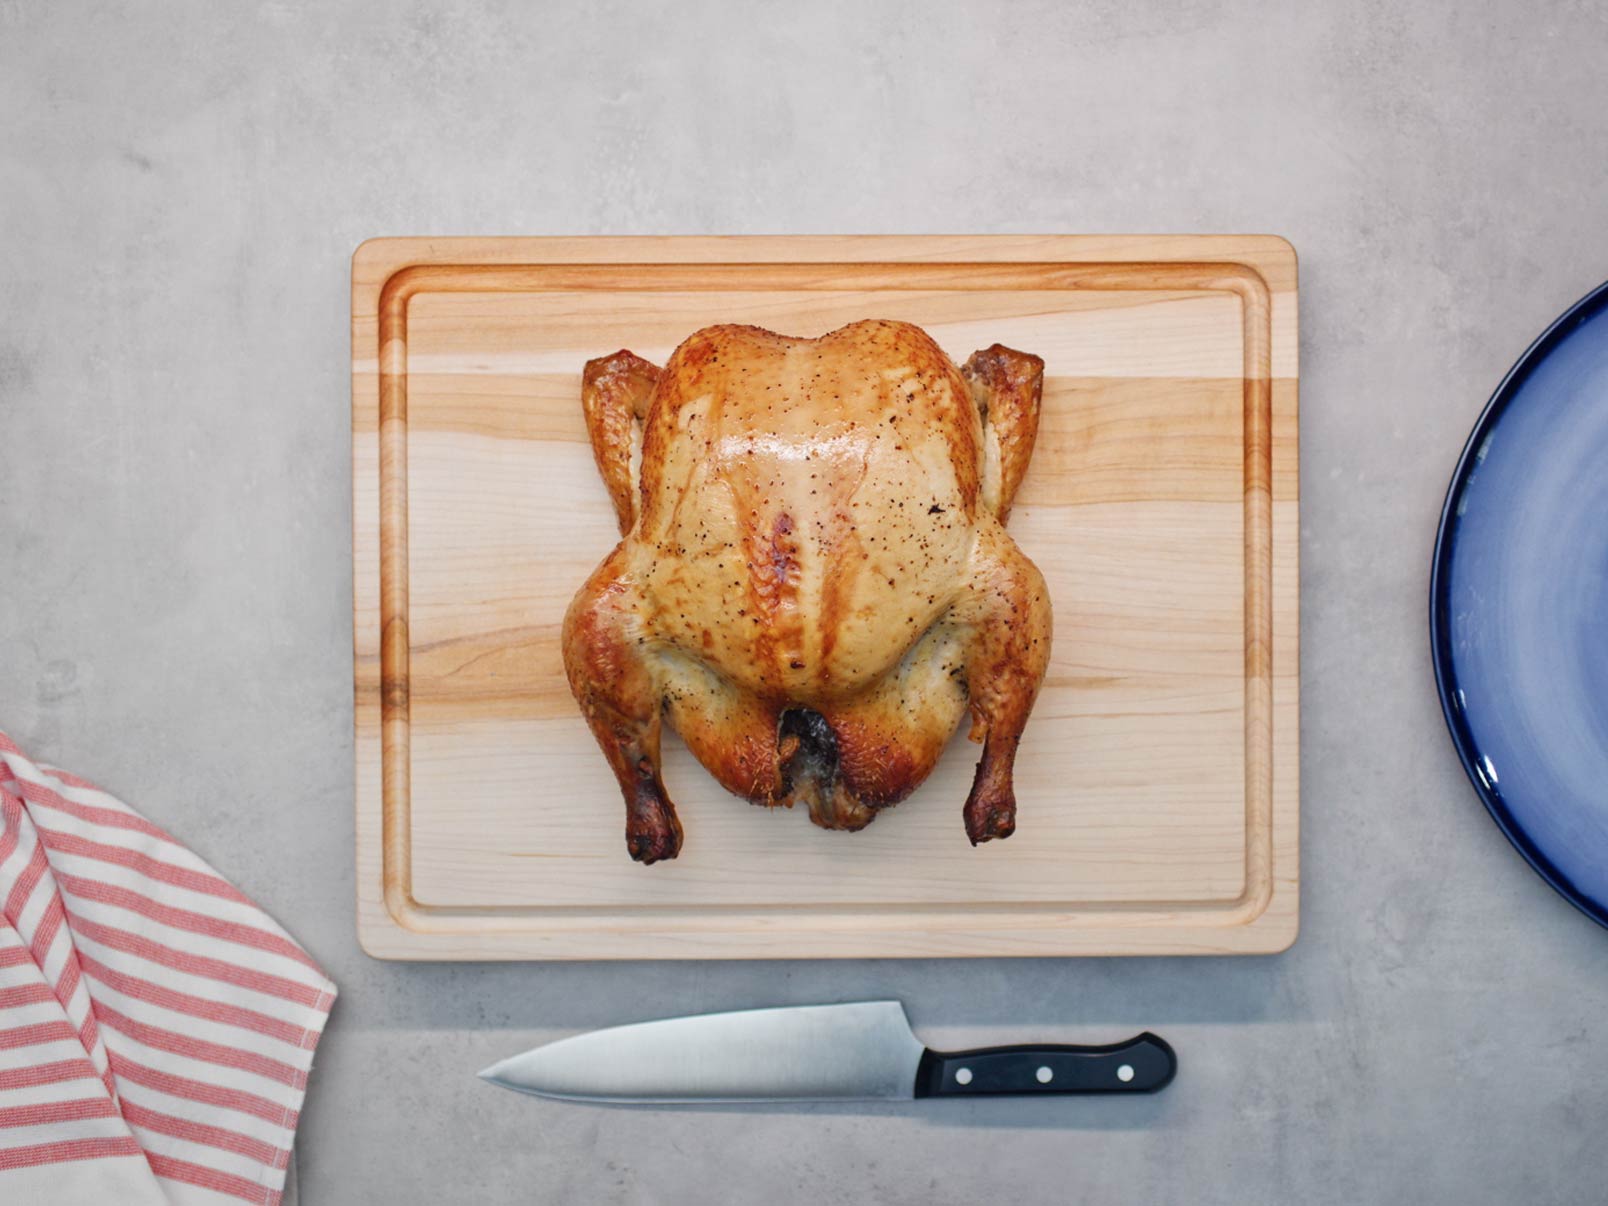
Carving and Serving Your Masterpiece
After resting, it’s time to carve:
- Cut off the legs and thighs where they meet the body
- Remove the wings by cutting through the joint
- Slice the breast meat across the grain for maximum tenderness
- Save the carcass for homemade chicken stock!
What to Serve With Your Grilled Chicken
A great grilled chicken deserves great sides! Here are some perfect pairings:
- Grilled vegetables (zucchini, bell peppers, asparagus)
- Corn on the cob with herb butter
- Coleslaw or potato salad
- Rice pilaf or quinoa
- Fresh crusty bread
- A bright, acidic sauce like chimichurri or salsa verde
Troubleshooting: Common Problems & Solutions
Even the best grill masters face challenges. Here’s how to handle them:
Problem: Chicken is burnt outside but raw inside
Solution: Your heat was too high or you used direct heat. Stick with indirect heat and monitor the temperature.
Problem: Skin isn’t crispy
Solution: Make sure you patted the chicken dry before grilling. You can also finish with 5-7 minutes over direct heat (watching carefully to prevent burning).
Problem: Chicken takes forever to cook
Solution: Your grill temperature might be too low. Try spatchcocking the chicken next time for faster cooking.
Leveling Up: Advanced Techniques to Try
Once you’ve mastered the basics, try these fun variations:
Beer Can Chicken: Sit your chicken upright on a half-full beer can (or soda can) on the grill. The steam from the liquid helps keep the meat moist.
Bundt Pan Method: Use a Bundt pan as a stand for your chicken, allowing it to cook upright while collecting drippings in the pan.
Smoke-Infused: Add soaked wood chips (apple, cherry, or hickory) to your grill for amazing smoky flavor.
Final Thoughts
Grilling a whole chicken might seem intimidating at first, but it’s actually one of the most forgiving and rewarding things you can cook outdoors. The key points to remember are:
- Prepare properly (dry the skin, season well)
- Use indirect heat
- Cook to temperature, not time
- Let it rest before carving
What are you waiting for? Grab a chicken, fire up the grill, and get cooking! And don’t forget to snap a pic before everyone devours your masterpiece – you’ll definitely want to show this one off.
Happy grilling!

Kingsford® Preserve the Pit
Kingsford remains committed to celebrating Black barbecue culture by launching the second year of Preserve the Pit and doubling the investment in aspiring barbecue professionals.

An American-made company founded over 100 years ago, Kingsford has a lot to be proud of. Our employees have been continuing the family tradition in backyards across the nation.
Kingsford has been fueling legendary grills since 1920, and we’re still America’s #1 charcoal for good reason. Our briquets light faster, burn longer, and deliver the high heat you need for exceptional results. Whether you’re searing steaks or savoring smoky flavors, one thing’s for certain — nothing beats the original.
Chicken dinner is always a winner when you prepare your chicken on a charcoal grill. Once you see how easy and flavorful it is — you won’t want to cook it any other way. Let’s get started!
- Share Share to:
- Copy Link
You’ve copied a link
- ?do_action=save-recipe Save
Before starting, make sure you have everything on this list. We recommend Kingsford® Original Charcoal Briquets and Kingsford® BBQ Smoking Chipss. And don’t skip the digital meat thermometer — it’s the best way to make sure your chicken is done.
- 4 to 5 lb. Chicken
- Dry Rub to Taste
- Olive Oil
- Cooking Oil
- Remove the neck and gizzards on your chicken, then trim any excess fat. Pat dry with a paper towel. Now your chicken is ready for seasoning.
- An alternative method for preparing grilled chicken is to butterfly/spatchock your chicken. The advantages are more even cooking, a faster cook, and more crispy skin.
- Using a basting brush, apply the olive oil to the outside of your chicken, then season with your favorite dry rub.
- If time allows, cover your chicken and refrigerate for 1–2 hours to allow the rub to penetrate the meat.
How to Build Your Fire
- Place your chicken in the center of the grate (right over the water pan, with coals on either side), breast side up. Close the lid and let the chicken cook for 60 minutes without removing the lid.
- After 60 minutes, remove the lid every 10–15 minutes to check for doneness using an instant-read meat thermometer. Insert the tip into the thickest part of the thigh without touching the bone. When the internal temperature reaches 165°F, remove your chicken from the grill using tongs. An average 4 lb. chicken will take about 90 minutes to grill-roast. Remember: never use a barbecue fork to remove a whole chicken from the grill. Always use tongs to avoid piercing the meat and letting the juices drip into the fire.
- Let your chicken rest for 15 minutes under a loose sheet of foil, then carve, serve and savor the goodness! For safe meat and other food preparation, reference the USDA website.
How to Grill a WHOLE CHICKEN *MOST JUICIEST RECIPE
FAQ
How long does it take for a whole chicken to cook on the grill?
An average 4 lb. chicken will take about 90 minutes to grill-roast. Remember: never use a barbecue fork to remove a whole chicken from the grill. Always use tongs to avoid piercing the meat and letting the juices drip into the fire.
How to cook chicken on the grill without it drying out?
Is it better to grill chicken at 350 or 400 on a gas grill?
Looks like you’re seeing a trend. Chicken is best cooked at 350 or higher, definitely not low and slow like beef or pork. Sometimes I’ll throw chicken on at 225 while I wait for the family to get home, then crank it up to 400 or finish on my gas grill. The high heat tends to seal the moister inside the chicken.
How to season a full chicken?
Season the cavity of the chicken liberally with salt and pepper, then stuff with 2 lemon halves and a small bunch of thyme, if using.