Are you craving delicious homemade chicken tamales but don’t have a steamer? Good news! You can actually cook amazing chicken tamales right in your oven. While traditional methods call for steaming, oven-baking your tamales is a convenient alternative that delivers moist, flavorful results when done correctly.
I’ve been perfecting my oven-baked tamale technique for years, and I’m excited to share these tips with you. Let’s dive into everything you need to know about cooking chicken tamales in the oven!
Why Cook Tamales in the Oven?
Before we get into the how-to, you might be wondering why you’d want to use your oven instead of the traditional steaming method. Here are some advantages:
- Hands-off cooking – Once in the oven, you don’t need to monitor water levels
- Convenience – Perfect for busy home cooks
- Batch cooking – Easily cook large quantities at once
- No special equipment needed – No steamer basket required
While steaming is still considered the gold standard method for cooking tamales oven-baking is a fantastic alternative that can yield delicious results when done properly.
Understanding Tamales
Tamales are a traditional dish from Central and South America that have become especially popular through Mexican cuisine. These delicious bundles typically consist of corn masa dough filled with seasoned meats, cheese, and vegetables, all wrapped in corn husks.
Historically tamales were made with beans and squash in Aztec and Mayan cultures. Europeans later introduced chicken and pork fillings forever changing the tamale landscape. Today, tamales are symbolic in Mexican culture as comfort food representing community, family, and kinship.
Step-by-Step Guide to Baking Chicken Tamales
Now let’s get to the main event – cooking those chicken tamales in your oven!
What You’ll Need
- Chicken tamales (fresh or frozen)
- Aluminum foil
- Baking dish
- Water
- Clean kitchen towel (optional)
- Meat thermometer (optional)
The Process
1. Preheat Your Oven
First things first, preheat your oven to 325°F (163°C). This lower temperature is ideal for slow, even cooking which helps prevent the tamales from drying out.
2. Prepare Your Tamales
If your tamales are frozen, it’s best to thaw them in the refrigerator overnight. However, you can cook them from frozen if necessary (we’ll cover that below). For fresh tamales, make sure they’re properly wrapped in their corn husks.
3. Choose Your Wrapping Method
You have two main options here:
Option 1: Individual Foil Wrapping
- Wrap each tamale individually in aluminum foil
- This creates a sealed environment that traps moisture
- Great for ensuring even cooking
Option 2: Baking Dish Method
- Arrange tamales in a baking dish, standing them upright if possible
- Pour about ½ inch of water into the bottom of the dish
- Cover the dish tightly with aluminum foil
- For extra moisture, place a damp (not soaking wet) kitchen towel on top of the tamales before covering with foil
4. Baking Times
The baking time will vary depending on whether your tamales are fresh, thawed, or frozen:
- Fresh or thawed tamales: 45-60 minutes
- Frozen tamales: 75-90 minutes
5. Check for Doneness
To check if your tamales are fully cooked:
- Carefully remove one tamale from the oven
- Unwrap it and check the masa (dough)
- The masa should be firm and pull away easily from the corn husk
- If the masa is still sticky or wet, return tamales to the oven for another 10-15 minutes
- For absolute certainty, use a meat thermometer – the internal temperature should reach 165°F (74°C)
6. Rest Before Serving
Once cooked, let your tamales rest for 5-10 minutes before serving. This allows the flavors to meld and the masa to firm up further.
Tips for Perfect Oven-Baked Tamales
Follow these pro tips to ensure your chicken tamales turn out amazing:
Preventing Dryness
The biggest challenge when cooking tamales in the oven is preventing them from drying out. Here’s how to keep them moist:
- Never skip the moisture source – Either wrap individually in foil or use water in the baking dish
- Check water levels – If using the baking dish method, check halfway through and add more water if needed
- Don’t overcook – Remove tamales as soon as they’re done
- Lower temperature is better – 325°F allows for gentle cooking without drying
Flavor Enhancement
Want to kick your tamales up a notch? Try these flavor-boosting ideas:
- Infuse the water – Add herbs, spices, or even a little chicken broth to the water in your baking dish
- Brush with oil – Lightly brush the corn husks with oil before wrapping for extra moisture
- Let flavors develop – Tamales often taste even better the next day!
Reheating Leftover Tamales
Got leftovers? Here’s how to reheat your tamales in the oven:
- Preheat your oven to 325°F (163°C)
- Wrap tamales individually in foil
- Bake for 20-30 minutes until heated through
- Let rest for 5 minutes before serving
Serving Suggestions
Complete your tamale meal with these perfect accompaniments:
- Traditional toppings: Salsa, salsa verde, sour cream, queso
- Fresh additions: Guacamole, diced jalapeños, cilantro
- Side dishes: Mexican rice, refried beans, corn salad
Remember to remove the corn husks before eating! They’re not edible and can cause choking hazards.
FAQs About Cooking Chicken Tamales in the Oven
Can I cook frozen tamales directly without thawing?
Yes, you can bake frozen tamales directly, but you’ll need to increase the baking time by about 30-45 minutes. Always ensure they’re wrapped tightly or placed in a covered dish with water to prevent drying.
What’s the best temperature for baking chicken tamales?
325°F (163°C) is ideal. This lower temperature allows for slow, even cooking, which helps retain moisture and prevents burning.
Is it better to bake or steam tamales?
Steaming is generally considered superior for cooking tamales as it provides consistent moisture. However, baking is a convenient alternative, especially for larger batches or when steaming isn’t feasible.
Can I use a convection oven?
Yes, but reduce the temperature by about 25°F (14°C) and check the tamales more frequently, as convection ovens cook faster and can dry out food more easily.
How do I know when my tamales are fully cooked?
A fully cooked tamale will have firm masa that pulls away easily from the corn husk. You can also use a meat thermometer to check for an internal temperature of 165°F (74°C).
How long can I store leftover baked tamales?
Leftover baked tamales can be stored in the refrigerator for 3-4 days or frozen for up to 3 months. Ensure they’re properly wrapped or stored in an airtight container.
Final Thoughts
While traditionalists might argue that steaming is the only way to cook tamales, I’ve found that oven-baking is a wonderful alternative that fits perfectly into our busy modern lives. The key is maintaining moisture throughout the cooking process.
With proper technique, your oven-baked chicken tamales can rival any steamed version in flavor and texture. Plus, the convenience factor makes this method a winner for weeknight dinners or batch cooking sessions.
Have you tried cooking tamales in the oven? I’d love to hear about your experiences and any tips you might have! Drop a comment below or reach out on social media to share your tamale triumphs.
Now go forth and bake some amazing chicken tamales! Your taste buds (and family) will thank you.
How to Make Tamales, Step-by-step:
1. Soak the corn husks. Place corn husks in a bowl of very hot water for 30 minutes or until softened.
2. Prepare desired filling. You’ll need about 3 ½-4 cups of filling for one batch of tamale dough. Some filling options include:
- Salsa verde chicken: 3 ½ cups cooked, shredded chicken mixed with 16 ounce can salsa verde (I like herdez brand)
- Bean and cheese: 15 oz can refried beans and 1 ½ cups shredded mozzarella cheese
- Red chili pork: 1 recipe red chili pork
3. Make the masa dough: In a large bowl, use an electric mixer to beat the lard and 2 tablespoons of broth until fluffy, about 3-5 minutes. Combine the masa flour, baking powder, salt, and cumin in a medium bowl; stir into the lard mixture and beat well with an electric mixer. Add the broth, little by little to form a very soft dough. Beat on high speed for several minutes. The dough should spread like creamy peanut butter and be slightly sticky. Cover the mixing bowl with a damp paper towel, to keep the dough from drying out.
4. Assemble the tamales: Lay a corn husk, glossy side up, on the counter with the wide end at the top. Scoop about ¼ cup of dough onto the top, center of the corn husk. Lay a piece of plastic wrap over the dough and use your hands to press and spread the masa into a thin layer, about ¼ inch thick. Keep the dough spread along the top half of the corn husk to allow plenty of room to fold the bottom husk up, when it’s time.
Place 1-2 tablespoons of desired filling in a line down the center of the dough. (You don’t want too much filling).
Fold-in one long side of the husk over the filling. Fold in the other long side, overlapping the first (like folding a brochure). Fold the bottom of the husk up. Optional: Tear a long strip from an edge of one of the soaked corn husks and use it to tie the tamale, to hold it together.
5. Tie the tamales (optional): Tying the tamales can help you differentiate them if making more than one filling. However, you don’t have to tie a corn husk string around them to secure them, as they will hold together without it, stacked upright, side-by-side in the pot.
6. Cook on the stove-top or Instant Pot:
Add water to the bottom of your stove-top steamer or Instant Pot pressure cooker. (About 1 cup for IP and a few cups for a steamer pot—don’t fill above the steamer rack.) Lay a few extra corn husks on the bottom rack to keep the tamales from falling through and any boiling water from directly touching them.
Place tamales standing upright, with the open end up, just tightly enough to keep them standing. If using a steamer, lay a few soaked corn husks or a wet towel over the top of the tamales before closing the lid.
Steamer: Bring water to a boil and once boiling, reduce to a simmer and steam for 1 to 2 hours (or even longer, depending on how many youre making). Check them after 1 hour. (In Mexico they would often place a coin at the bottom of the steamer and when the coin started to tap in the pot you know the water was low and you needed to add more.)
Instant Pot: Cook on Manual/High Pressure for 25 minutes. Allow pressure to naturally release for 10 minutes, and then quick release.
What is a tamale?
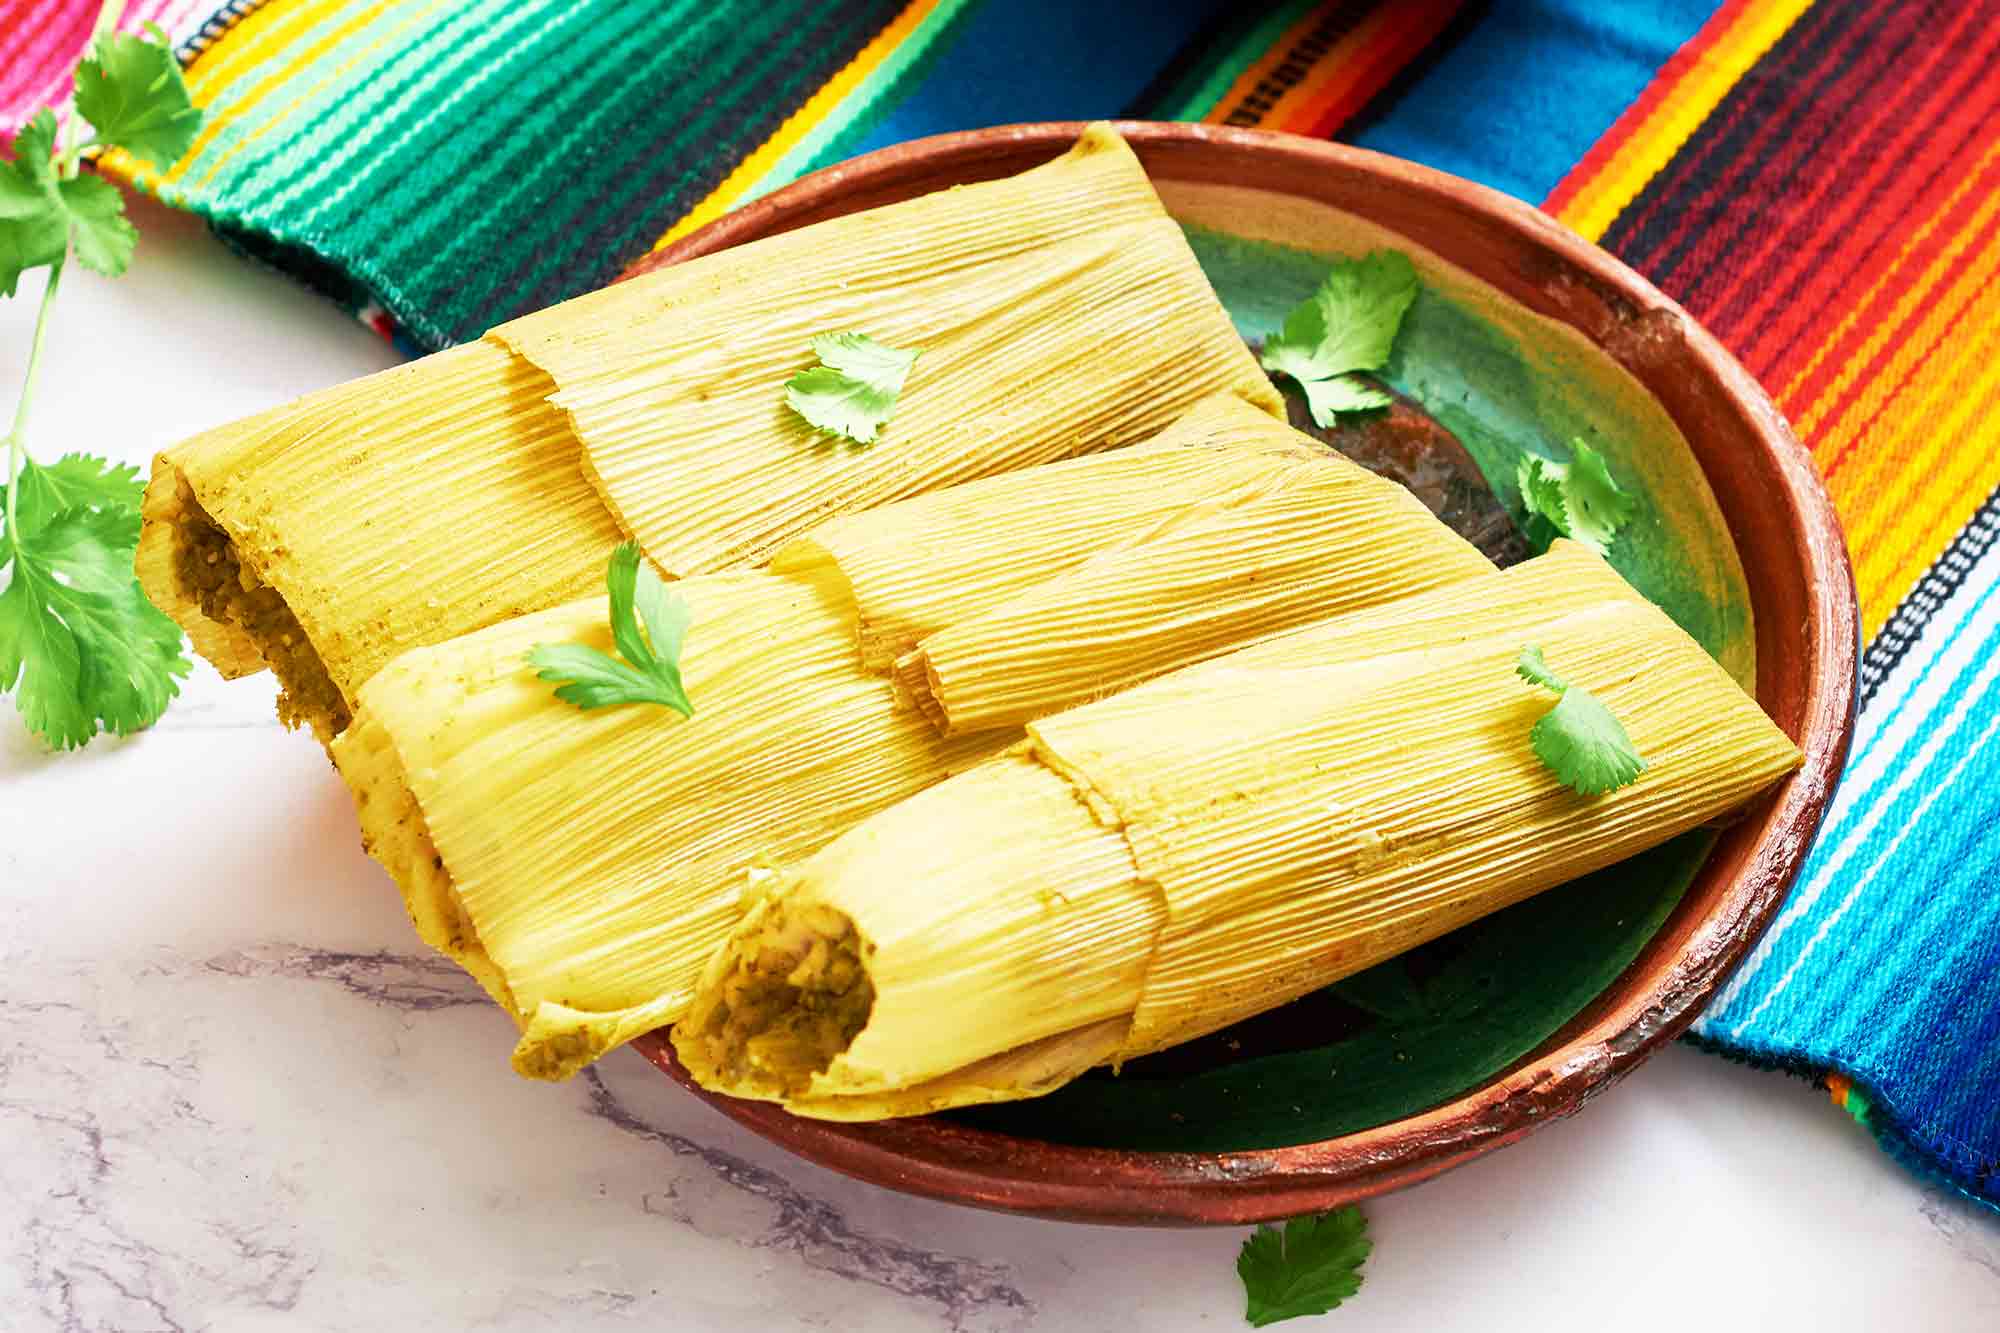
Tamales are a traditional Mexican dish made with a corn based dough mixture that is filled with various meats or beans and cheese. Tamales are wrapped and cooked in corn husks or banana leaves, but they are removed from the husks before eating. Try them served with pico de gallo on top and a side of guacamole and rice.
While making tamales is a process (made very fun with multiple people to help stuff and wrap them!), its really simple, so dont be intimidated! There are just two main elements; the dough, and the filling.
- The dough, called “masa” is spread on the corn husk. The corn husks do not get eaten, they are just used to envelope the dough and filling of the tamale which gets cooked inside.
- The filling. You can fill the tamales with meat or beans and cheese. Find my favorite filling options below!
Masa harina: I like the Maseca brand which is a common brand found in the Mexican aisle at the grocery store.
Broth: Beef, chicken or vegetable will work. If using my red chili pork tamale filling, use the leftover broth from the cooked pork.
Baking powder
Salt
Cumin
Lard: lard is used in truly authentic Mexican tamales (and it has less saturated fat then butter)! You can find it in the Mexican aisle at the grocery store, or online. Shortening would work as a substitute.
Dried corn husks: 8 ounce package