Are you tired of dry, flavorless chicken? Look no further than bone-in chicken thighs! These juicy, flavorful cuts are not only budget-friendly but also practically impossible to mess up. Today, I’m gonna share my favorite method for cooking bone-in chicken thighs right on your stovetop – no oven required (though we’ll talk about a combo method too!).
As someone who cooks chicken at least twice a week, I’ve perfected this technique through lots of trial and error. Trust me when I say that stovetop chicken thighs often find their way onto my weekly menu and for good reason!
Why Bone-In Chicken Thighs Are Superior
Before we dive into cooking methods, let’s talk about why bone-in chicken thighs deserve more attention:
- Juicier meat – The bone helps retain moisture during cooking
- More flavor – Dark meat naturally has more flavor than breast meat
- Harder to overcook – Higher fat content means more forgiveness
- Budget-friendly – Usually cheaper than boneless cuts
- Crispy skin – When cooked properly, you get that amazing crispy skin
I always wonder why chicken breasts get all the attention when thighs are clearly superior! There’s just no elegant way to talk about breasts and thighs without sounding a bit immature. but I’ll try my best!
What You’ll Need
Basic Ingredients:
- 4-6 bone-in, skin-on chicken thighs
- 1-2 tablespoons olive oil (or other cooking oil)
- Salt and pepper to taste
- Optional herbs and spices (smoked paprika, garlic powder, onion powder)
Equipment:
- Large skillet or cast iron pan (with lid if possible)
- Tongs for flipping
- Meat thermometer
- Paper towels
Simple Stovetop Method (30 Minutes)
This is my go-to method when I want delicious chicken thighs without firing up the oven
-
Prep the chicken thighs – Pat them dry with paper towels (this is crucial for crispy skin!) and remove any excess fat or loose skin if desired.
-
Season generously – Season both sides with salt, pepper, and any other spices you like. I personally love smoked paprika and onion powder.
-
Heat your skillet – Place a large skillet over medium-high heat and add olive oil until hot but not smoking.
-
Place chicken skin-side down – Add the chicken thighs skin-side down in the hot skillet. You should hear a satisfying sizzle! Don’t overcrowd the pan – work in batches if needed.
-
Leave them alone! – This is important! Don’t move them for about 5-6 minutes. This allows the skin to get nice and crispy.
-
Flip and continue cooking – Once the skin is golden and crispy, flip the thighs and cook for another 5-6 minutes on the other side.
-
Lower the heat and cover – Reduce heat to medium-low, cover the skillet (if you don’t have a lid, you can use another pan inverted on top), and continue cooking for about 10-12 minutes.
-
Check for doneness – Use a meat thermometer to check that the internal temperature reaches 165°F (74°C). Insert it into the thickest part without touching the bone.
-
Rest before serving – Let the chicken rest for 5 minutes before serving to allow juices to redistribute.
This simple method gives you perfectly cooked chicken thighs in about 30 minutes total, including prep!
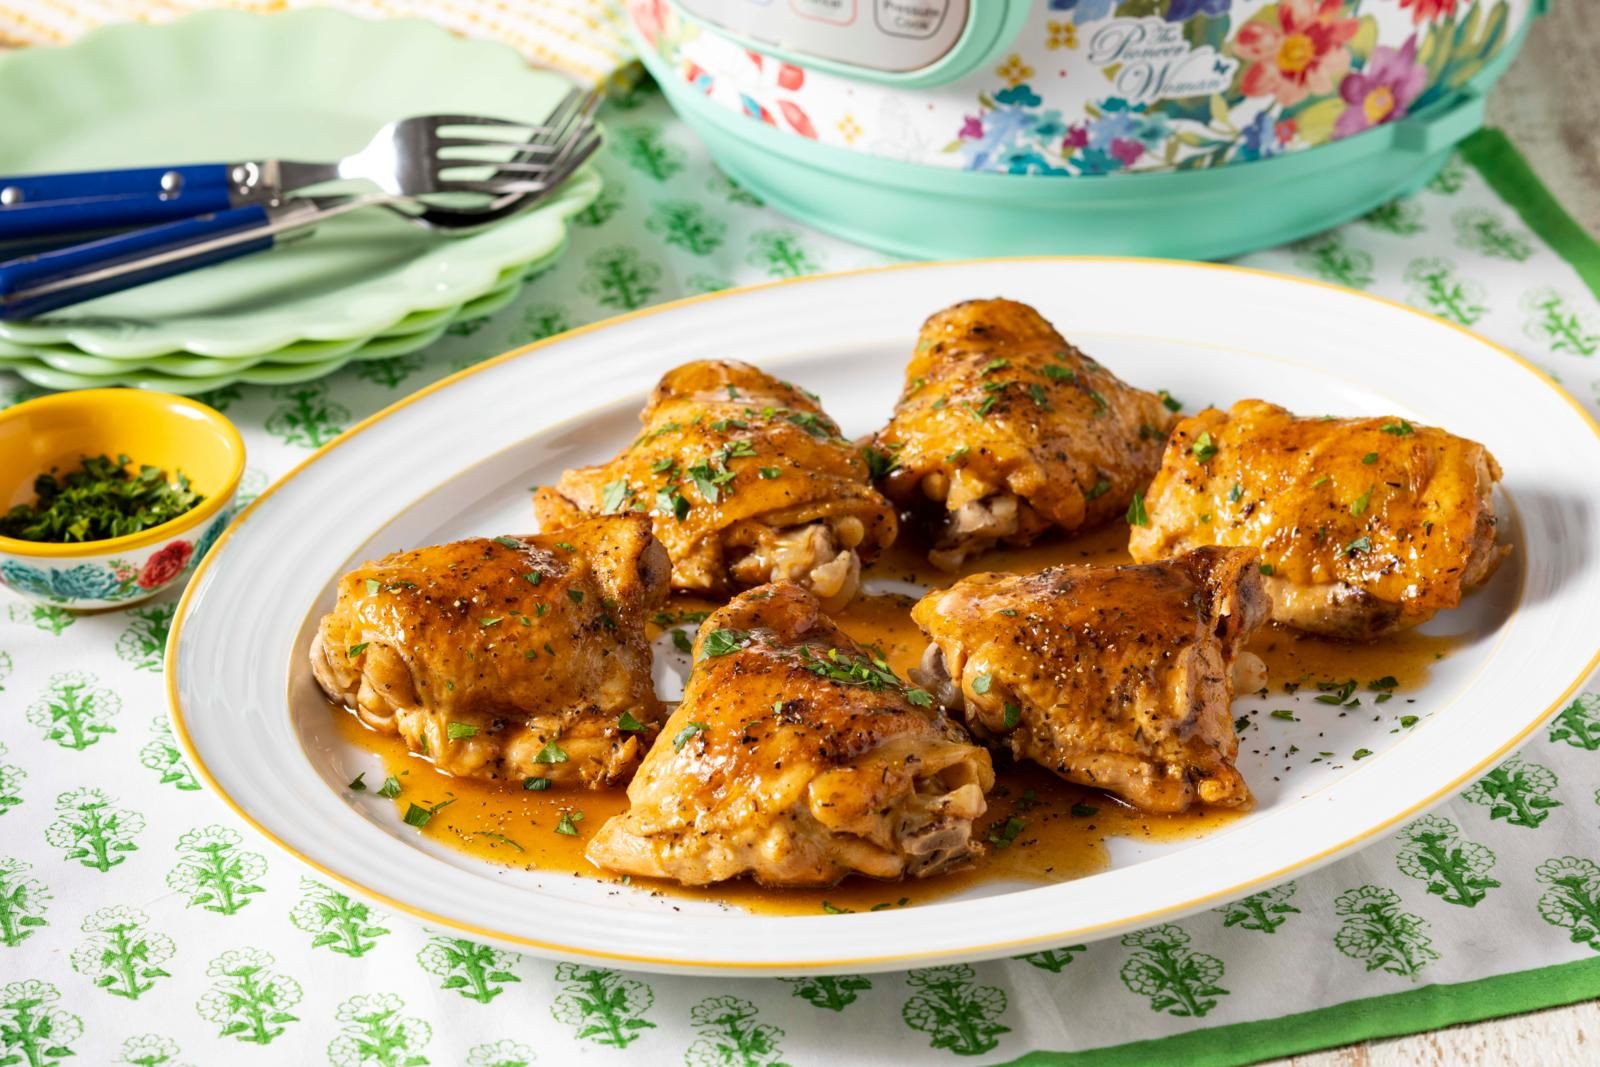
Ree Drummond’s Pan-Roasted Method (45 Minutes)
If you’ve got a bit more time and want to create a sauce along with your chicken, this method from The Pioneer Woman is absolutely divine:
-
Preheat oven to 350°F (we’ll finish the chicken there).
-
Dredge seasoned chicken in flour after seasoning with salt and pepper.
-
Brown in olive oil skin-side down first (about 3-4 minutes), then flip and cook another 2 minutes.
-
Remove chicken temporarily and pour off all but about 1/4 cup of the grease.
-
Add aromatics – Cook diced onion and minced garlic in the same pan for about 3 minutes.
-
Build your sauce – Add white wine, chicken broth, lemon zest and juice, salt and pepper. Let it reduce for 1-2 minutes.
-
Return chicken to pan skin-side up. The liquid should come about halfway up the sides of the chicken.
-
Cover and bake for 15 minutes in the oven.
-
Uncover, baste, and finish – Remove the lid, spoon sauce over each thigh, and continue cooking uncovered for another 15 minutes.
-
Serve with rice – Mix remaining lemon zest into rice and serve chicken over it with the pan sauce.
This method takes about 45 minutes total but creates an amazing lemon sauce that’s perfect over rice!
Tips for Perfect Stovetop Chicken Thighs
After making these countless times, I’ve learned a few tricks:
- Don’t skip patting dry – Moisture is the enemy of crispy skin
- Room temperature chicken cooks more evenly – Take it out of the fridge 20 minutes before cooking
- Don’t crowd the pan – Work in batches if needed
- Be patient with the skin-side – That’s where the magic happens
- Thermometer doesn’t lie – 165°F is the magic number
- Let them rest – This keeps them juicy!
Delicious Variations to Try
The basic recipe is amazing, but here are some of my favorite variations:
Honey Garlic Chicken Thighs
Add 2 tablespoons honey, 4 minced garlic cloves, and a splash of soy sauce to the pan after flipping the chicken.
Mediterranean Style
Add olives, diced tomatoes, and a sprinkle of oregano to the pan during the covered cooking phase.
Teriyaki Glazed
Mix 3 tablespoons soy sauce, 2 tablespoons honey, 1 tablespoon rice vinegar, and 1 teaspoon ginger. Pour over chicken during the last 5 minutes of cooking.
Garlic Parmesan
Add 4 cloves minced garlic after flipping, then sprinkle with grated parmesan during the last 5 minutes.
Common Problems & Solutions
| Problem | Solution |
|---|---|
| Skin isn’t crispy | Make sure to pat chicken dry and start with a hot pan |
| Chicken is burning | Your heat is too high – lower it after initial sear |
| Taking too long to cook | Let chicken come to room temp before cooking |
| Undercooked near bone | Use the combo stovetop/oven method for thicker pieces |
| Bland flavor | Season generously and consider brining beforehand |
What to Serve with Your Chicken Thighs
These stovetop chicken thighs pair beautifully with:
- Creamy mashed potatoes (the pan sauce is amazing on these!)
- Rice (plain or with lemon zest mixed in)
- Steamed or roasted vegetables
- Simple side salad
- Blistered green beans (Pioneer Woman suggests cooking them in butter until blistered, then adding a splash of soy sauce)
Storing and Reheating Leftovers
If you happen to have leftovers (which rarely happens in my house!), store them in an airtight container in the refrigerator for 3-4 days. They can also be frozen for up to 3 months.
To reheat without drying out:
- Microwave: Cover with a damp paper towel and heat in 30-second intervals
- Stovetop: Add a splash of water or broth to a pan, add chicken, and heat covered on low
- Oven: Wrap in foil with a tablespoon of liquid and heat at 300°F until warm
Final Thoughts
Bone-in chicken thighs are seriously my life. I mean it! If I had to choose one cut of chicken to eat for the rest of my days, thighs would win hands down. They’re economical, hard to mess up, and incredibly versatile.
Whether you follow the simple stovetop method or try the pan-roasted oven-finished approach, you’ll end up with a delicious meal that your family will request again and again.
So next time you’re at the grocery store, grab some bone-in, skin-on chicken thighs and give this method a try. I promise you won’t be disappointed!
This recipe was inspired by techniques from The Dinner Bite, Recipes.net, and The Pioneer Woman. Each offers their own unique take on stovetop chicken thighs!
Why You Will Love This Cast Iron Chicken Thighs Recipe
- Simple! Straightforward! Dare I say fail-proof? As long as you get your heat right at the beginning, this recipe is nearly hands-off and almost impossible to mess up.
- Delicious – seriously! The chicken skin (if using skin-on) gets so delightfully crispy. I have friends who I served this for back in 2015 who still make their chicken thighs this way!
- Great for a crowd. I actually love to make this for dinner guests. I can start cooking it ahead of time, and then just flip the chicken when they arrive. Then it will be ready to go as soon as theyve settled and are ready to eat.
For this recipe, you basically just need chicken thighs with the skin on, and some seasonings. No oil needed! Be sure to check the recipe card for the full ingredients.
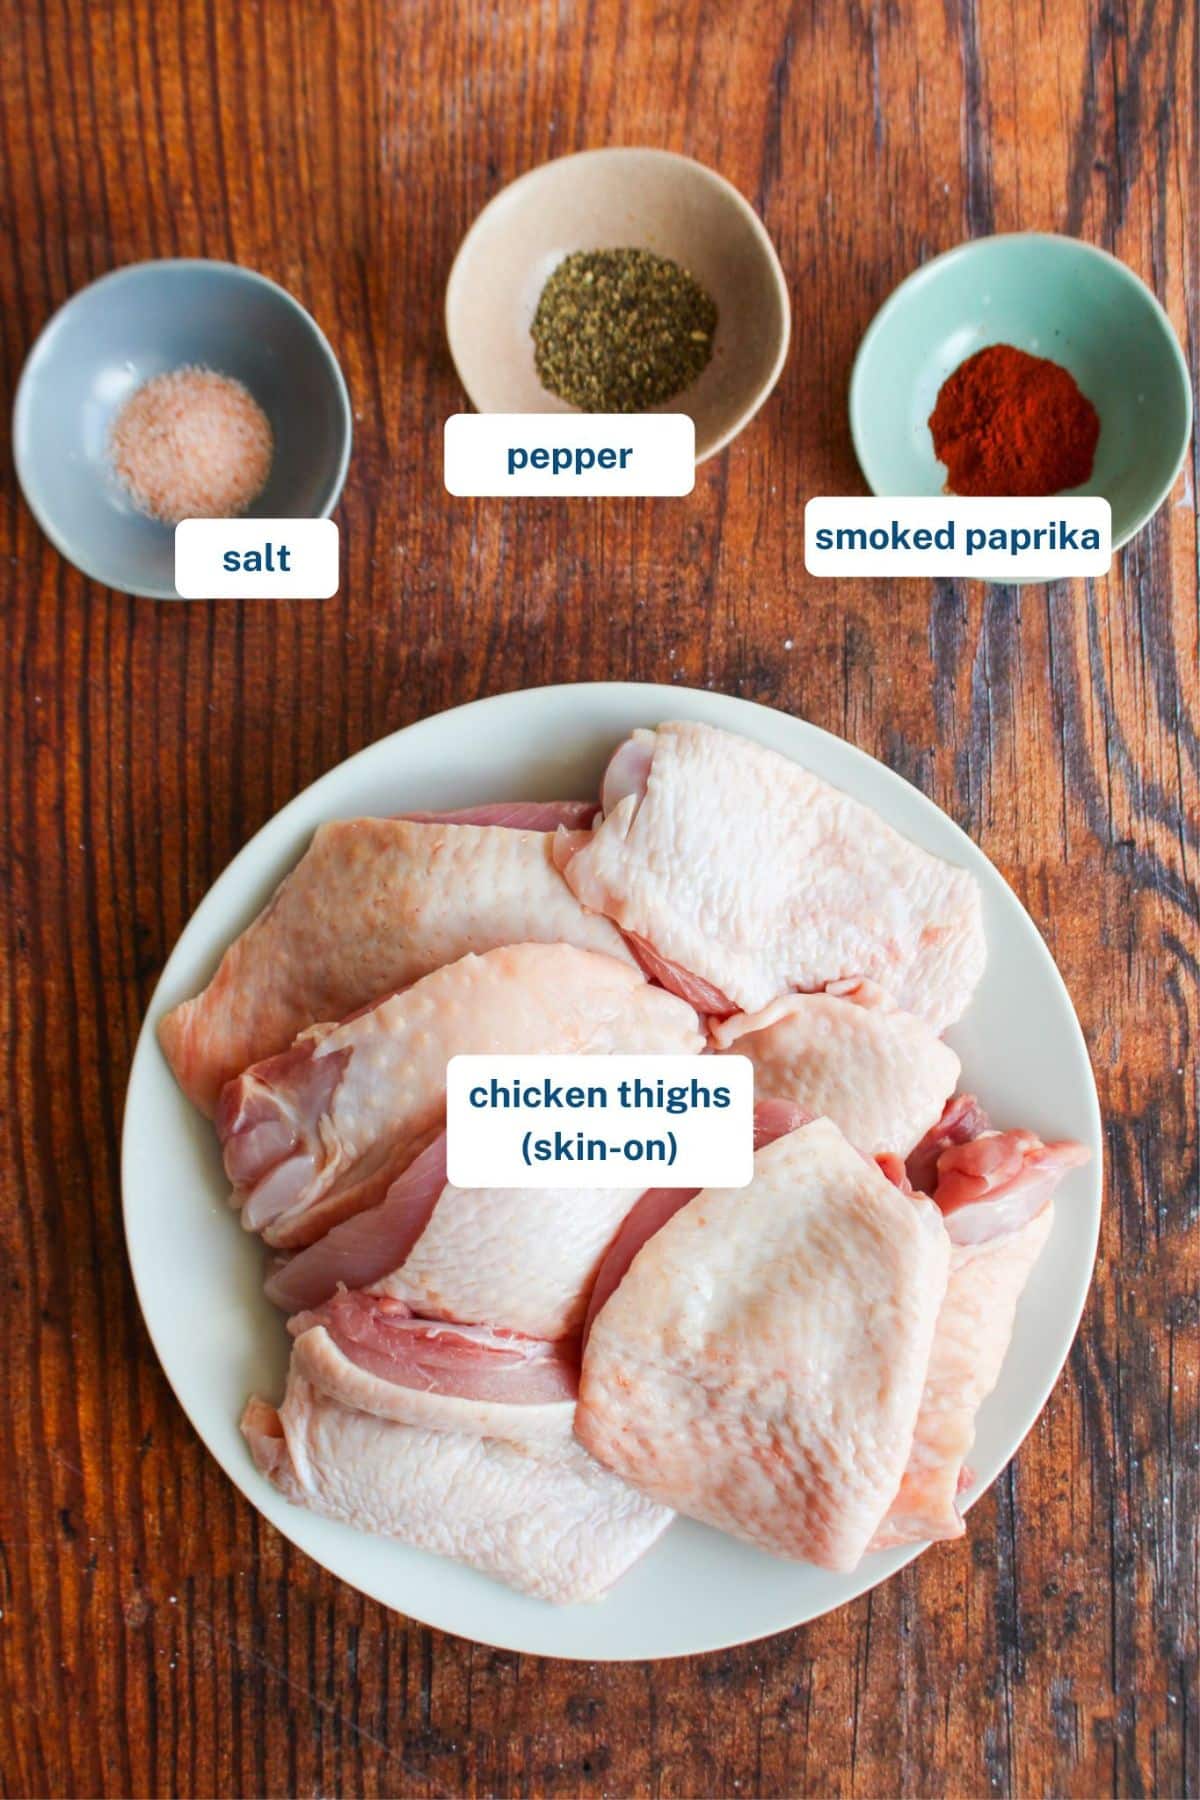
- Chicken thighs: Boneless, skin-on is my preference here. I know in the US that combination is hard to find, so see the modifications below to use bone-in skin-on thighs. You can also use skinless chicken thighs, but the recipe will cook much more quickly and, unsurprisingly, you will not get crispy skin.
- Salt: Im using a fine salt here – I typically always use pink Himalayan salt, but a fine Celtic salt or even a coarse kosher salt will work here. Use whatever you have! This recipe isnt picky.
- Seasonings: Smoked paprika, salt, and pepper are my go-to seasonings here but feel free to spice things up with whatever herbs and spices you like. Ive made this with a wide array of spice blends as well. If using garlic powder or red pepper flakes, dont add them to the skin or they will burn, just add them to the flesh side of the chicken.
Dietary Modifications and Variations
- Oven version: To make this cast iron skillet chicken thighs in the oven, you can follow the recipe as written, then bake the chicken in a 425ºF oven for about 25 minutes. Be sure to use a thermometer to check the doneness of the chicken. Be aware that larger thighs may take longer, while smaller thighs or thigh pieces will take closer to 18 minutes.
- To make cast iron bone-in chicken thighs: Id follow the recipe as written with one minor change. After flipping, add at least 5-10 minutes of additional cooking time to make sure it is properly cooked through.
- Or, if youre up for it, you can use some sharp kitchen shears (scissors) to cut out the bones and then just use them for stock.
- To use boneless, skinless thighs: This method is much faster since you are not rendering fat out of the chicken skin. Cook for 8-10 minutes on the first side, and 5-10 minutes on the second side.
- To use chicken breast: Dont! Try this chicken recipe instead.
- Flavor Variations: if youre not into smoked paprika, feel free to use a blend of Italian herbs and garlic powder or any of your favorite seasonings instead. I have also made a version with creamy coconut milk. To do this, after flipping the chicken thighs, add about ½ cup coconut milk to the pan and let that simmer for 5-10 minutes, or until the chicken thighs are fully cooked.
JUICY STOVE TOP CHICKEN THIGHS
FAQ
How long do bone chicken thighs take to cook?
Preheat your oven to 180C. Take a good-sized roasting dish and place the thighs snugly within. Season the skin and flesh of the thighs and place into the oven. Roast for 35-40 minutes.
Is it better to cook chicken thighs in the oven or on the stove?
How long does it take to cook chicken on the bone on the stove?
Larger chicken breasts can take up to 15 minutes. Large bone-in chicken breasts will take about 20 minutes.
How to cook bone in chicken thighs?
Place all the baking powder, paprika, garlic powder, salt and pepper in a bowl. Mix the ingredients together. Rub the spice mix evenly over each thigh. Lay the chicken thighs on the baking pan. Leave a few inches of space between each piece. The bake time for bone-in chicken thighs is about 30 to 40 minutes.
How long does it take to cook stovetop chicken thighs?
These juicy and tender crispy stove top chicken thighs is a perfect main dish. It is delicious, quick, easy and with a cooking time of about 30 minutes including prep. This stovetop chicken thighs recipe is simple to make, pan seared to perfection and a great one pan meal that the whole family would love.
How long does it take to make bone in chicken thighs?
This easy Bone-in Chicken Thigh Recipe requires 30 minutes, one pan, and 5 pantry ingredients if you don’t count good old salt & pepper. Optional (but optimal) marination: Place the chicken in a medium bowl and toss with everything but the ketchup.
How to cook chicken thighs on stovetop?
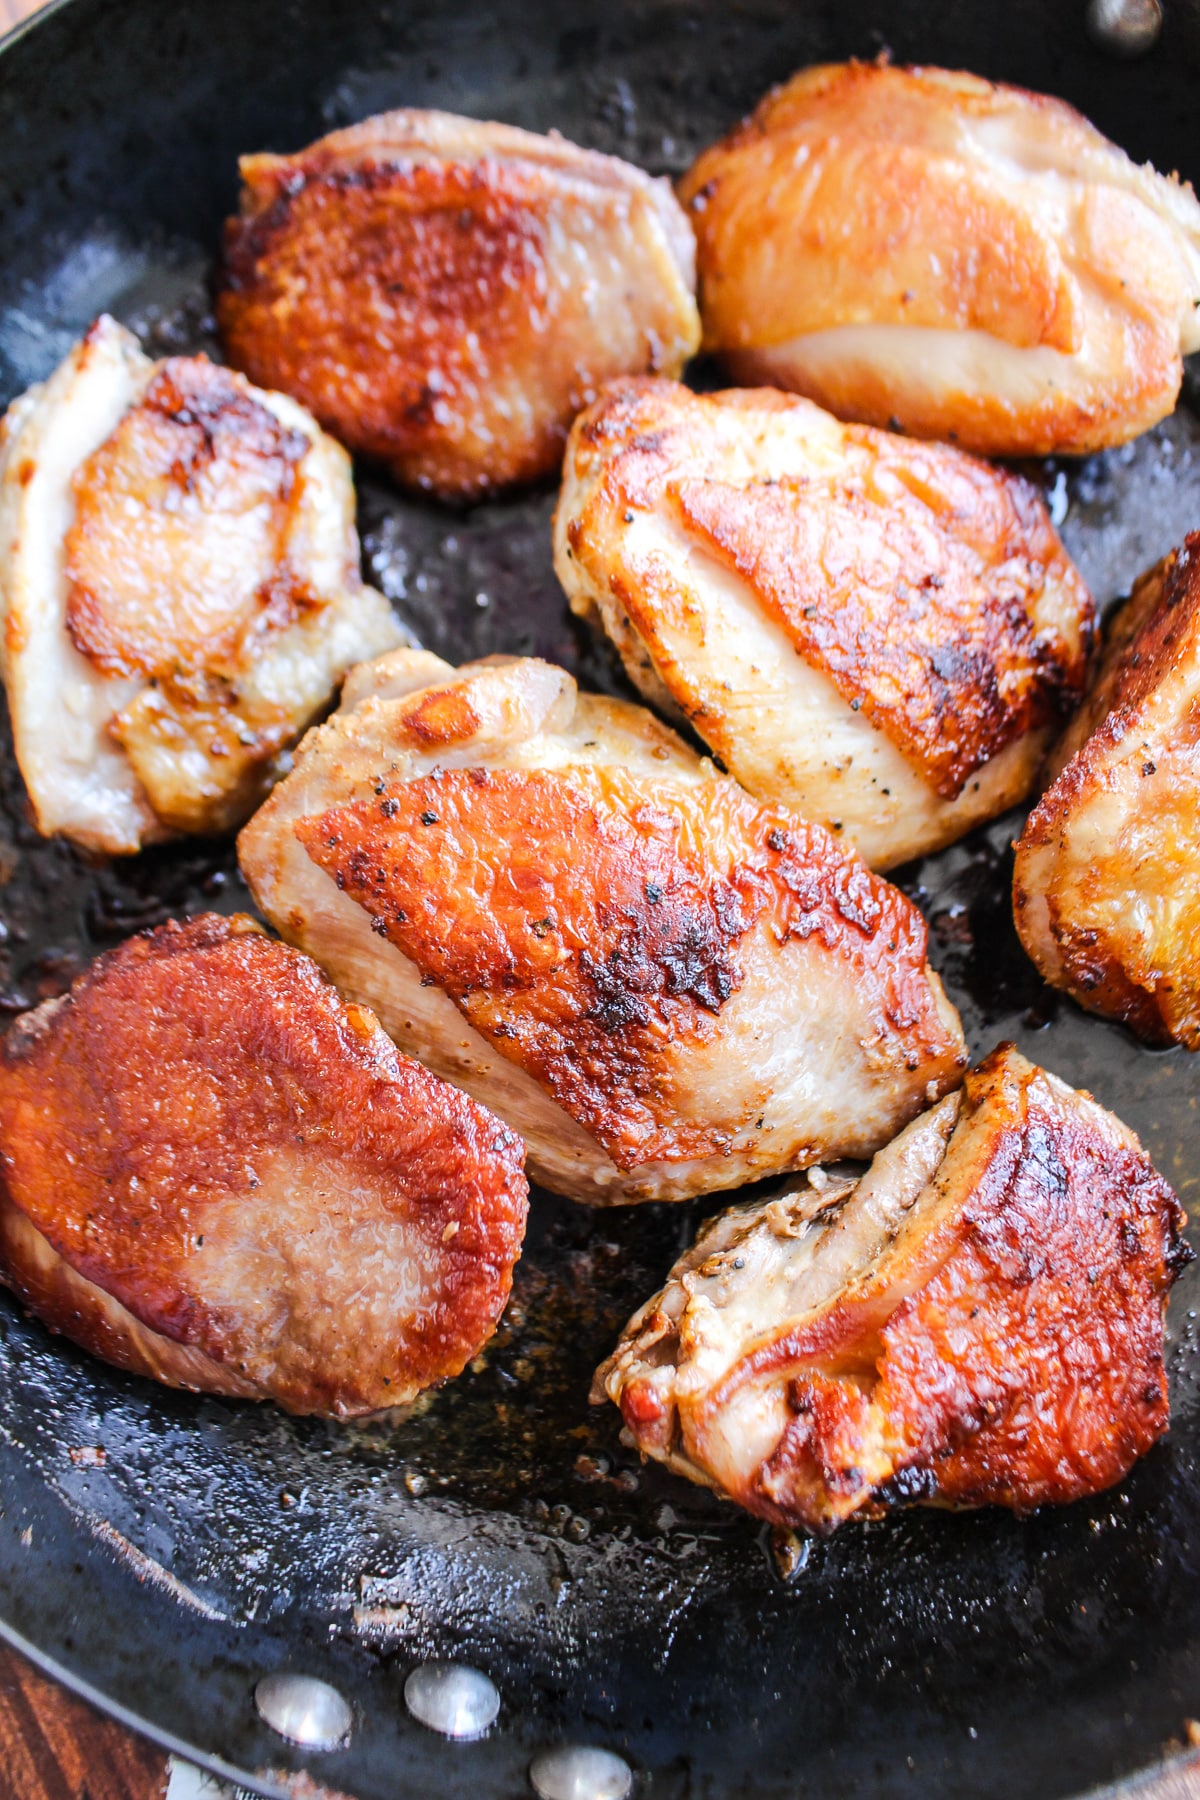
The best method for cooking chicken thighs on the stovetop is to start with searing and then finish with cooking them through using lower heat. Begin by preheating a skillet with oil over medium-high heat until hot. Add the chicken thighs skin-side down (if they have skin) and allow them to sear without moving them for about 5-7 minutes.
Can you cook bone-in chicken thighs in a cast iron skillet?
Yes, a cast iron skillet is a great option for cooking bone-in chicken thighs on the stove. Cast iron retains and evenly distributes heat, helping to achieve a nice crispy skin. Just make sure to heat the skillet properly before adding the chicken thighs and adjust the heat as needed during cooking.
Are boneless chicken thighs better than bone-in thighs?
I actually like boneless chicken thighs quite a bit because they are a little less messy, but bone-in chicken thighs tend to have a little more flavor. Boneless chicken thighs also usually don’t have the skin. If you want crispy skin, you’ll need to use a bone-in chicken thigh.