Boiling chicken tenders is one of those cooking techniques that sounds simple but leaves many home cooks with questions. How long do you boil them? What temperature should they reach? Will they turn out dry and stringy? I’ve boiled countless chicken tenders over the years, and today I’m sharing everything you need to know to get perfect results every time.
Why Boil Chicken Tenders?
Before diving into the how-to, let’s talk about why you might want to boil chicken tenders in the first place:
- Speed: It’s incredibly fast – ready in under 15 minutes
- Convenience: Requires minimal equipment and ingredients
- Versatility: Perfect for shredding into soups, salads, casseroles, or tacos
- Healthier option: Boiling removes excess fat
- Beginner-friendly: Simple enough for even novice cooks
We go through a lot of precooked chicken in my house. Having boiled chicken tenders on hand makes meal prep so much easier when you need to quickly add protein to soups, stews and casseroles.
How Long to Boil Chicken Tenders?
The short answer 8-12 minutes for fresh chicken tenders
The exact time depends on:
- Size and thickness of your tenders
- Whether they’re fresh or frozen
- The temperature of your simmer
But the most important factor isn’t time – it’s temperature. Chicken tenders must reach an internal temperature of 165°F (74°C) to be safely cooked.
Step-by-Step Guide to Perfectly Boiled Chicken Tenders
Step 1: Preparation
What you’ll need
- Chicken tenders
- Water or chicken broth
- Salt and seasonings (optional)
- A pot large enough to fully submerge the tenders
- Meat thermometer
Thawing tip: If your chicken tenders are frozen, it’s best to thaw them completely before boiling for more even cooking. While you can boil from frozen, the results aren’t as good and cooking time increases significantly.
Step 2: The Boiling Process
-
Choose your liquid: Water works fine, but chicken broth adds much more flavor. You can also add seasonings to the water – salt, pepper, garlic cloves, or fresh herbs.
-
Bring to a boil: Pour the liquid into your pot and bring it to a rolling boil over medium-high heat.
-
Add the tenders: Gently place the chicken tenders in the boiling liquid, making sure they’re completely submerged.
-
Reduce to a simmer: This is important! Once the tenders are added, reduce the heat to a simmer. A simmer means small, gentle bubbles – not a violent, rolling boil. Boiling too aggressively will make your chicken tough and rubbery.
-
Cook time: Simmer for 8-10 minutes for regular-sized tenders. Thicker tenders might need 10-12 minutes.
Step 3: Check for Doneness
The most accurate way to know when your chicken tenders are done is by using a meat thermometer. Insert it into the thickest part of a tender – it should read 165°F (74°C).
If you don’t have a thermometer, cut into the thickest part of a tender. The meat should be:
- Completely opaque (not translucent)
- No pink color remaining
- Juices running clear
Step 4: Rest and Serve
- Remove the tenders from the water using tongs or a slotted spoon.
- Let them rest for a few minutes. This allows the juices to redistribute.
- Use as desired – serve whole, slice, or shred.
Enhancing Flavor When Boiling Chicken Tenders
Boiled chicken has a reputation for being bland, but it doesn’t have to be! Try these flavor-boosting tips:
- Use broth instead of water: Chicken broth or stock adds significantly more flavor than plain water.
- Add aromatics: Toss in garlic cloves, bay leaves, peppercorns, or fresh herbs.
- Try citrus: A squeeze of lemon juice or a few slices of lemon in the cooking liquid brightens the flavor.
- Don’t forget salt: Season your cooking liquid well.
- Pre-season: You can briefly marinate the tenders before boiling for even more flavor.
Common Mistakes to Avoid
I’ve made plenty of mistakes when boiling chicken tenders. Here’s what to watch out for:
- Boiling too vigorously: Keep it at a gentle simmer to prevent tough, stringy chicken.
- Overcooking: This leads to dry, stringy meat. Use a timer and thermometer!
- Not seasoning the water: Plain water = bland chicken.
- Overcrowding the pot: Give your tenders some space in the pot.
- Skipping the rest period: Let those tenders rest before cutting or shredding.
FAQ: Your Boiled Chicken Tender Questions Answered
Can I boil frozen chicken tenders?
Yes, but I don’t recommend it. If you must, add about 3-5 minutes to the cooking time and be extra careful to check the internal temperature reaches 165°F. Frozen tenders often cook unevenly when boiled directly.
How do I store leftover boiled chicken tenders?
Cool completely, then store in an airtight container in the refrigerator for 3-4 days. They can also be frozen for 2-3 months. I like to shred and portion them before freezing for easy use later.
Can I reuse the broth after boiling chicken?
Generally, it’s not recommended to reuse the water or broth after boiling chicken tenders as it may contain bacteria. However, you can strain it and use it as a base for soup if you plan to bring it to a full boil again.
How do I prevent my chicken tenders from becoming tough?
Three key things: use a gentle simmer (not a rolling boil), don’t overcook them, and let them rest after cooking.
What are some creative ways to use boiled chicken tenders?
Boiled chicken tenders are super versatile! Use them in:
- Chicken salad sandwiches
- Tacos or burritos
- Chicken noodle soup
- Chicken pot pie
- Casseroles
- Green salads
- Pasta dishes
- Quesadillas
- Rice bowls
Is Boiling Chicken Tenders Healthy?
Boiled chicken tenders are a great protein option for many healthy eating plans. They’re:
- Gluten-free
- Keto-friendly
- Low-carb
- Paleo-compatible
- Whole30 approved
- Sugar-free
- Dairy-free
Plus, boiling chicken helps build muscle mass, strengthen bones, aid in wound healing, and may even help with weight loss due to the high protein content keeping you fuller longer.
Final Thoughts
Boiling chicken tenders might not be the most glamorous cooking method, but it’s efficient, versatile, and foolproof when done right. The key is keeping your simmer gentle, checking for doneness with a thermometer, and not overcooking.
Next time you need quick, lean protein for meal prep or a last-minute dinner addition, give this method a try. With just 8-12 minutes of cooking time, you’ll have tender, juicy chicken ready for countless recipes!
Do you have a favorite way to use boiled chicken tenders? I’d love to hear about it in the comments!
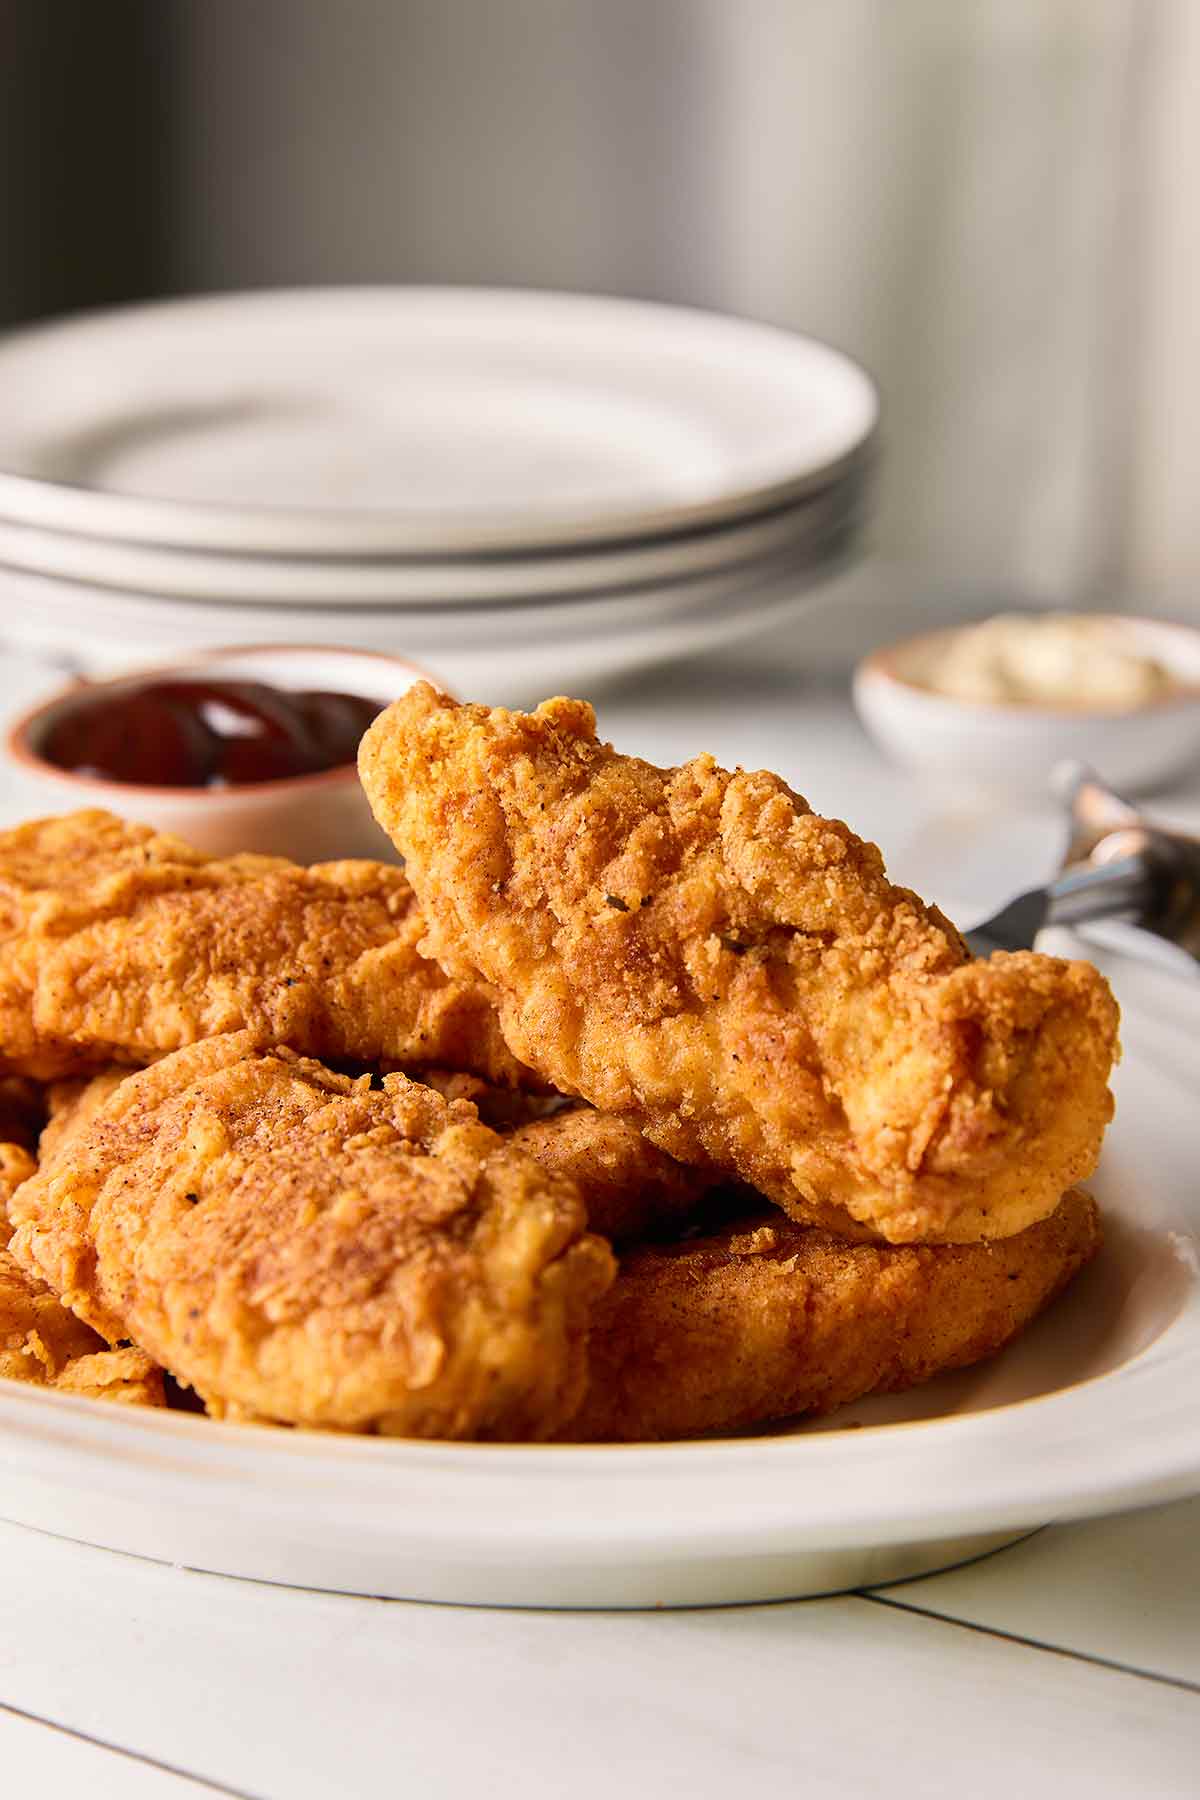
Why Our Testers Loved This
Given that my testers are calling this recipe “fool-proof”, “weeknight-friendly,” and “easy,” it’s no surprise that these “flavorful and crispy” chicken tenders were devoured by everyone who tried them.
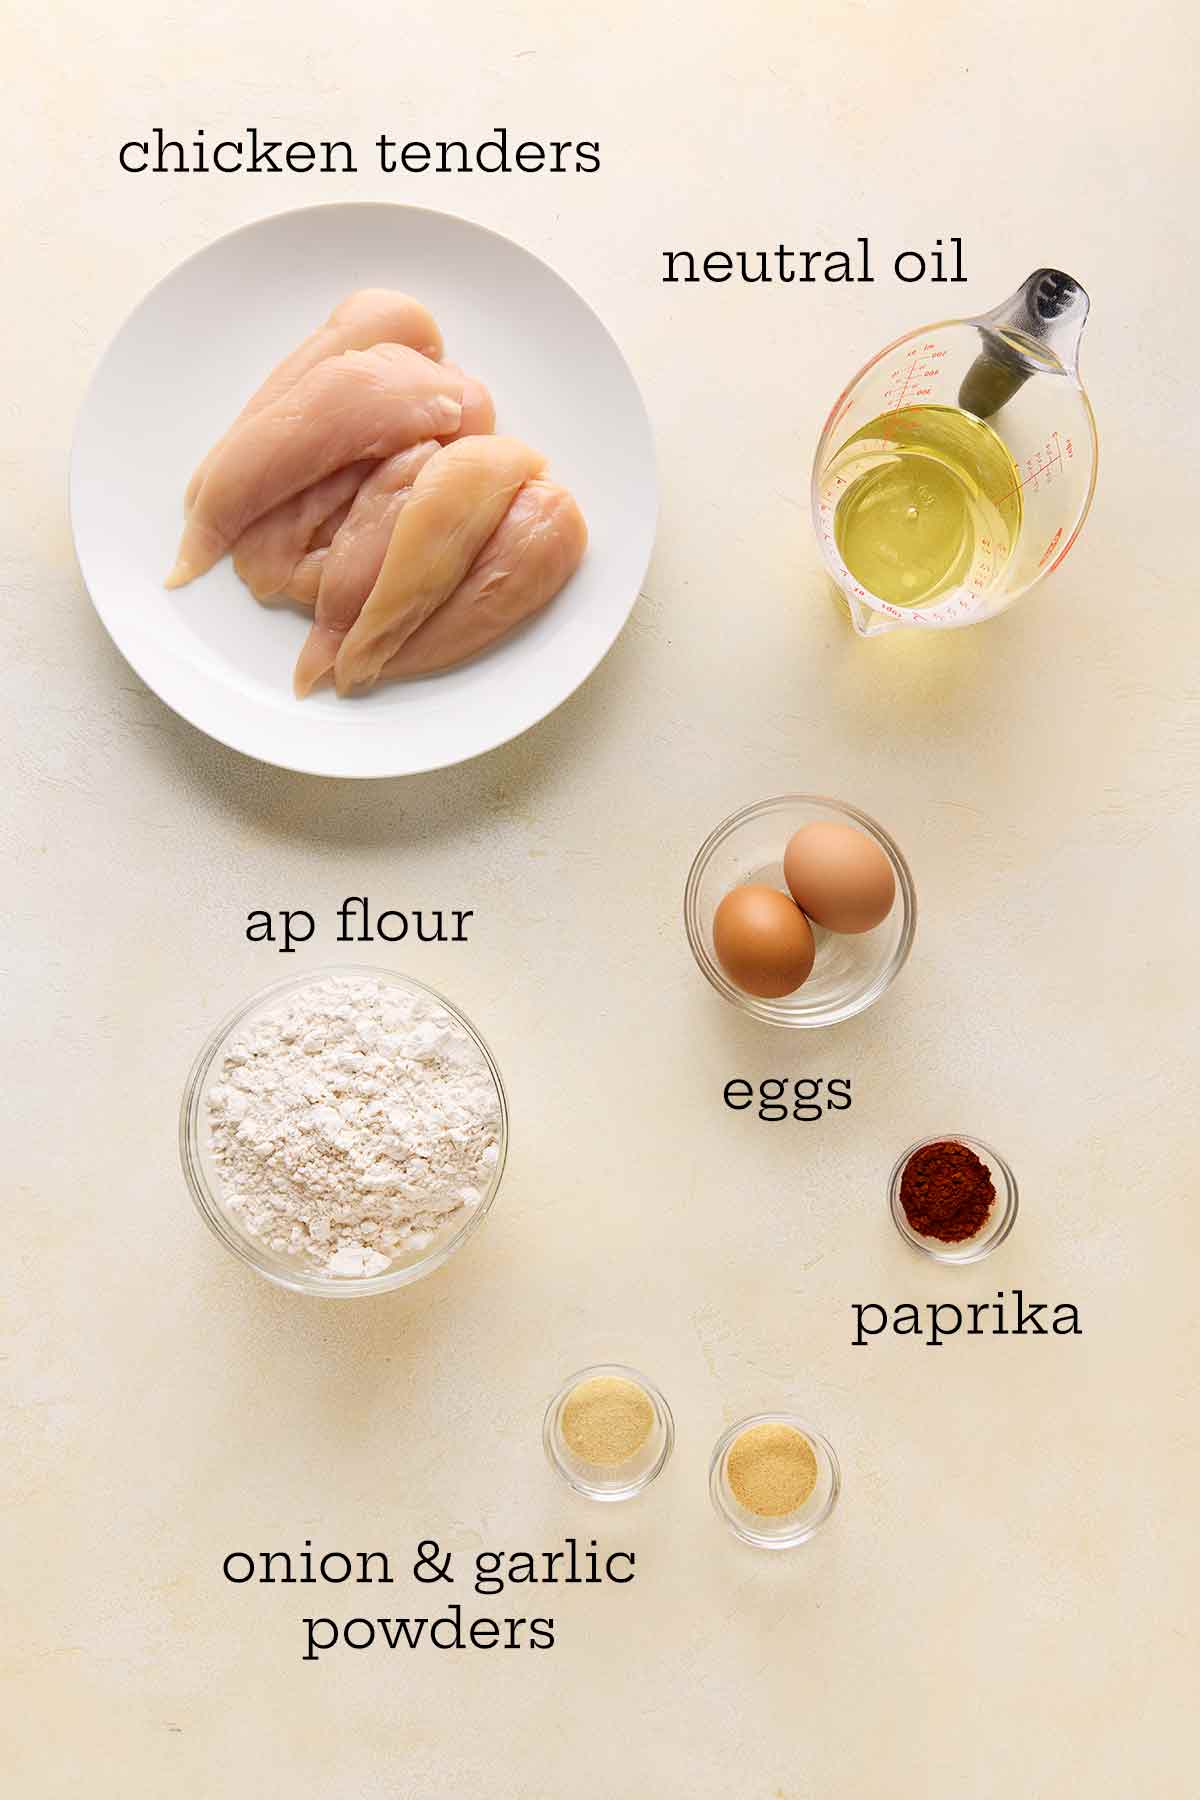
- Chicken tenders–You may see these labeled as chicken fillets or chicken tenderloins at your supermarket. If you can’t get them, you can slice several boneless chicken breasts into 1-inch-thick slices.
- Oil—Since you’re frying, use a high-smoke-point oil, such as vegetable, sunflower, or safflower.
- Seasoning—This combination of paprika, garlic powder, and onion powder will give your chicken a mild, pleasantly spiced coating. If you prefer spicier tenders, use hot paprika or add a pinch of cayenne to the seasoning.
Want to Save This?
Ill email this to you, so you can come back to it later. Booyah!
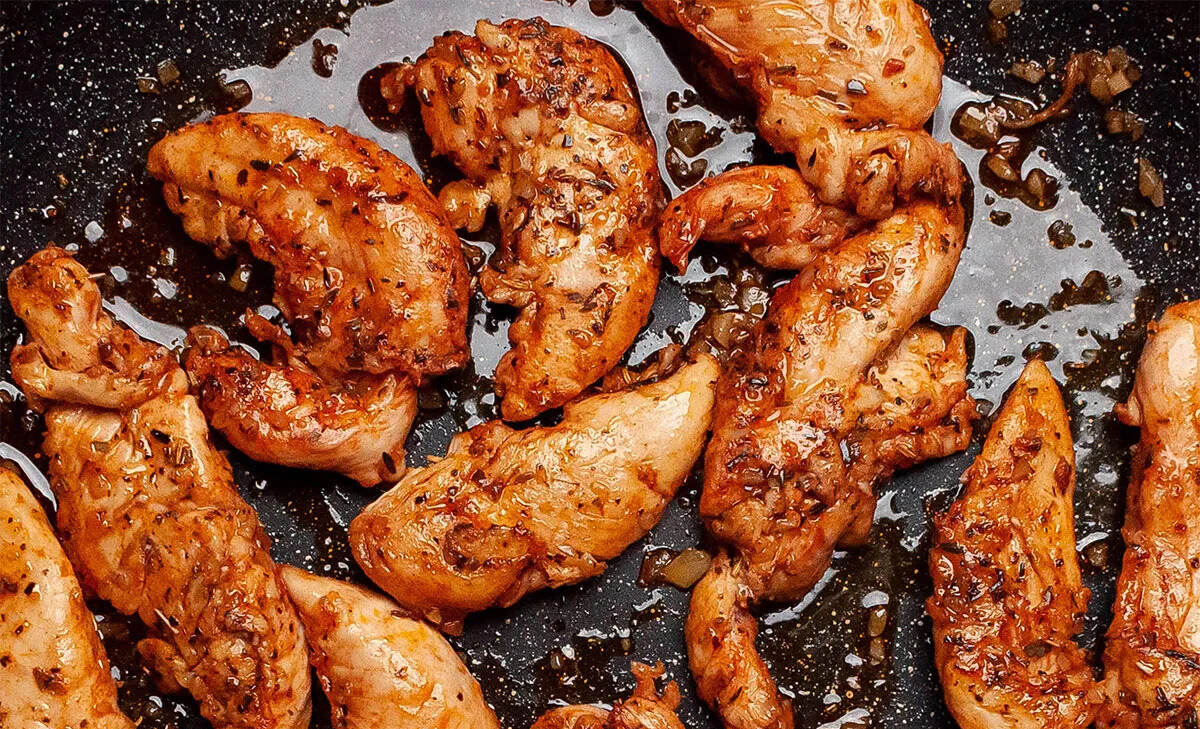
- Fry the chicken in the hot oil for 6 to 7 minutes.
- Flip the tenders and fry until cooked through and golden brown. Transfer to a plate lined with paper towel and serve hot.
You could, obviously, take a couple of chicken breasts and thinly slice them. You know, so they look like chicken strips. But if you’ve ever bought boneless breasts, then you’ve probably seen fillets. Also known as tenders, these are the strips of meat that connect the breast to the breastbone. They’re the perfect size for this recipe, as well as being, well…rather tender.
To ensure even cooking and to avoid burning the coating, I recommend thawing the chicken tenders in the refrigerator before frying them.
Store leftover chicken tenders in a sealed container in the fridge for up to 3 days. Reheat them in a single layer in a 350°F toaster oven or air fryer until warmed through. Then, serve leftover tenders tucked inside a chicken sandwich or wrap or cut up into a salad.
- Use a meat thermometer to ensure that you don’t overcook or undercook the chicken.
- This recipe is suitable for dairy-free diets.