Chicken tenders are a versatile and delicious option that both kids and adults love Their naturally tender texture makes them an ideal quick weeknight dinner or easy meal prep addition However, improperly cooked chicken can end up dry and flavorless. So how long should you cook chicken tenders on the stovetop to achieve tender, juicy perfection every time? Let’s find out.
What Are Chicken Tenders?
Chicken tenders, also called chicken strips or chicken fillets, are cuts of meat from the tenderloin portion of the chicken breast. This anatomical location contributes to their inherently tender and mild flavor profile. When prepared correctly, chicken tenders can be succulent and delicious.
Benefits of Cooking Tenders on the Stovetop
There are several advantages to cooking chicken tenders on the stovetop rather than oven-baking or grilling them
-
Quick cooking time – Stovetop cooking is one of the fastest methods with tenders ready in just 6-8 minutes. This makes it ideal for quick weeknight meals.
-
Easy monitoring – You can easily monitor browning and flip halfway through cooking. This allows you to adjust heat as needed.
-
Flavor development – The direct heat helps develop a lovely browned exterior full of flavor.
-
Temperature control – It’s easier to control the temperature on the stove compared to the oven. This prevents over or undercooking.
-
Versatile – Stovetop cooking allows you to easily incorporate flavors through sauces, spices, etc.
Step-By-Step Guide to Cooking Tenders on the Stove
Follow these simple steps for foolproof chicken tenders:
Ingredients
- 1 lb chicken tenders
- 2 tbsp oil (vegetable, canola, avocado, etc.)
- Salt and pepper
- Additional seasonings of choice
Prep the Tenders
- Rinse the tenders under cold water and pat dry thoroughly with paper towels.
- Trim off any excess fat or sinew.
- Season generously with salt and pepper on both sides. Add any other spices or herbs.
Heat the Pan
- Heat a large skillet over medium-high heat and add the oil.
- Allow the oil to shimmer, indicating it’s hot enough for cooking.
Cook the Tenders
- Gently add the chicken tenders to the pan in a single layer, avoiding overcrowding.
- Cook for 3-4 minutes without flipping or moving them. This allows the crust to develop.
- Flip each tender and cook for another 3-4 minutes on the second side.
Check for Doneness
- Chicken is safely cooked when it reaches an internal temperature of 165°F.
- Use a meat thermometer in the thickest part or cut into one to check it’s white throughout and juicy.
Finish and Serve
- Allow to rest for 5 minutes before serving. This allows juices to redistribute.
- Serve with desired sauces, sides, on salads, sandwiches, etc.
Handy Tips for Perfect Results
-
Pat dry – This helps the chicken brown instead of steam.
-
Don’t crowd the pan – Overcrowding steams the chicken. Cook in batches.
-
Use a meat thermometer – It’s the only way to accurately check doneness.
-
Rest before cutting – Resting allows juices to reabsorb for a moist, tender bite.
-
Cook at moderate heat – Too high of heat can burn the exterior before the inside cooks.
Cooking Duration for Chicken Tenders on the Stove
On average, chicken tenders take 6-8 minutes to cook thoroughly on the stovetop. The exact duration depends on a few factors:
-
Thickness – Thicker tenders may need a minute or two longer.
-
Stove temperature – Higher heat will cook faster but risks burning.
-
Amount of tenders – Cooking large batches will increase cook time.
-
Preparation method – Breaded tenders may cook slightly faster than plain.
Using a meat thermometer and frequently checking for visual doneness cues are the best ways to prevent under or overcooking. Remove them as soon as they register 165°F internally.
Delicious Seasonings and Serving Ideas
Chicken tenders pair well with an array of seasonings and sauces:
-
Herbs and spices: paprika, garlic powder, Italian seasoning, rosemary, thyme
-
Sauces for dipping: barbecue, ranch, honey mustard, sweet and sour
-
Meal additions: sandwiches, wraps, salad topping, grain bowls
Chicken tenders are incredibly versatile. While the stovetop offers a quick and easy cooking method, you can also bake, grill, or air fry them for variety.
Common Questions about Cooking Chicken Tenders
What temperature should I cook chicken tenders to?
Chicken is safely cooked at an internal temperature of 165°F. Cooking to this temperature kills any potential bacteria.
Can I use frozen tenders?
It’s best to thaw frozen tenders in the fridge overnight before cooking. Cooking from frozen can lead to uneven cooking.
What oil should I use to cook them?
Opt for high smoke point oils like canola, vegetable, avocado, or grapeseed oil. Avoid olive oil as it can burn at high heat.
How do I keep them from drying out?
Don’t overcook, use moderate heat, baste with butter or oil, and let them rest before cutting. Marinating also helps keep moisture.
What should I do if they burn?
If your tenders blacken or burn before the inside cooks, lower the heat. Add a splash of water to stop the burning, cover, and finish cooking at lower heat.
For Deliciously Juicy Tenders, Master the Stovetop
Cooking chicken tenders on the stove takes just minutes but is vital for achieving tender, flavorful results. Follow the recipe steps, use a thermometer, and avoid overcrowding the pan. In less than 10 minutes, you’ll have crave-worthy chicken tenders that both kids and adults will devour. Experiment with exciting new seasonings and serving ideas once you’ve mastered the stovetop cooking method.

Why you’ll love these easy chicken tenders
- Flavorful and Juicy Chicken Tenders: This recipe results in tender and juicy chicken tenders with a delightful combination of herbs and seasoning. The absence of breading allows the natural flavor of the chicken to shine through.
- Quick and Easy Recipe: The recipe is straightforward and can be prepared in a relatively short amount of time, making it a great option for a quick weeknight dinner.
- Versatile Seasoning: You can easily customize the seasoning to suit your taste. Whether you prefer different herbs or spices, this recipe is adaptable to your flavor preferences.
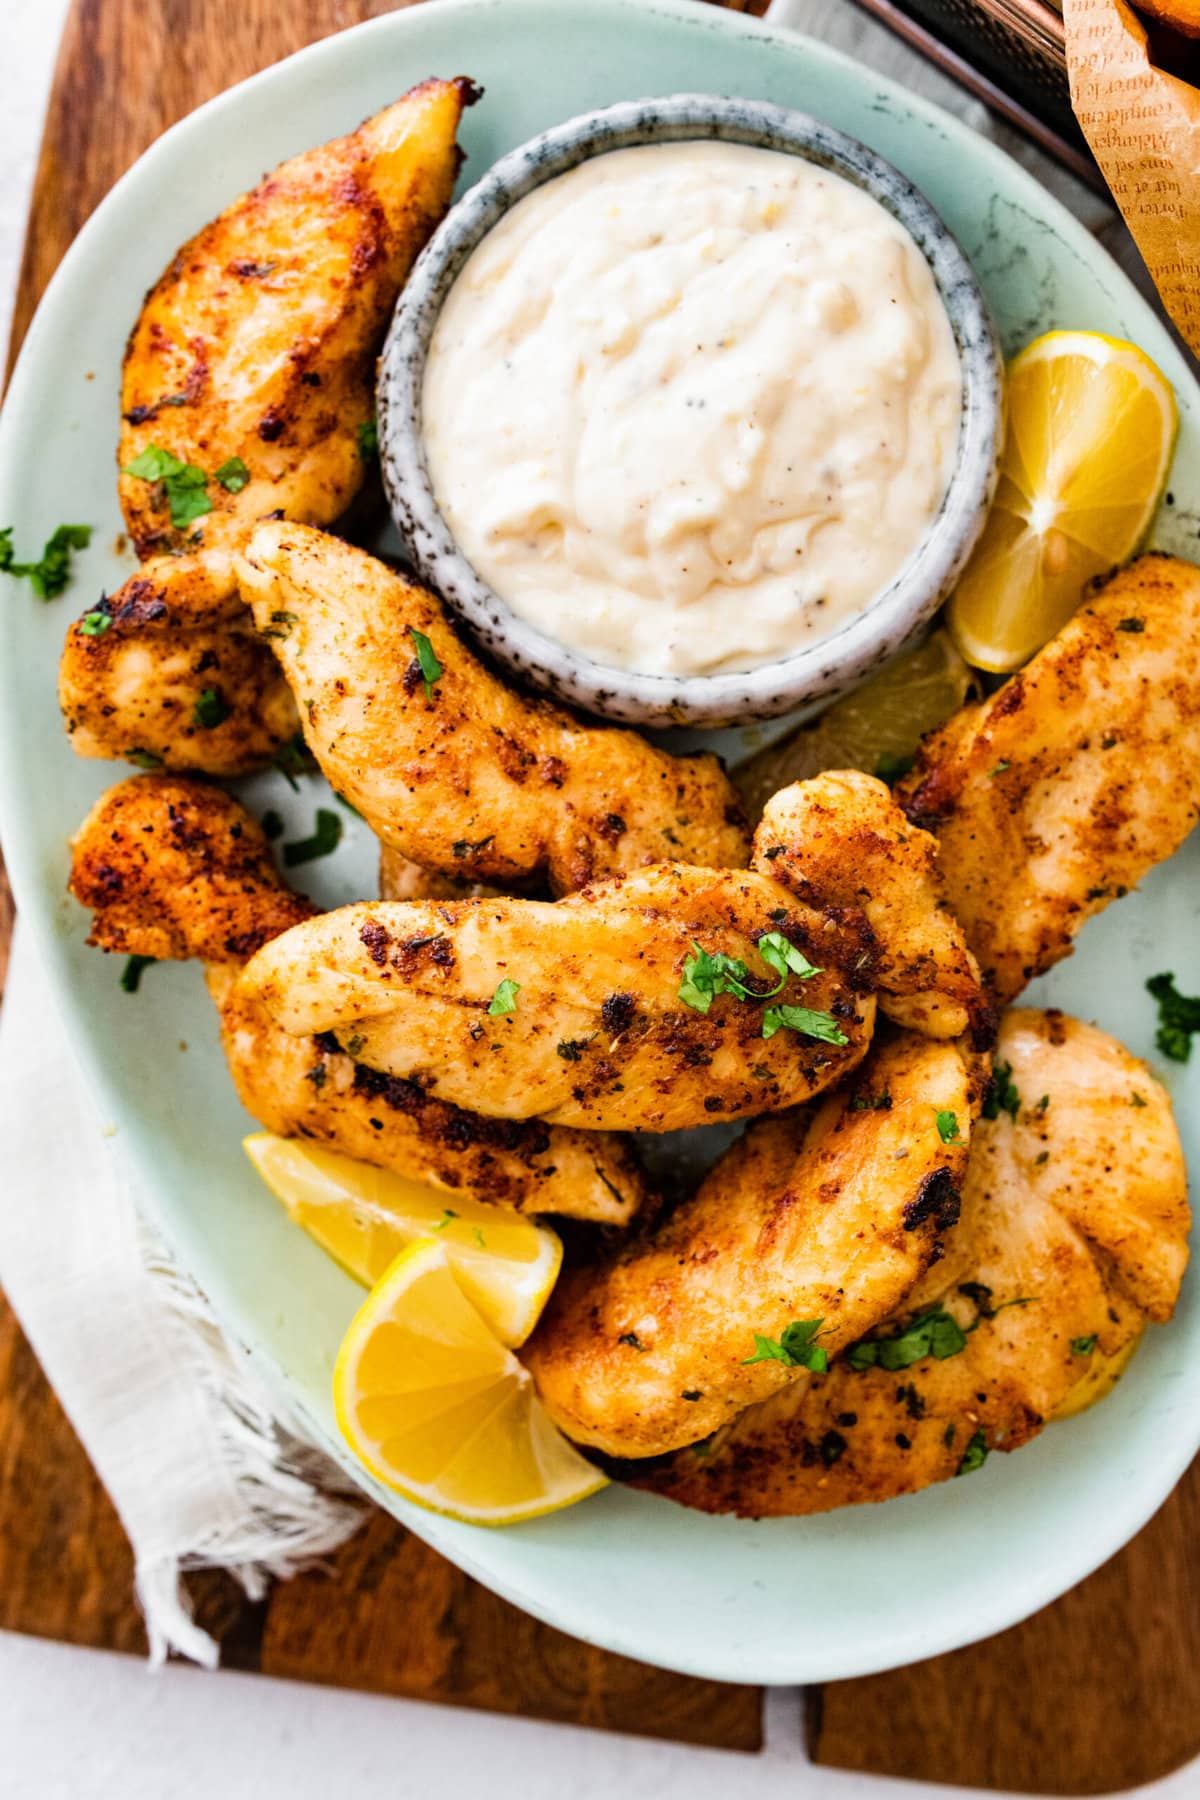
- Lemon and Garlic Aioli: The lemon and garlic aioli add a zesty and creamy element that pairs perfectly with the chicken. It’s a homemade sauce that’s simple to make but adds a burst of flavor to your meal.
- No Need for Deep Frying: This recipe doesn’t require deep frying, which makes it a healthier option compared to breaded and fried chicken tenders. Great for meal prep as well.

Chicken Tenders:
- Chicken tenders or chicken strips (about 10-12)
- Salt
- Onion powder
- Garlic powder
- Smoked paprika
- Dried parsley
- Dried oregano
- Black pepper
- Olive oil
- Butter
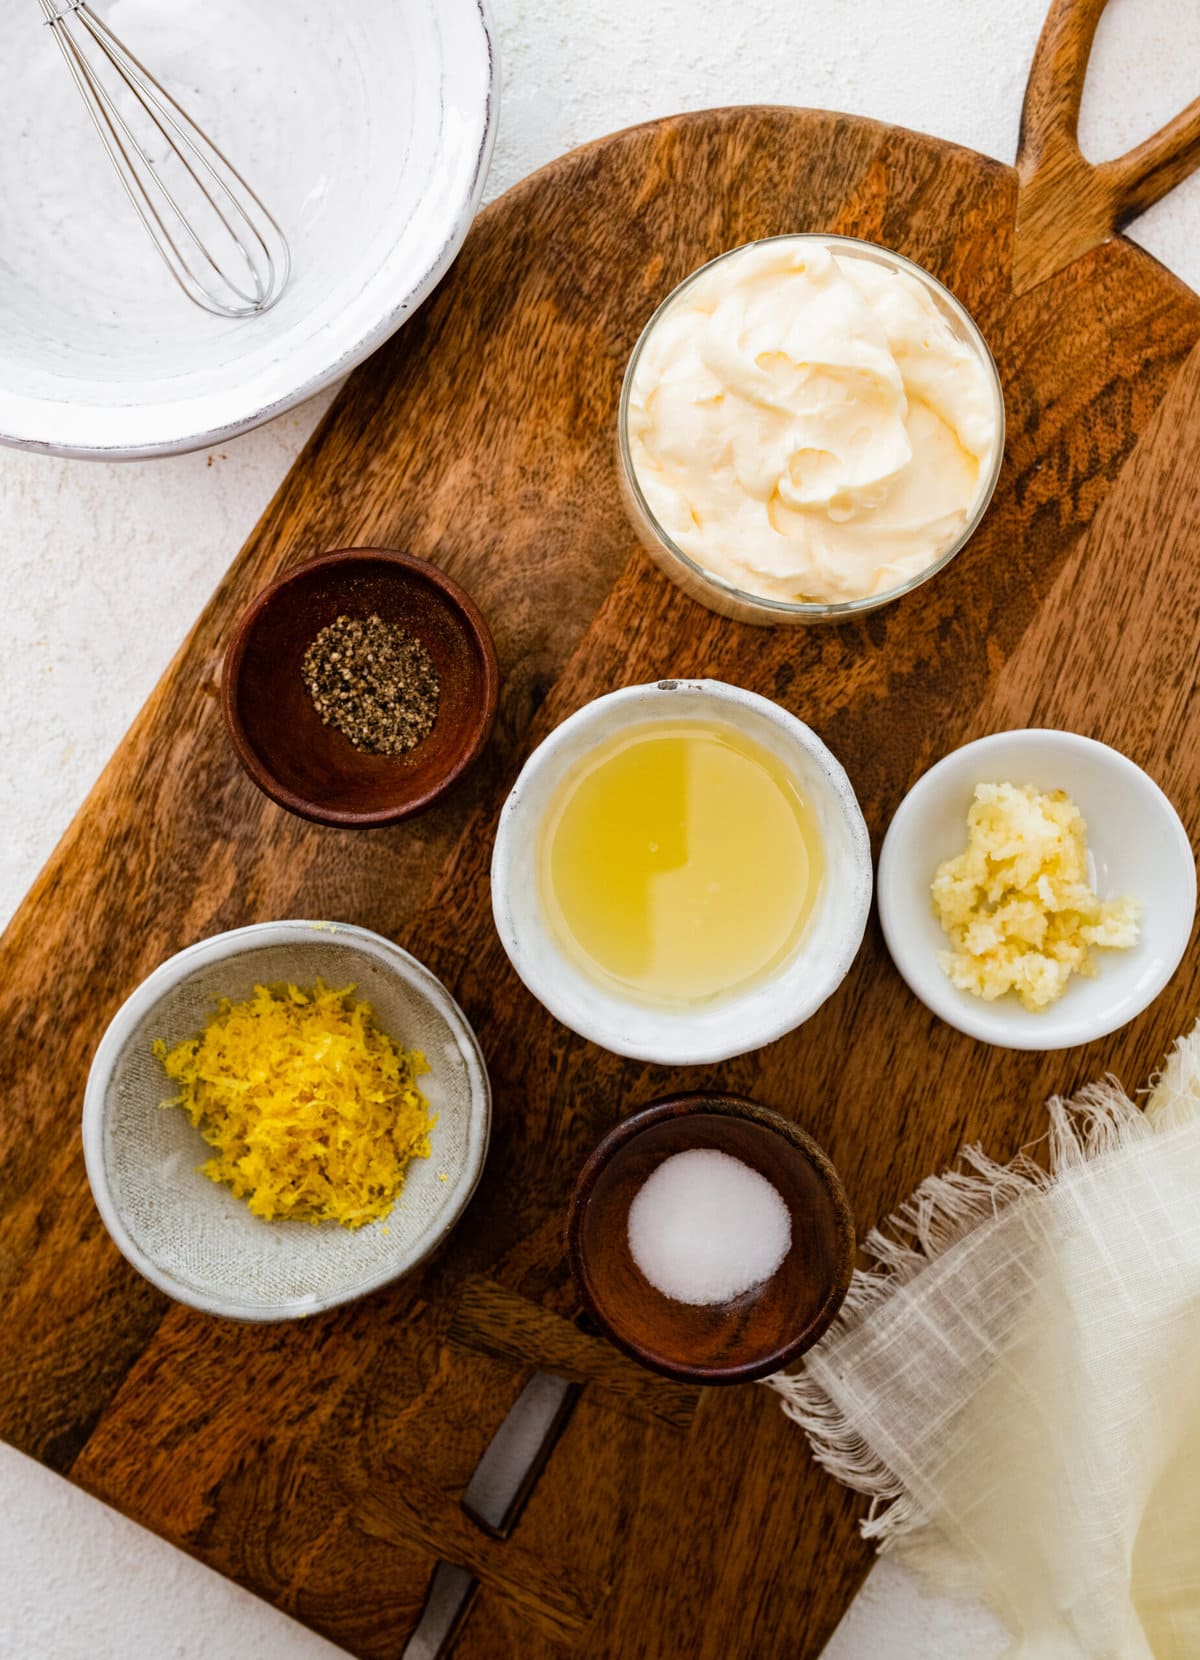
For the Lemon and Garlic Aioli:
- Mayonnaise
- Garlic, minced
- Lemon juice and lemon zest
- Salt and black pepper to taste
See the recipe card for quantities.
How to fry chicken tenders

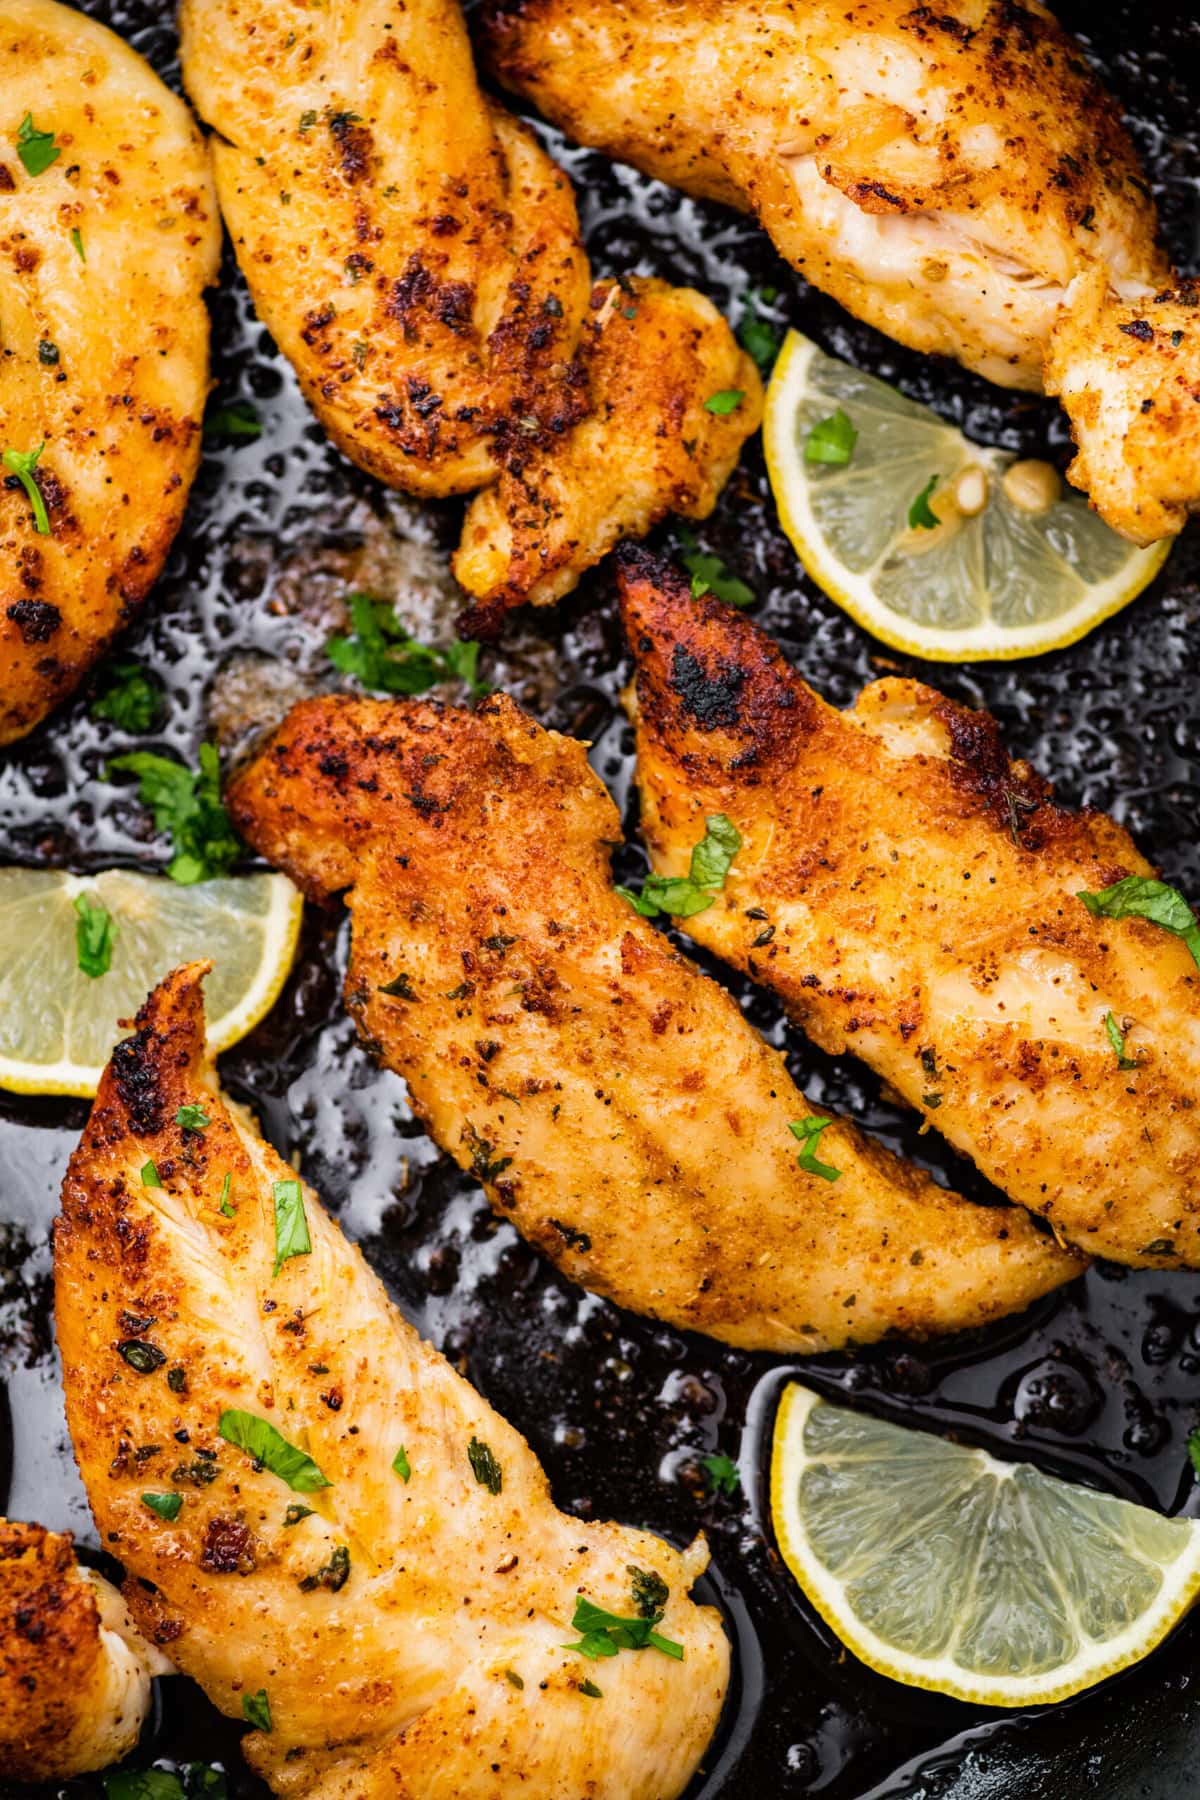
Cook the Chicken Tenders: Pat the chicken dry with paper towels. Season the chicken tenders with salt, black pepper, and dried seasonings. You can use other preferred herbs or seasonings as well. In a large skillet, heat olive oil and butter over medium-high heat.

Once the pan is hot, add the seasoned chicken tenders to the skillet.

Cook for about 4-5 minutes on each side or until they are no longer pink in the center and have a golden brown color. The cooking time may vary depending on the thickness of the tenders. Make sure to cook the chicken to an internal temperature of 165°F (74°C).
Serve: Once the chicken tenders are cooked, remove them from the skillet and let them rest for a few minutes. Serve the pan-fried chicken tenders with the lemon and garlic aioli as a dipping sauce on the side.
You’ll love this recipe for its simplicity, delicious flavors, and the flexibility it offers for personalizing the seasonings and sides to match your preferences. It’s a tasty and satisfying dish that’s easy to prepare.
Here are some common recipe substitutions for pan-fried chicken tenders without breading:
- Protein Substitutions:
- Instead of chicken tenders, you can use turkey tenders, pork tenderloin, or boneless skinless chicken breasts cut into strips.
- Seasoning Substitutions:
- You can use various herbs and seasonings based on your preference, such as paprika, cumin, chili powder, or Italian seasoning.
- Cooking Oil Substitutions:
- If you prefer a different oil, you can use vegetable oil, canola oil, avocado oil, or even coconut oil for pan-frying.
- Dipping Sauce Substitutions:
- Swap out the lemon and garlic aioli for other dipping sauces like ketchup, ranch dressing, honey mustard, or teriyaki sauce.
- Gluten-Free Substitutions:
- If you need a gluten-free option, ensure that the seasonings and sauces you use are gluten-free. Also, consider using almond flour or gluten-free breadcrumbs for a breading alternative.

1. Smoky BBQ Chicken Tenders:
- Season the chicken tenders with a smoky bbq or seasoning blend before pan-frying. Serve with your favorite bbq sauce for dipping.
2. Mediterranean-Inspired Chicken Tenders:
- Season the chicken tenders with Mediterranean herbs like Italian seasoning, oregano, thyme, and rosemary, or lemon pepper. Serve with a side of tzatziki sauce and pita bread, or your favorite sides.
3. Honey Mustard Glazed Chicken Tenders:
- Drizzle honey mustard sauce over the cooked chicken tenders or use it as a dipping sauce.
- Cast iron skillet is one of my favorite saute pans.
Store leftover pan-fried chicken tenders in an airtight container in the refrigerator for up to 3-4 days. This healthy meal makes great leftovers to toss in a salad the next day.