Cooking chicken legs in the oven at 425°F is one of my favorite ways to make this tasty poultry dish. When done right, oven-baked chicken legs come out with crispy, golden brown skin enveloping moist, tender meat infused with delicious flavors. However, nailing the right baking time can seem tricky. Undercook them and you risk food poisoning, overcook them and you’ll end up with dry, rubbery chicken. No one wants either of those outcomes!
So how long exactly should you bake chicken legs at 425°F to achieve the ideal texture and taste? Through research and trials in my own kitchen, I’ve discovered the baking time sweet spot that results in safe, succulent baked chicken legs every time Keep reading to learn the key factors that go into perfectly cooked oven-baked chicken legs
Why Choose 425°F for Baked Chicken Legs?
Baking chicken legs at 425°F strikes an ideal balance between cooking the meat quickly and evenly while also achieving crispy browned skin. Here’s why this temperature works so well:
-
Promotes browning and crisping of the skin through the Maillard reaction, which occurs most rapidly at temperatures between 250°F and 425°F
-
Hot enough to render fat and fully cook the chicken, but not so hot that the exterior burns before the interior cooks through. Lower temperatures would slow the cooking.
-
Allows moisture to evaporate gradually from the skin’s surface rather than too quickly, which leads to a crispier texture.
-
Cooks the chicken legs relatively fast compared to lower oven temperatures, minimizing time for the meat to dry out.
Key Tips for Preparing Chicken Legs for the Oven
To achieve the best results, properly preparing the chicken legs before baking is essential. Here are the key steps:
-
Pat the chicken legs completely dry with paper towels. Excess moisture prevents the skin from crisping and browning properly.
-
Generously season all over with spices and herbs of your choice. Chicken legs can handle assertive flavors. Consider a brine or marinade for enhanced juiciness.
-
Lightly coat with oil like olive, vegetable, or avocado oil. This helps the skin get crispy and brown evenly.
-
Use a wire rack on a baking sheet if possible, for air circulation and even cooking on all sides.
-
Line the baking sheet with foil or parchment paper to prevent sticking.
Following this prep work sets you up for beautifully baked chicken legs straight from the get-go.
How Long Should You Bake Chicken Legs at 425°F?
The baking time can vary slightly depending on the size of the chicken legs, your particular oven, and whether the bones were removed. However, in general, the ideal baking time for bone-in, skin-on chicken legs at 425°F falls between 40-50 minutes.
For chicken legs on the smaller side, start checking at 35 minutes. Larger legs may need closer to 50-55 minutes. The most foolproof test is to use an instant-read thermometer to check if the internal temperature in the thickest part of the meat has reached 165°F, the safe minimum temperature.
When poked with a fork, the juices should run clear with no traces of pink. The skin will have browned and crisped. If the chicken isn’t quite done, return to the oven for 5-10 more minutes until fully cooked.
While the thickness of the chicken legs can vary, on average they take 45 minutes to bake at 425°F to achieve ideal doneness from surface to center. But always rely on the thermometer for guaranteed safety and use visual cues as a secondary indicator.
Why Monitoring Temperature Trumps Time
While the baking times above serve as reliable guidelines, oven temperatures and chicken sizes can vary. This means relying on time alone risks either dangerous undercooking or drying out the chicken. This is why using an instant-read thermometer is so important.
The thermometer eliminates uncertainty by confirming the chicken has reached the minimum safe internal temperature of 165°F. No thermometer? No problem – just cut into a chicken leg to inspect visually that no pink remains and the juices run clear.
Oven-baked chicken legs are done perfectly when the skin is deeply browned and crispy, the meat is opaque all the way through, and the juices are clear. Use time as a starting point, but monitor temperature and visual cues to know for sure when your chicken is ready.
Handy Temperature Tips
-
For enhanced juiciness, remove chicken from the oven at 160°F. Residual heat will carry it to 165°F as it rests.
-
Chicken thighs and legs are more forgiving than chicken breasts when baking. They stay moister when cooked through.
-
If using a convection setting, reduce the temperature by 25°F and bake time by about 5 minutes for quicker, more even cooking.
-
Brining the chicken legs before baking boosts moisture retention for extra juicy meat.
-
Let chicken rest at least 5 minutes before serving. This allows juices to redistribute throughout the meat.
Extra Crispy Skin Tricks
For ultra crispy chicken skin, try these tips after the recommended bake time:
-
Broil the legs 2-3 minutes to further crisp the skin. Watch closely to avoid burning.
-
Finish the chicken legs skin-side-down in a hot skillet for 1-2 minutes to crisp the skin.
-
Coat the skin with a light layer of baking powder before cooking. This raises the skin’s pH for better crisping.
-
Replace some of the seasoning rub’s salt with MSG. MSG enhances umami flavor and promotes browning.
Sample Seasoning Blends
Chicken legs are sturdy enough for almost any seasoning blend. Beyond just salt and pepper, try these yummy combinations:
Italian: Rosemary, oregano, basil, garlic, paprika, red pepper flakes
Barbecue: Brown sugar, chili powder, smoked paprika, garlic, cumin, mustard
Moroccan: Cumin, coriander, cinnamon, turmeric, cayenne, ginger
Tandoori: Garlic, ginger, curry powder, cumin, garam masala, cayenne
Lemon-Herb: Lemon zest, thyme, parsley, sage, garlic, onion powder
Feel free to get creative with seasonings! A spicy dry rub or zesty marinade takes chicken legs to new heights.
Perfect Pairings & Serving Ideas
Baked chicken legs pair deliciously with all sorts of sides. Here are some of my favorites:
- Roasted potatoes or sweet potatoes
- Steamed green beans, broccoli, or asparagus
- Tossed green salad or spinach salad
- Coleslaw, pasta salad, or potato salad
- Corn on the cob, grilled or roasted
- Fresh bread or rolls
For easy weeknight meals, serve oven-baked chicken legs with microwaved veggies and instant rice or quinoa. Or slice the chicken and toss it into salads, wraps, tacos – the possibilities are truly endless.
Leftovers can be refrigerated for 3-4 days. Reheat in the oven or microwave until heated through. The baked chicken also freezes well for longer term storage.
The Takeaway for Juicy Baked Chicken Legs
When aiming for juicy, fully cooked chicken legs with crispy browned skin, 425°F is the ideal oven temperature. Expect the baking time to be around 40-50 minutes for bone-in, skin-on chicken legs. Rely more on an instant-read thermometer (or visual cues) than time alone to determine doneness. With the proper prep and monitoring, you’ll be rewarded with finger-licking chicken legs boasting tender, succulent meat and deliciously crispy skin every time. Enjoy this classic baking method for downright delicious chicken legs!

How To Make Baked Chicken Drumsticks
Preheat your oven to 400°F (200°C) and place the rack in the middle position.Prepare the Chicken: Pat the chicken drumsticks dry with paper towels to remove excess moisture. This helps the skin get crispy. If there’s excess skin or fat, you can trim it off.
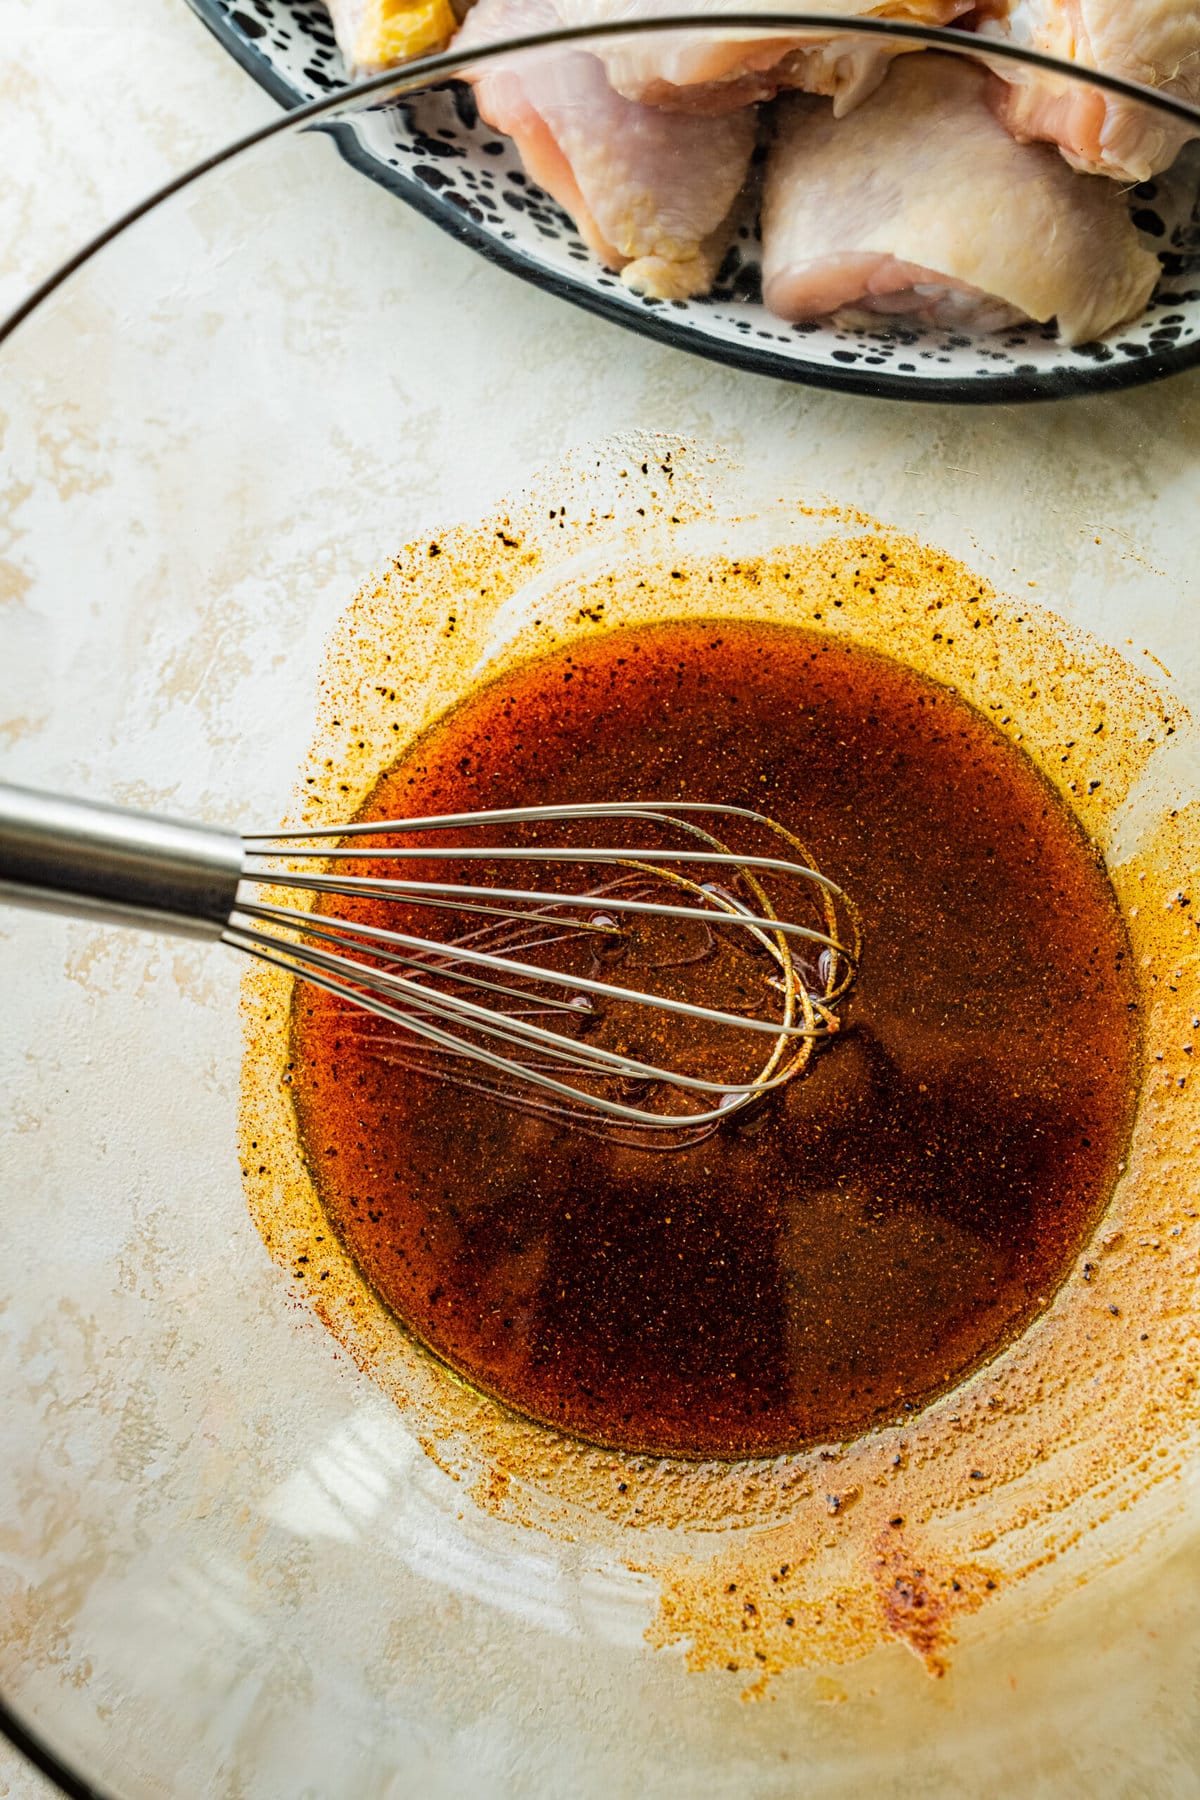
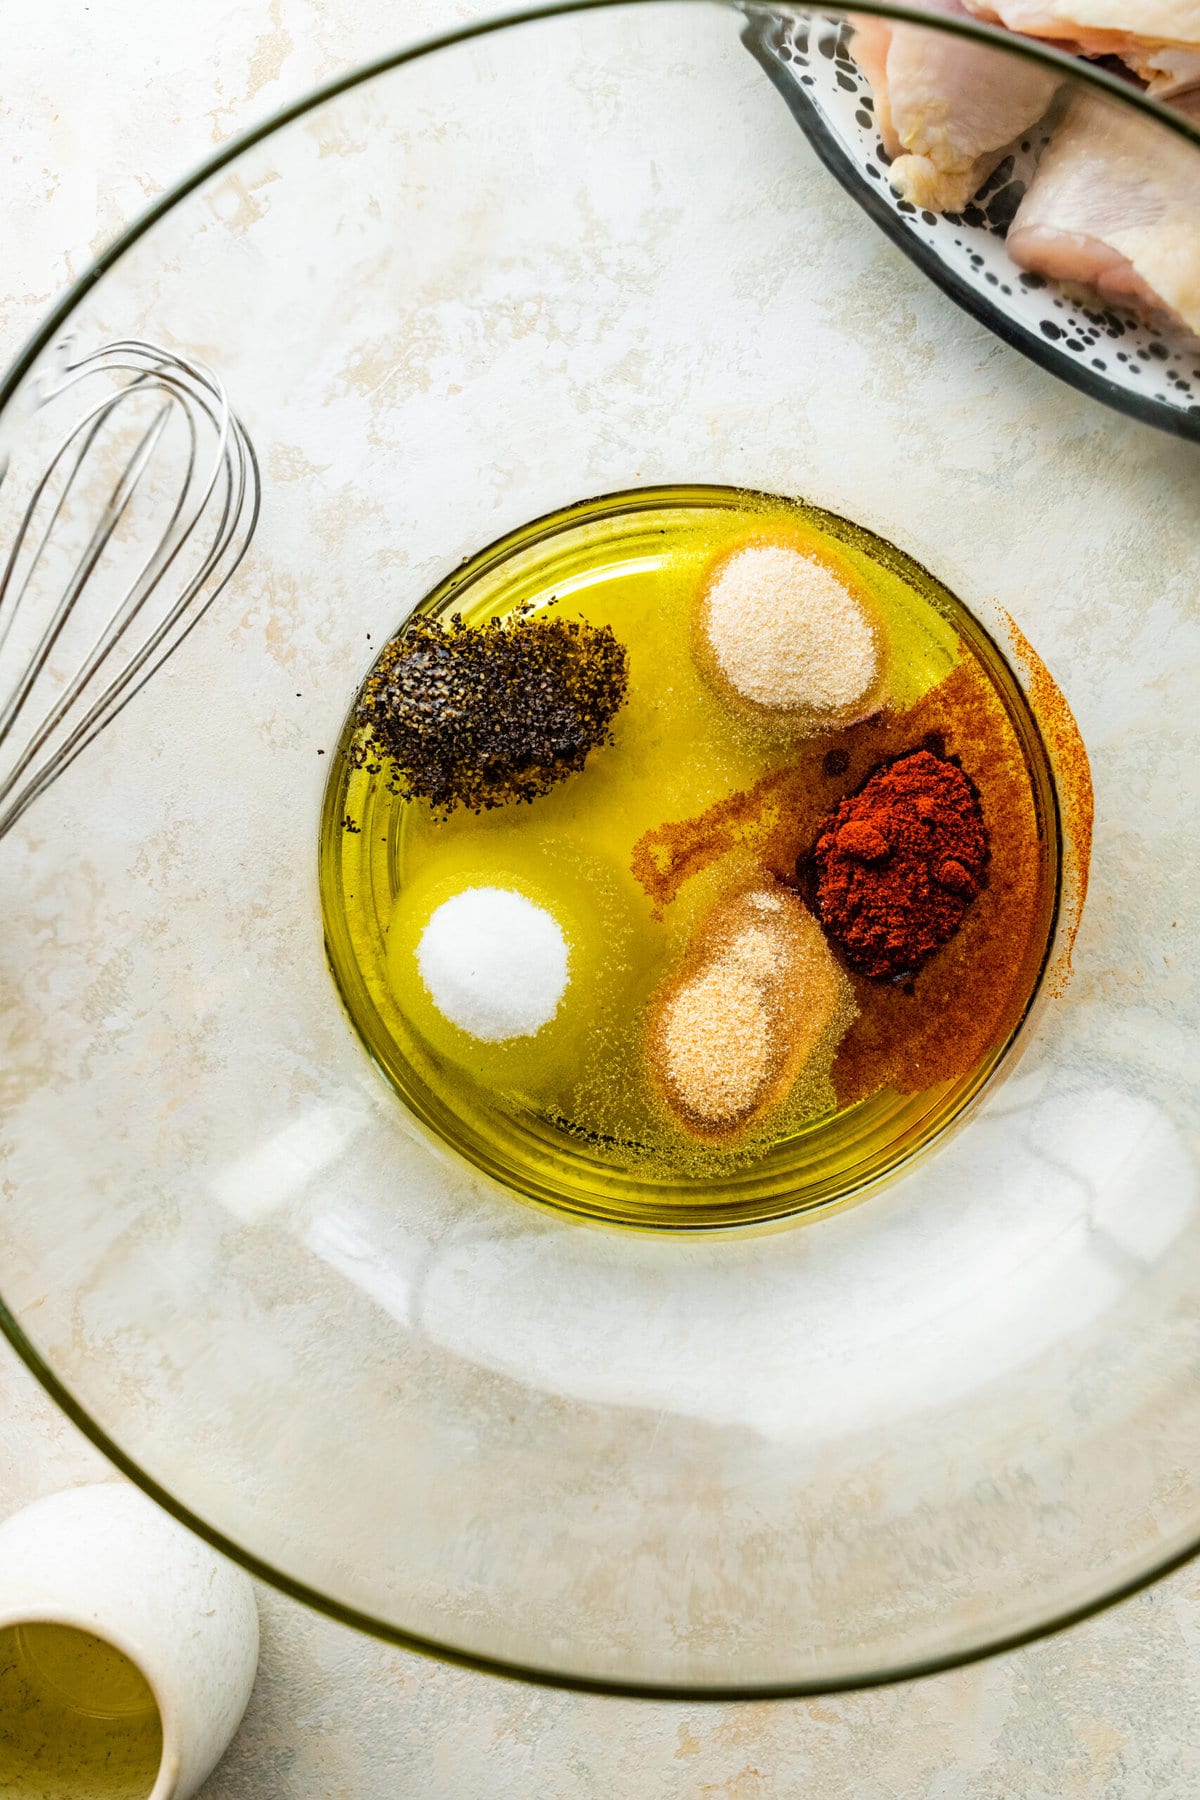
Season the Chicken: In a large mixing bowl, combine the olive oil, garlic powder, onion powder, paprika, salt, and black pepper. Mix well to create a flavorful seasoning paste.
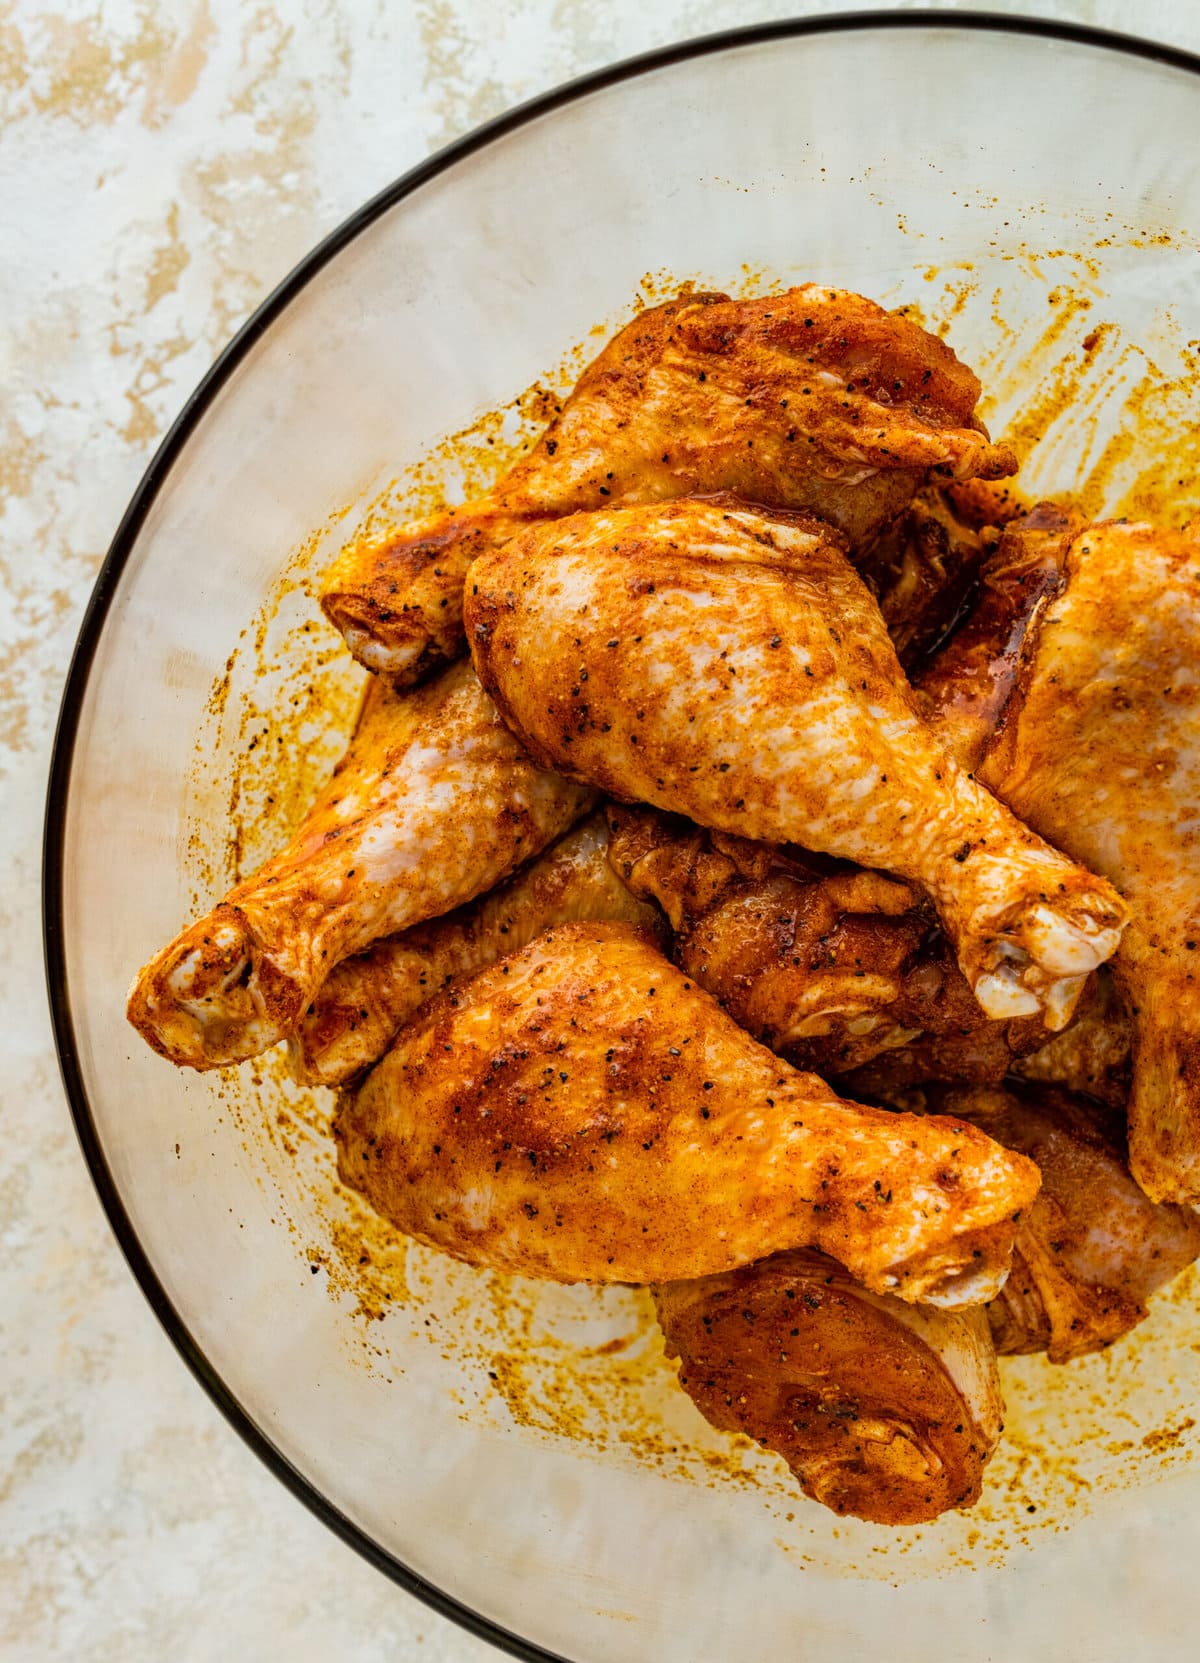
Coat the Drumsticks: Add the chicken drumsticks to the bowl with the seasoning paste. Use your hands or a pastry brush to massage the seasoning evenly onto each drumstick, ensuring they are well coated.
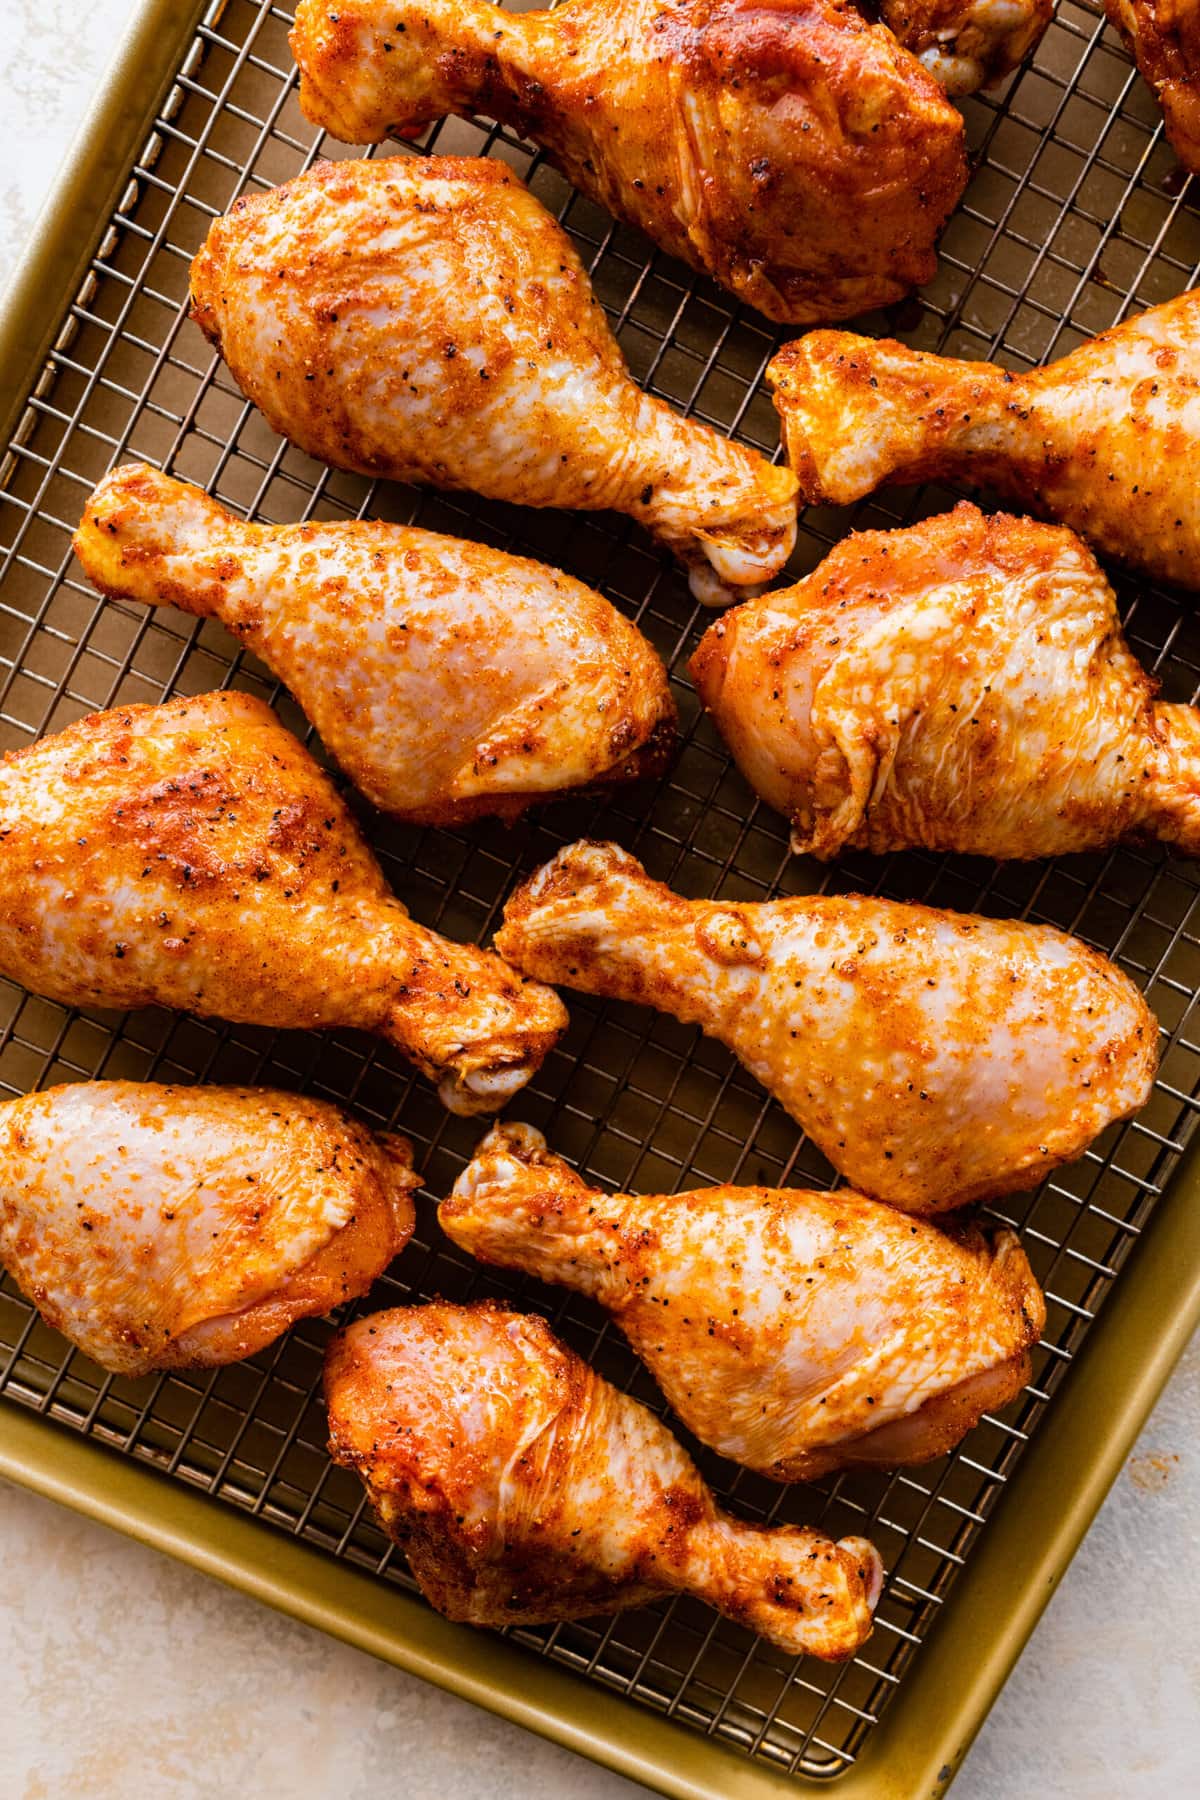
Arrange on a Baking Sheet: Line a rimmed baking sheet or oven-safe baking dish with aluminum foil, or parchment paper, or add a bit of cooking spray or oil. Optional: Place a wire rack on top of the baking sheet. This allows air to circulate the drumsticks, helping them cook evenly and become crispy.
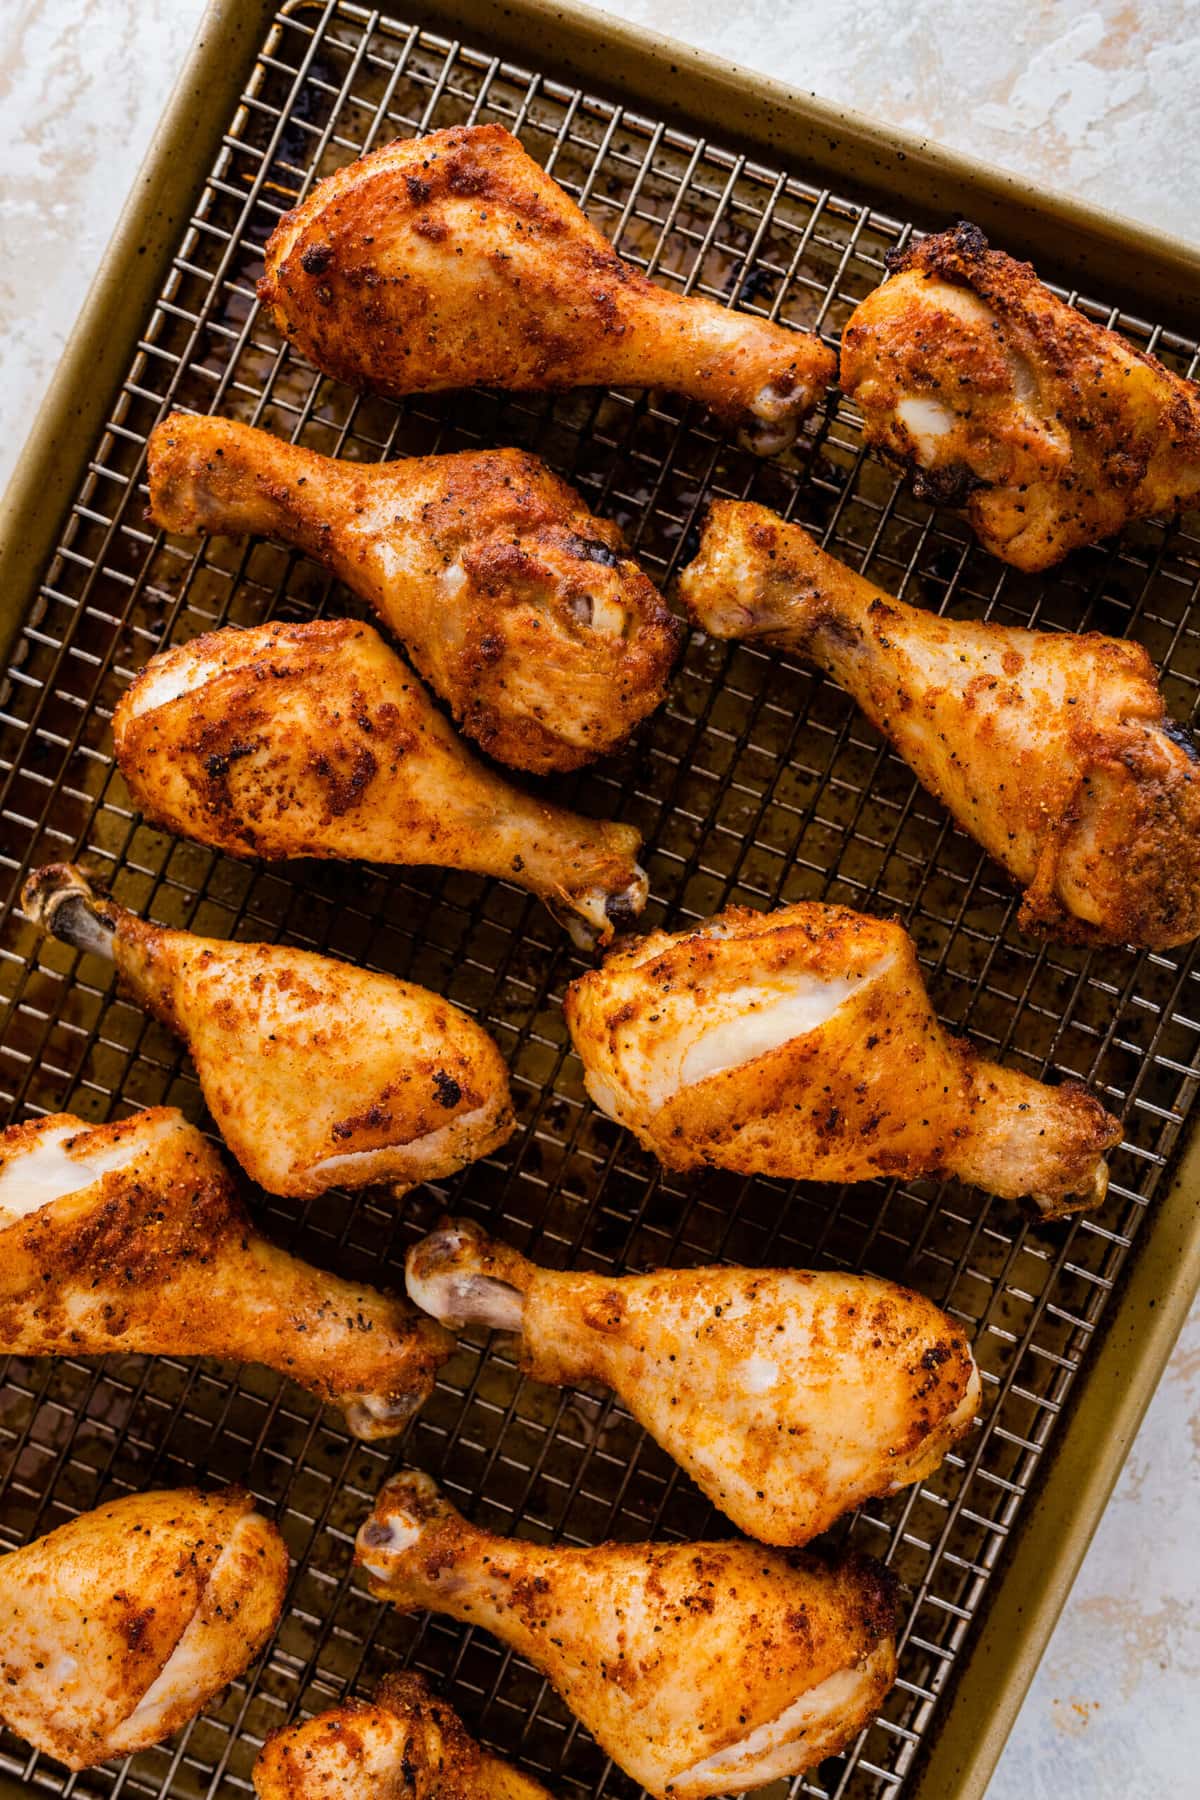
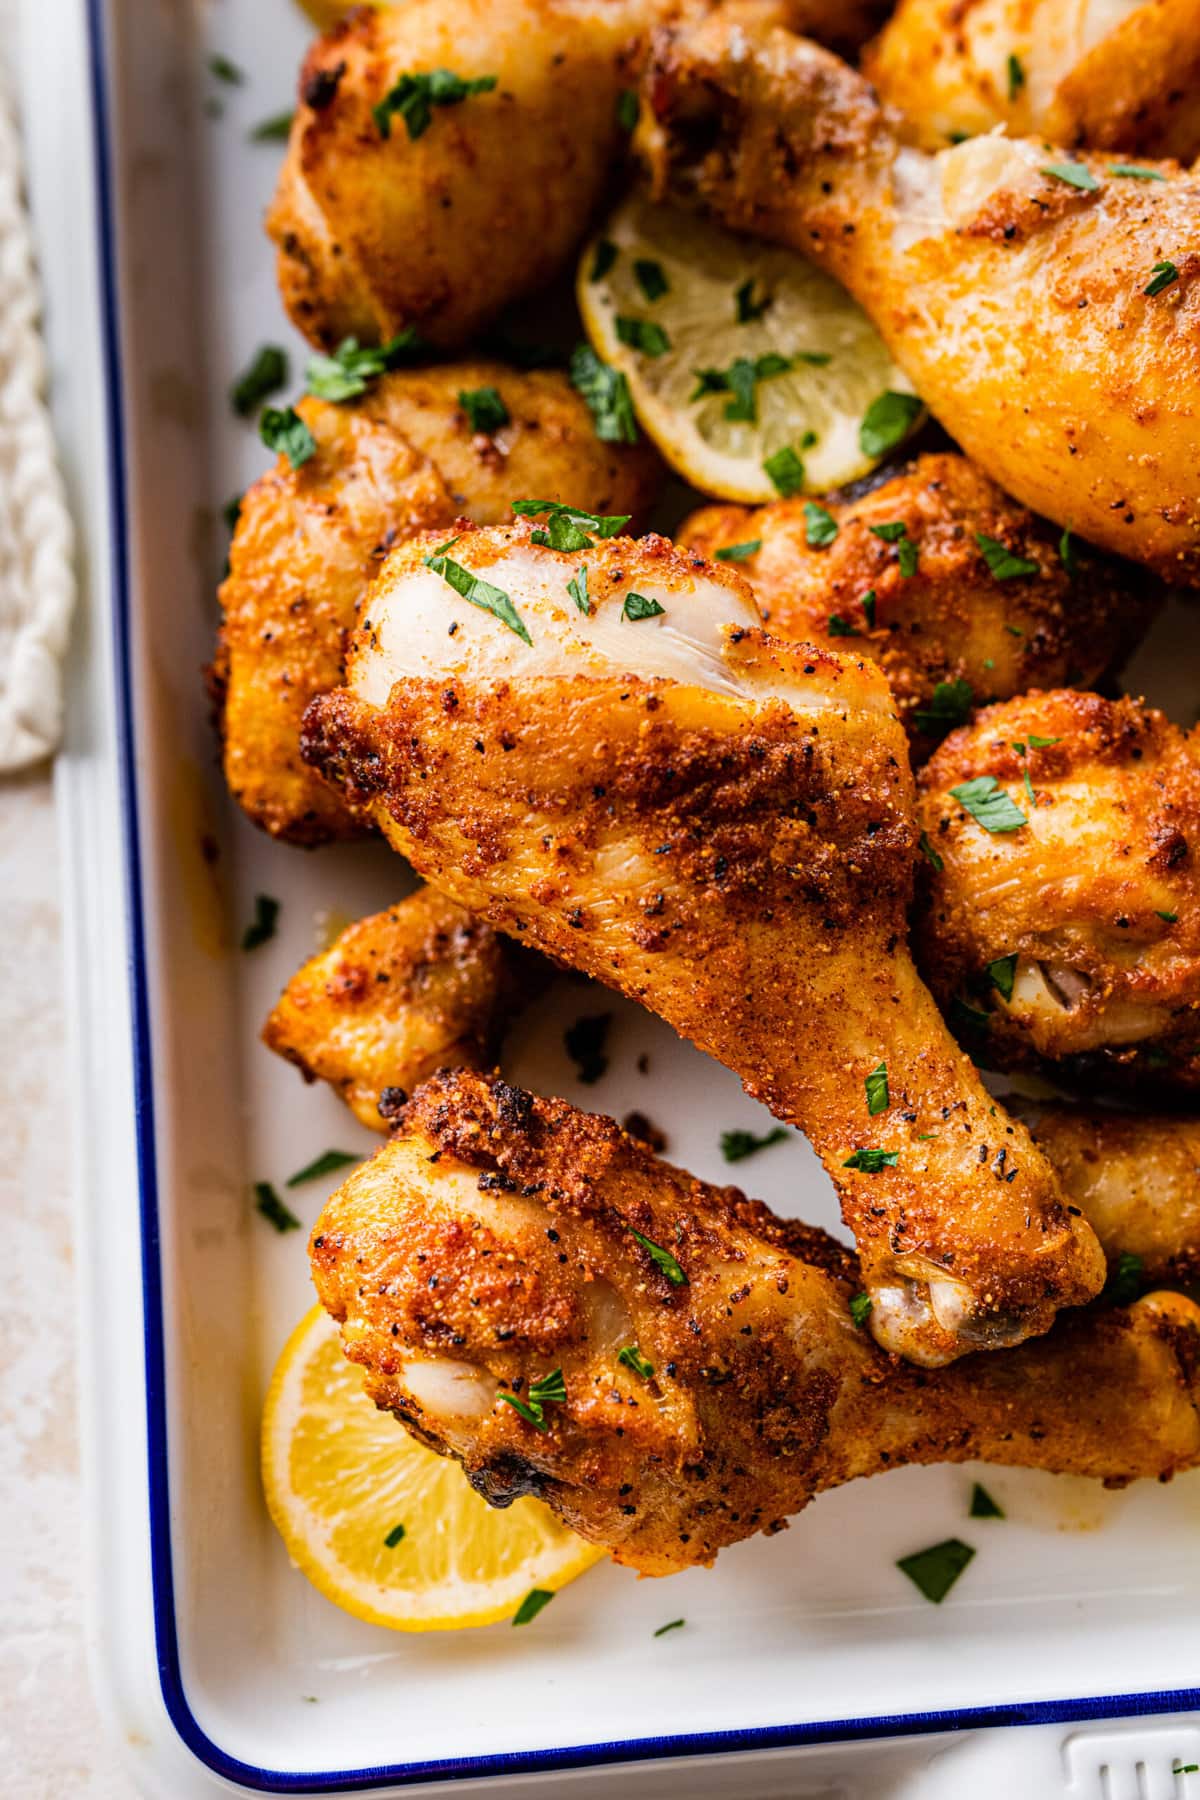
Bake: Arrange the seasoned chicken drumsticks in an even layer, leaving space between each. This helps the heat circulate the drumsticks. Bake in the preheated oven for about 35-45 minutes or until the chicken is cooked and the skin is crispy. Enjoy!
Why You’ll Love This Recipe
Chicken drumsticks or legs are always on sale at my local grocery store! I wanted to create a staple recipe that I could make on repeat and adjust the seasoning to vary the flavor profile. The whole family will love this easy and delicious meal.

- Chicken Drumsticks: These are the primary protein source for the dish. Chicken drumsticks are flavorful and juicy meat cuts from the chicken leg’s lower part. These are also called chicken drumsticks, not to be confused with chicken wings, or the whole leg and thigh piece together.
- Olive Oil: Olive oil is used to coat the chicken drumsticks and helps in browning and crisping up the skin during baking. It also adds a pleasant, mild flavor.
- Garlic Powder: Garlic powder is a dried, powdered form of garlic.
- Onion Powder: Similar to garlic powder, onion powder is a dried, powdered form of onions. It contributes a subtle onion flavor to the seasoning mix.
- Paprika: Paprika is a spice made from ground dried peppers and adds a mild, smoky flavor and a reddish color to the chicken.
- Dried Thyme: Dried thyme is an herb that provides an earthy, slightly minty flavor to the seasoning mix.
- Dried Oregano: Dried oregano is an herb with a robust, aromatic flavor. It adds a Mediterranean touch to the seasoning blend.
- Salt: Salt helps to draw moisture out of the chicken skin, making it crispy when baked.
- Black Pepper: Black pepper adds a bit of heat and pungency to the seasoning mix.
See the recipe card for quantities.
There are many ways to customize the baked chicken drumsticks recipe and experiment with different ways and flavors to suit your preferences.
- Honey Mustard Glaze: Prepare a glaze by mixing honey, Dijon mustard, minced garlic, and a splash of soy sauce. Baste the chicken drumsticks with the honey mustard glaze during the last 10-15 minutes of baking for a sweet and tangy twist.
- Lemon Herb Chicken: Zest and juice a lemon and mix it with olive oil, fresh chopped herbs like rosemary, thyme, and parsley, and minced garlic. Coat the drumsticks with this lemon herb mixture for a fresh and citrusy flavor.
How long does it take chicken to bake at 425?
FAQ
How long do you cook drumsticks in the oven at 425 degrees?
At 425°F, chicken drumsticks need about 35-45 minutes to cook. After the first 25 minutes, flip the drumsticks and continue cooking for another 15-20 minutes so they cook evenly on all sides. The exact time will always depend on the size of the drumsticks. Always judge doneness by the largest piece.
How long does chicken take at 425 in the oven?
Preheat the oven to 425 degrees F (220 degrees C). Bake prepped chicken uncovered until no longer pink at the bone and the juices run clear, about 50 to 60 minutes.