Hey there, grill masters and backyard BBQ enthusiasts! Today I’m gonna share everything you need to know about grilling chicken quarters. If you’ve ever grabbed those budget-friendly leg quarters at the grocery store and wondered “how long do I need to grill these bad boys?”, then you’re in the right place. I’ve been grilling these delicious cuts for years, and I’m excited to share my tips and tricks with y’all!
What Are Chicken Leg Quarters Anyway?
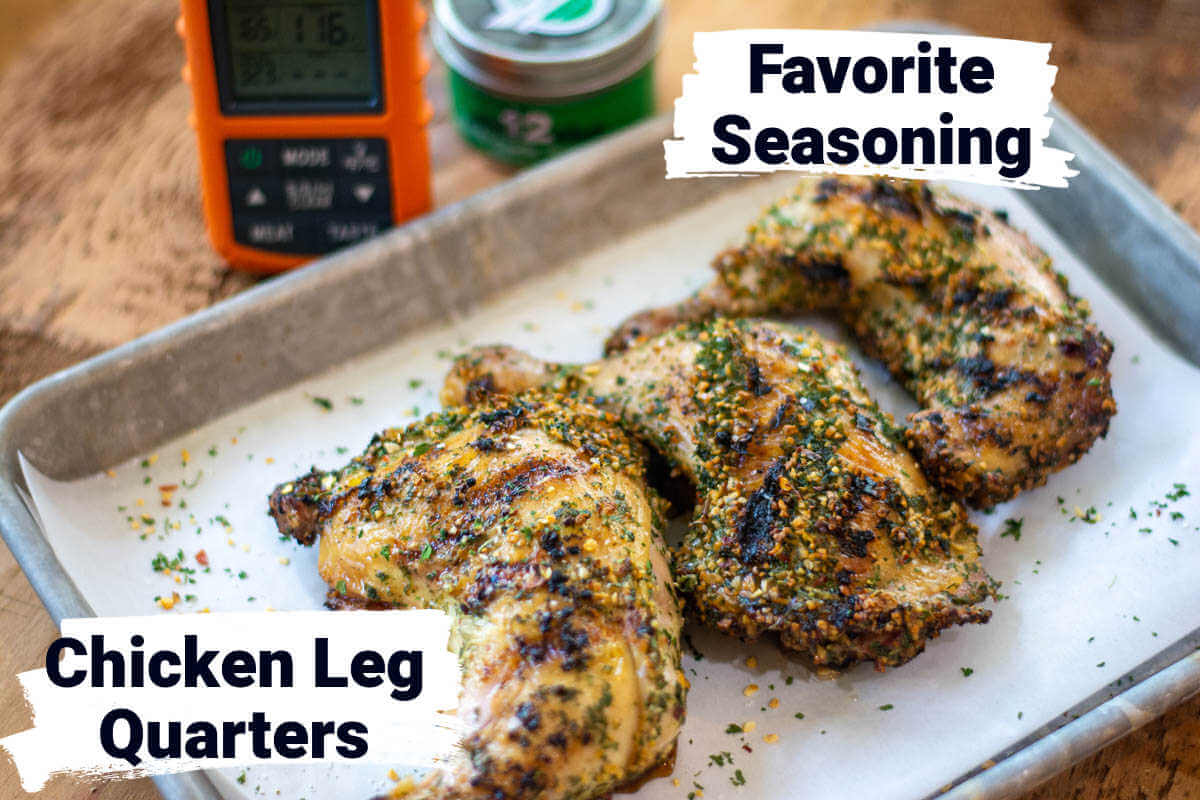
Before we dive into grilling times, let’s make sure we’re on the same page about what chicken quarters actually are. These economical cuts include both the thigh and drumstick in one piece, with the skin intact. They’re often called “leg quarters” because they’re literally a quarter of the chicken – and they’re seriously one of the most flavorful and juicy parts!
The Short Answer: Grilling Time
For those in a hurry At 350°F over direct heat, chicken leg quarters typically take 35-45 minutes to cook properly The key is reaching that safe internal temperature of 165°F
But don’t run off to the grill just yet! The perfect grilled chicken quarters require a bit more knowledge than just the cooking time. Let’s break down everything you need to know.
Essential Equipment for Grilling Chicken Quarters
Before you fire up the grill, make sure you have these tools handy
- Grill: Gas, charcoal, or pellet grill will all work great
- Instant-read thermometer: This is NON-NEGOTIABLE for perfect results!
- Ziploc bag or large bowl: For seasoning the chicken
- GrillGrate (optional but recommended): Helps prevent flare-ups
- Tongs: For flipping without piercing the meat
Step-by-Step Grilling Instructions
Step 1: Prep Work
- Take your chicken quarters out of the refrigerator about 20 minutes before grilling
- Place quarters in a large Ziploc bag
- Add 3-4 tablespoons of your favorite dry rub
- Seal the bag and shake until chicken is fully coated
Pro tip: Letting the chicken come to room temperature for about 20 minutes helps it cook more evenly. Cold chicken straight from the fridge will take longer to reach the proper internal temperature.
Step 2: Prepare Your Grill
- Set up your grill for medium heat at 350°F with direct heat
- If using a GrillGrate, place it on now to preheat
- Make sure any flare-ups are controlled before adding chicken
Step 3: Time to Grill!
- Place seasoned chicken quarters on the grill skin-side down (though honestly, it doesn’t matter which side goes down first)
- Insert your wireless thermometer if you have one
- Important: Flip the chicken every 10-12 minutes
- Total cooking time will be approximately 35-45 minutes
Step 4: Check for Doneness
The chicken quarters are done when:
- The internal temperature reaches 165°F at the thickest part
- Juices run clear when pierced (not pink)
- The skin is crispy and has nice grill marks
Step 5: Rest Before Serving
Let the chicken rest for about 5 minutes before serving. This allows the juices to redistribute throughout the meat, resulting in juicier chicken.
Why Do Cooking Times Vary?
You might be wondering why there’s a 10-minute window in my cooking time estimate. Well, several factors can affect how long your chicken quarters take to cook:
- Size of the quarters: Larger quarters need more time
- Starting temperature: Room temperature vs. cold from fridge
- Grill temperature fluctuations: Charcoal grills especially can vary
- Grill lid: How often you’re opening the lid to check
- Weather conditions: Wind and outside temperature can affect your grill
Common Mistakes to Avoid
I’ve made pretty much every grilling mistake possible over the years, so learn from my fails:
❌ Cooking at too high a temperature: This burns the outside while leaving the inside raw
❌ Not flipping regularly: One side will burn while the other remains undercooked
❌ Skipping the thermometer: Don’t guess! Temperature doesn’t lie
❌ Adding BBQ sauce too early: Save it for the last few minutes to prevent burning
❌ Serving immediately: Not letting the meat rest is a missed opportunity for juiciness
FAQ: Everything Else You Need to Know
Should I remove the chicken skin before grilling?
Absolutely not! The skin helps lock in moisture and adds amazing flavor. It gets deliciously crispy when grilled properly. If you don’t want to eat it, you can remove it after cooking, but definitely grill with it on.
Is it normal to see pink meat near the bone?
Yes! As long as your thermometer reads 165°F, the chicken is safe to eat. Sometimes the meat near the bone can remain slightly pink due to the marrow, even when fully cooked.
How do I prevent flare-ups when grilling chicken quarters?
Flare-ups happen when fat drips onto the heat source. To minimize them:
- Trim excess skin/fat before grilling
- Use a GrillGrate accessory
- Keep a spray bottle of water handy to quickly tame any flames
- Create a “safe zone” with indirect heat to move chicken if needed
Can I marinate the chicken instead of using a dry rub?
Absolutely! Chicken quarters take well to marinating for 3-6 hours. Just be aware that some marinades with sugar can burn more easily, so you might need to adjust your grilling technique.
How long do leftover grilled chicken quarters last?
After they’ve cooled completely, store them in the refrigerator for up to 4 days. They make awesome leftovers for salads, sandwiches, or just reheated as-is!
What’s the best way to reheat leftover chicken quarters?
Reheat them in an oven at 350°F for 10-15 minutes or in an air fryer at 350°F for 6-8 minutes. Avoid microwaving if possible as it can make the skin rubbery and dry out the meat.
Seasoning Ideas: Taking Your Chicken Quarters to the Next Level
One of the reasons I love grilling chicken quarters is their versatility when it comes to flavors. Here are some of my favorite seasoning approaches:
Basic BBQ Dry Rub
- 2 tbsp brown sugar
- 1 tbsp paprika
- 1 tsp garlic powder
- 1 tsp onion powder
- 1 tsp salt
- ½ tsp black pepper
- ½ tsp cayenne (adjust for heat preference)
Garlic Herb Option
- 2 tbsp dried herbs (rosemary, thyme, oregano mix)
- 1 tbsp garlic powder
- 1 tsp onion powder
- 1 tsp salt
- ½ tsp black pepper
Citrus Marinade
- ¼ cup olive oil
- Juice of 2 lemons
- 3 garlic cloves, minced
- 1 tbsp dried oregano
- 1 tsp salt
- ½ tsp pepper
Perfect Pairings: What to Serve with Grilled Chicken Quarters
Your perfectly grilled chicken quarters deserve some equally delicious sides! Here are some ideas:
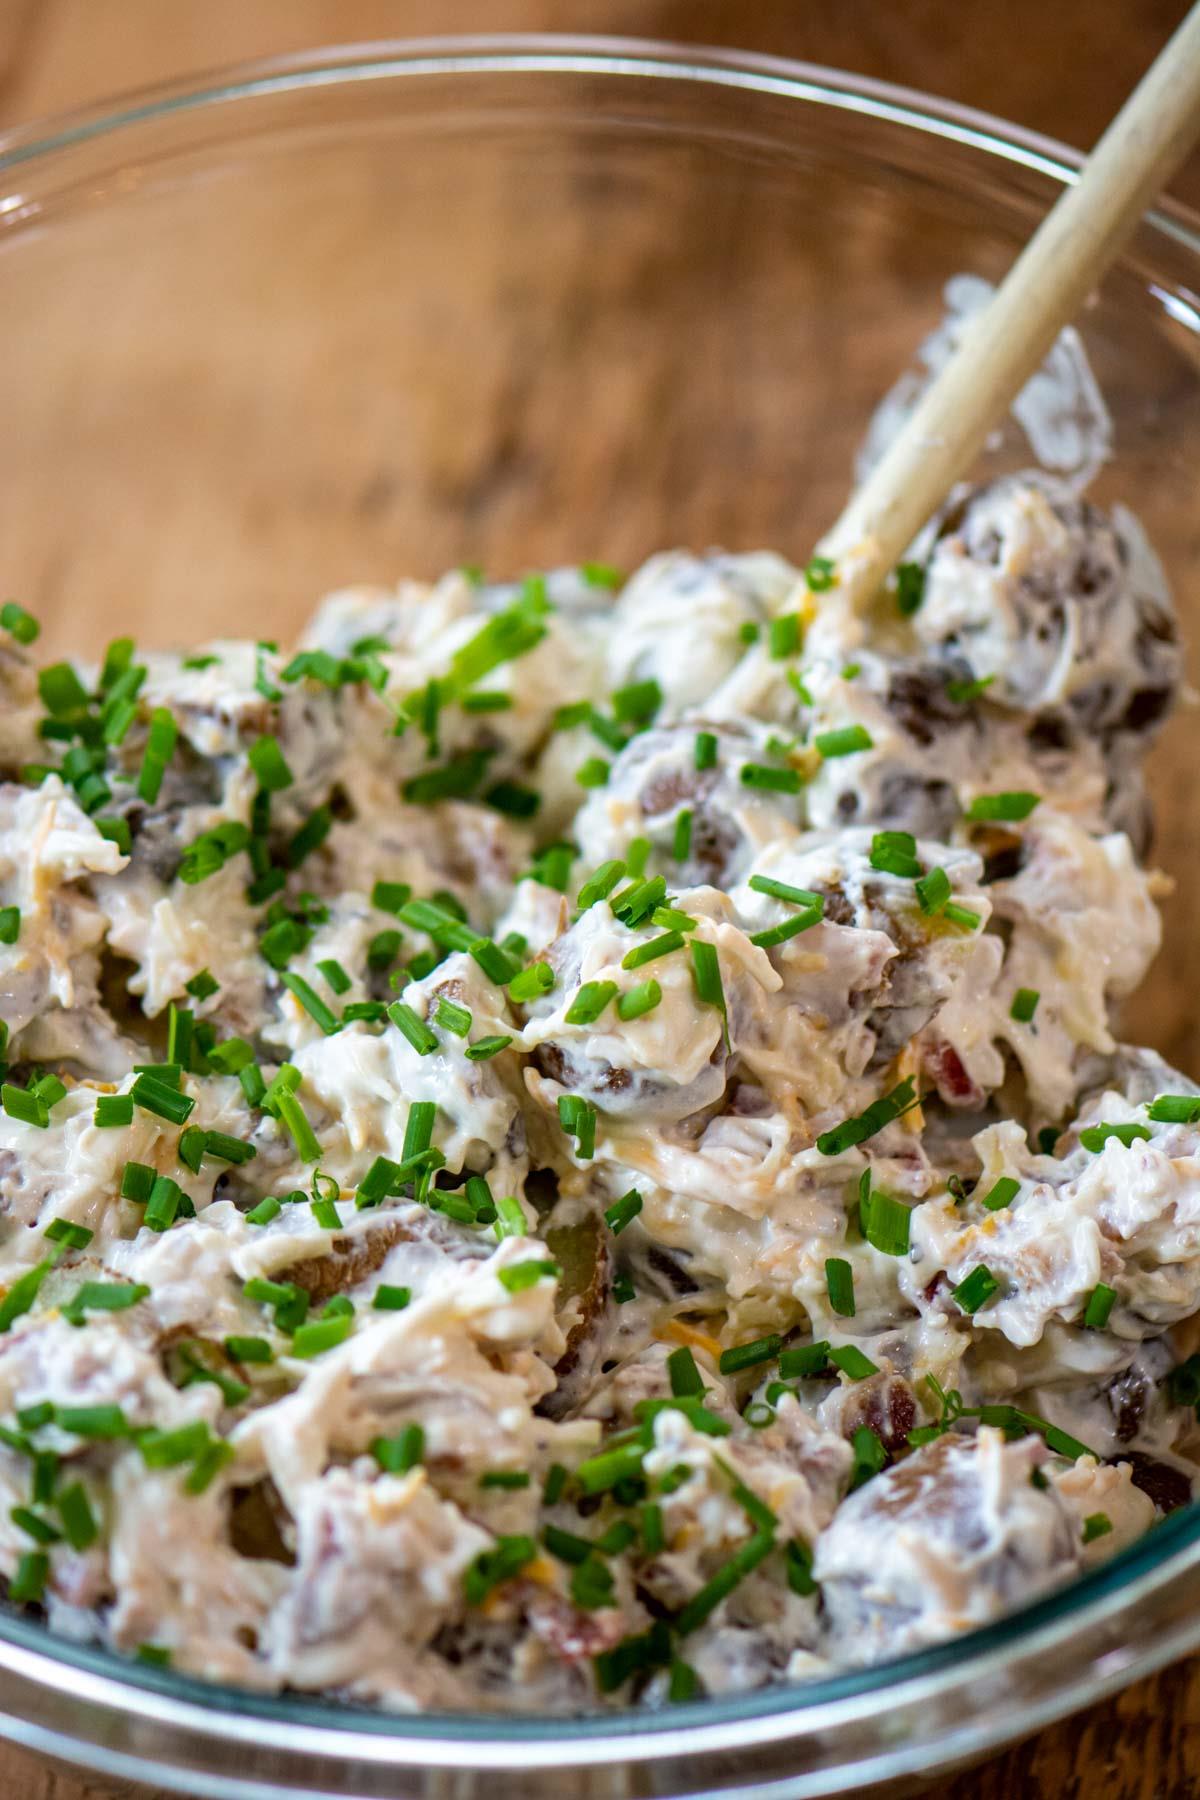
- Potato salad (traditional or smoked)
- Grilled corn on the cob
- Mac and cheese
- Coleslaw
- Baked beans
- Grilled vegetables like asparagus or zucchini
- Simple green salad
My Personal Grilling Journey
I still remember the first time I tried grilling chicken quarters. It was at a family cookout and I was so excited to take over grill duty from my dad. Let’s just say those first quarters were… memorable. Charred on the outside, undercooked on the inside, and everyone was too polite to say anything!
Fast forward a few years (and many, many grilling sessions later), and I’ve learned that patience and temperature control are your best friends when grilling these juicy cuts. Getting a good wireless thermometer was literally a game-changer for me – no more guessing or cutting into the meat to check!
Final Thoughts
Grilling chicken quarters doesn’t have to be complicated. With the right temperature (350°F), proper timing (35-45 minutes), and regular flipping (every 10-12 minutes), you’ll have perfectly juicy chicken every time. Remember that the key is cooking to temperature (165°F internal), not just following a time guideline.
I love these economical cuts because they’re always juicy, flavorful, and can feed a crowd without breaking the bank. Plus, they’re virtually impossible to dry out compared to chicken breasts.
So next time you see chicken leg quarters on sale at the grocery store, grab ’em! With these tips, you’ll be serving up perfectly grilled chicken quarters that’ll have everyone asking for seconds.
Quick Reference Chart: Grilling Chicken Quarters
| Stage | Temperature | Time | Notes |
|---|---|---|---|
| Preheat Grill | 350°F | – | Direct heat setup |
| Initial Placement | 350°F | – | Either side down first |
| First Flip | 350°F | After 10-12 minutes | Check for flare-ups |
| Second Flip | 350°F | After another 10-12 minutes | – |
| Third Flip | 350°F | After another 10-12 minutes | Check temperature |
| Final Cooking | 350°F | Until 165°F internal | Typically 35-45 minutes total |
| Resting | Off heat | 5 minutes | Don’t skip this step! |
Remember, the most important thing isn’t the time but reaching that 165°F internal temperature for food safety and juicy results. Happy grilling!

Why This Recipe Works
✔️2-Ingredient Recipe – As surprising as it may be, you only need chicken leg quarters and your favorite dry rub or seasoning for them to turn out juicy on the inside and crispy on the outside.
✔️Affordable & Easy To Scale – Chicken leg quarters are on of the most affordable cuts of meat. As if that wasn’t enough, they are often on sale. They make a great budget meal and the grill will elevate them to a whole new level of flavor!
✔️Fast Prep – We’re not doing anything fancy. In 10 minutes, the leg quarters will be ready for grilling.
✔️Easy To Customize – Switch out the rub, use a marinade, baste with BBQ sauce at the end – whatever you please. Chicken meat goes well with so many spices and herbs. I did two versions and both were delish!
I like recipes that give some leeway for the ingredients. I made this one several times, using a store-bought garlic herb rub, and then changed it up to use a traditional homemade BBQ rub from another recipe. I wanted to show you that it is best to grab the one you love and use it!
Chicken Leg Quarters | I usually buy the large packages with six chicken leg quarters, but adjust the amount you need based on how many people you are feeding and if you want leftovers.
Garlic Seasoning | I love the Two Snooty Chef’s Seattle Garlic Seasoning! I made these grilled chicken leg quarters two ways. One is using this herby garlic seasoning and it turned out fabulous.
BBQ Rub | Chicken goes well with so many barbecue rubs so you have a lot of options here. For the second version of these chicken leg quarters, I used my homemade beer can chicken rub, but it’s easy to customize it or use one of the many storebought rubs available.
✅Grill | Almot any kind of grill will work here. I am using the Big Green Egg, which is a charcoal grill, but a gas grill, charcoal grill, or a pellet grill like the Traeger will work just as well.
✅Ziploc Bag or Large Bowl | You’ll need a large bowl or a ziploc bag (my personal preference for avoiding a mess) to season the chicken leg quarters.
✅Instant Read Thermometer | The secret to getting these chicken quarters cooked to perfection is to monitor their internal temperature. Without an instant read thermometer you won’t be able to accurately monitor the doneness of the meat, making it easier to under or overcook it.
If you’re just starting your grilling adventures, read our chicken internal temperature guide for more information on the perfect doneness for chicken.
✅GrillGrate | This is optional but a very welcome accessory for preventing flare-ups.
This is an extremely easy and (almost) foolproof method to grill these perfectly juicy.
Step 1: Set up the grill for medium temperature. I set it to 350°F on direct heat. Too hot, and the outside will burn before the inside is fully cooked. Too low and this will take FOREVER to grill.
If you do want a slow-cooked recipe, check out these smoked chicken thighs. These have the complex flavor of a long smoke and an amazing BBQ sauce.
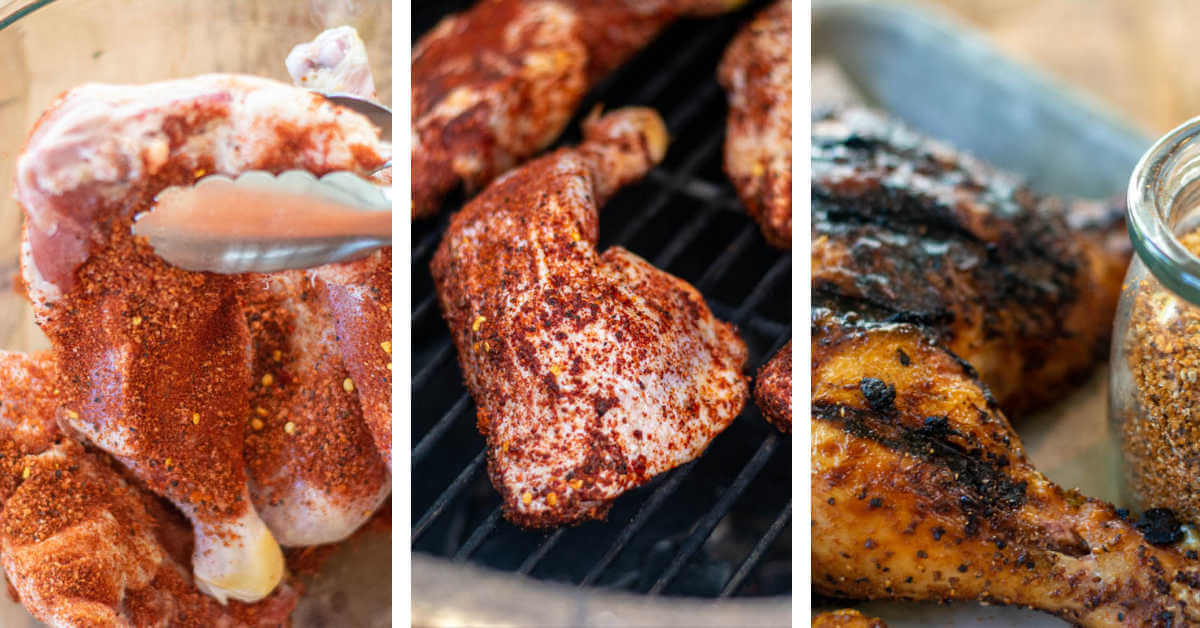
Step 2: While the grill is coming up to temperature, add the chicken quarters to a large Ziploc bag and add a few tablespoons of your favorite dry rub. Seal up the bag and shake until the chicken is fully coated.
Step 3: Place them on the grill. Insert your wireless thermometer, and flip the quarters every 10-12 minutes. It should take between 35-45 minutes for them to reach the safe recommended internal temp of 165°F.
Step 4: Let the chicken rest for 5 minutes before serving, so the juices settle back into the meat.
This is one of my favorite cuts of chicken. I don’t know why more people don’t jump at these in the store. They are extremely inexpensive, always juicy, delicious, and extremely versatile. My favorite way to grill them is just using a simple dry rub. That’s it. No fancy sauces, no competition BBQ injections. Nope. A dry rub will do the trick. It is just enough flavor to complement the extremely delicious chicken without taking over the flavor profile.
Additions & Substitutions
Use Chicken Drumsticks Or Thighs | This recipe relies on cooking the chicken quarters to the perfect internal temperature of 165°F. You can substitute chicken thighs or drumsticks and it will turn out just as tasty. Use our free grilled chicken temperature chart to grill any chicken part to perfection!
Since a quarter contains both the drumstick and the thigh, using the smaller parts will reduce the cooking time, which is excellent when you’re hungry even before firing up the grill.
Experiment With Different Dry Rubs | You have to love how versatile chicken meat is when it comes to seasoning options. I used a ready-made garlic herb rub, and my own homemade dry rub blend for chicken but there are a lot more to try.
Some of my favorite homemade BBQ rubs for poultry include the all-purpose dry rub for grilling and the Yukatan dry rub. It is worth making a larger batch if you grill chicken and turkey often!
You can also use common ingredients such as paprika, garlic powder, cumin, brown sugar, and cayenne pepper to create a custom dry rub that perfectly suits your taste preferences.
Dry Brine Overnight | Even if your favorite seasoning is just salt and pepper, letting the chicken sit overnight will help it absorb more flavors and become more tender. Just keep in mind that smaller, boneless cuts, like chicken breast, will need less time dry brining. Even a few hours is enough.
Glaze With BBQ Sauce | This adds a special charm to BBQ chicken leg quarters. If you choose to do it, wait until the last 2-3 minutes of cooking. The BBQ sauce can easily burn if you grill it for too long.
Try my honey sriracha sauce as a glaze for a spicy kick, or the whiskey BBQ sauce for a slightly boozy flavor.
Wet Brine vs. Dry Brine | Wet brining is another way to tenderize meat and infuse more flavor. The chicken is submerged in a saltwater solution, infused with herbs and spices.
The best way to figure out which method you like best is to use both. This easy citrus brine I used for smoked spatchcock chicken gave excellent results!
Use a Marinade | And finally, a third option to elevate the humble chicken leg quarters with just as many flavors to choose from. This is a larger chicken cut, so whatever marinade you choose, let them sit in it for 3-6 hours.
It’s just as easy to marinate chicken, as it is to dry or wet brine it. As far as seasoning options are concerned, you have just as much freedom as you do for the dry rub.
From the citrusy honey orange marinade to the savory garlic, and soy sauce marinade, and herby rosemary thyme marinade chicken lends itself well to this technique, especially for dry cooking methods like grilling, smoking, and roasting.
I love having any grilled meat as leftovers, including these crispy chicken leg quarters. You can easily reheat them or clean the meat off the bones and use it in a sandwich, salad, casserole, or another dish.
❄️Fridge | Ideally, place the leftover chicken quarters in an airtight container, as soon as they cool down to room temperature and transfer them to the fridge. As per USDA’s guidelines, cooked chicken will last 3-4 days in the fridge.
Freezer | Wrap the leftovers in a double layer of plastic wrap or aluminum foil and place them in a heavy-duty freezer bag. They will last 2-6 months, but I recommend you use them in the first 3 for the best taste and texture. Do not skip the wrapping before bagging. It offers much-needed protection against freezer burn.
Reheating grilled chicken leg quarters is extremely easy. As long as you use the proper cooking temperature and reheat the chicken to an internal temperature of 165°F it will remain moist and delicious.
Preheat the oven to 350°F (175°C). Place the grilled chicken leg quarters on a baking sheet or in an oven-safe dish. Cover the chicken with aluminum foil to help retain moisture. Reheat in the oven for 20-25 minutes or until the internal temperature reaches 165°F (74°C).
Preheat the grill to medium heat. Place the grilled chicken leg quarters on the grill. Cover the grill and reheat for 10-15 minutes, turning the chicken occasionally, until the internal temperature reaches 165°F (74°C).
Place the grilled chicken leg quarters on a microwave-safe dish and cover with a microwave-safe lid or microwave-safe plastic wrap, leaving a small opening to vent. Reheat on medium power for 2-3 minutes per piece, or until the internal temperature reaches 165°F (74°C).
Preheat the air fryer to 350°F (175°C). Place the grilled chicken leg quarters in the air fryer basket in a single layer. Reheat for 6-8 minutes, or until the internal temperature reaches 165°F (74°C).
You know what the best part is about grilled chicken? It works with an impressive variety of seasonings, BBQ sauces, and side dishes. It is, quite literrally, a neverending adventure, so let’s explore some of the best BBQ chicken sides.
⭐Potato Sides | Chicken and potatoes might sound like a basic meal but it depends a lot on how you cook both. Of course, grilled chicken is fantastic, but potatoes can get the same magic from the grill or smoker.
My friends and family are quick to gobble up these cheesy grilled potato skins and they will pair wonderfully with any BBQ meat. I also make smoked fingerling potatoes, and grilled baby potato skewers very often because my wife and son keep asking for them, and I like to keep my favorite humans happy!
⭐Veggie Sides | Make it a lighter meal by serving your grilled chicken leg quarters with a nutritious veggie side. I like to complete my grilled meats with a grilled or smoked veggie so there is no compromise on flavor!
⭐Salads | This is the perfect refreshing companion for grilled chicken! A simple mixed green salad, a creamy cucumber salad, or a more textured grilled peach and arugula salad will make any meat go down easier.
⭐BBQ Sauces | You can skip the formalities and use your favorite storebought BBQ sauce for convenience. It is worth mentioning, making your own is a matter of minutes!
We love the smoked pumpkin Bourbon BBQ sauce, the sweet and spicy BBQ sauce for grilled chicken, and the cherry Bourbon BBQ sauce to serve with all grilled poultry. They add a fantastic depth of flavor, you’ll want to enjoy over and over.
No way! There are a few reasons, but mostly the flavor is legit amazing when you leave the skin on. It gets crispy and makes the chicken taste so good. Plus, it locks in the moisture. If you really don’t want to eat it, skip it, but please don’t cook it without the skin.
It doesn’t matter which side you place them first on. I found the best temperature to grill chicken quarters is at 350°F over direct heat. You will need to flip the chicken every 10-12 minutes until it reaches the safe internal temperature of 165°F. This will take around 35-45 minutes.
Let them cool down all the way; then you can store them in the refrigerator for up to 4 days.
Place it on a baking sheet and gently cook it in a preheated oven that is 350°F. It will take 10-15 minutes to warm up, but it will taste better that at a higher temperature. Or you can heat it in the air fryer at 350°F for 6-8 minutes or until hot.