Hey there, fellow food preservers! If you’re wondering, “how long do you pressure can chicken,” you’ve landed in the right spot. I’m gonna spill all the beans (or chicken, ha!) on getting this done safely and with awesome results. Right off the bat, lemme tell ya for boneless chicken, you’re looking at 75 minutes for pint jars and 90 minutes for quart jars at the standard pressure (10-11 lbs depending on your canner type) But hold up, there’s more to it—jar size, whether you raw pack or hot pack, and even where you live (yep, altitude matters) can tweak those numbers a bit Stick with me, and I’ll walk ya through every step to make sure your chicken is shelf-stable and delish for months.
At our lil’ homestead, we’ve been canning chicken for years to save freezer space and have ready-to-go meals for busy nights It’s a game-changer, trust me In this guide, I’ll break down the exact times, why they’re non-negotiable, how to do it step-by-step, and even throw in some killer recipe ideas for using your canned goodies. Let’s dive in and get that pantry stocked!
Why Pressure Canning Chicken Ain’t Optional
Before we get into the nitty-gritty of times, let’s chat about why pressure canning is the only way to go for chicken. Chicken’s a low-acid food, meaning it’s a playground for nasty bugs like Clostridium botulinum—the critter behind botulism, which can be deadly serious. Water bath canning, great for jams or pickles, just don’t cut it here. It can’t hit the high temps (around 240°F or 116°C) needed to zap those spores in a sealed jar.
Pressure canning, though, cranks up the heat with steam under pressure, making sure every bit of that chicken is safe to store Messing with the processing time or skipping steps ain’t worth the risk. I’ve seen folks think they can shortcut with an electric pressure cooker, but lemme tell ya, that’s a no-go for canning Stick to a proper pressure canner, and we’ll keep things safe and sound.
How Long Do You Pressure Can Chicken? The Breakdown
Alright, let’s get to the meat of it (pun intended). The time you need to pressure can chicken depends on a few things: the size of your jars, whether you’re doing raw pack or hot pack, and if there’s bones in or not. Here’s the standard scoop based on what I’ve learned over countless canning sessions:
- Pint Jars (Boneless, Raw or Hot Pack): 75 minutes
- Quart Jars (Boneless, Raw or Hot Pack): 90 minutes
- Pint Jars (Bone-In, Raw or Hot Pack): 65 minutes
- Quart Jars (Bone-In, Raw or Hot Pack): 75 minutes
These times are for processing at the base pressure—usually 10 lbs for weighted gauge canners or 11 lbs for dial gauge ones at low altitudes (0-1,000 feet). Why shorter for bone-in? Bones conduct heat better, so the inside gets hot quicker. Pretty cool, right?
Now, if you’re up in the mountains like some of my buddies, you gotta bump up the pressure to account for the lower boiling point of water at higher elevations. More on that in a sec. First, let’s talk about raw pack versus hot pack ‘cause it can mess with how long things feel like they take, even if the processing time is mostly the same.
Raw Pack vs. Hot Pack: Does It Change the Time?
There’s two ways to prep your chicken for canning, and I’ve tried ‘em both:
- Raw Pack: You pack raw chicken straight into the jars, no pre-cooking. It’s quicker upfront, but the chicken might shrink more during processing, and sometimes the top bits look a tad dry if you don’t add a lil’ liquid. Time stays at 75 minutes for pints, 90 for quarts (boneless).
- Hot Pack: You lightly cook the chicken first—boil, bake, or whatever—till it’s about two-thirds done, then pack it hot into jars with some broth or water. This cuts down on shrinkage and air in the jar, giving a better seal. For boneless, it’s still 75 minutes for pints, 90 for quarts in most cases, though I’ve noticed some folks swear hot pack feels faster to heat through.
I’m a raw pack fan myself ‘cause I’m lazy sometimes, but hot pack can give ya a tastier end result if you’re picky. Note that with bone-in pieces, hot or raw, it’s 65 minutes for pints and 75 for quarts. The time difference ain’t huge, but the prep effort might sway ya one way or another.
Altitude Adjustments: Don’t Skip This!
If you’re livin’ high up, like above 1,000 feet, you gotta adjust the pressure, which indirectly messes with how the time feels to get to temp. Water boils at a lower temp the higher you are, so you need more pressure to hit that magic 240°F. Here’s a quick guide I follow:
| Altitude (Feet) | Weighted Gauge Pressure (lbs) | Dial Gauge Pressure (lbs) |
|---|---|---|
| 0 – 1,000 | 10 | 11 |
| 1,001 – 2,000 | 15 | 11 |
| 2,001 – 4,000 | 15 | 12 |
| 4,001 – 6,000 | 15 | 13 |
| 6,001 – 8,000 | 15 | 14 |
The processing time stays the same—75 mins for pints, 90 for quarts (boneless)—but crankin’ up the pressure ensures safety. I once canned at a friend’s cabin up at 5,000 feet and forgot to adjust. Had to reprocess everything. Don’t be me—check your altitude!
Step-by-Step Guide to Pressure Canning Chicken
Now that ya know how long to pressure can chicken, let’s walk through the whole dang process. I’m gonna lay it out simple so even if you’re a first-timer, you’ll feel like a pro. Grab your gear, and let’s do this!
What You’ll Need
Before we start, make sure you got:
- Pressure Canner: Not an electric cooker, a real canner. I got mine second-hand, works like a charm.
- Canning Jars: Pints or quarts, made for canning. Check for cracks—safety first!
- Lids and Bands: New lids every time, bands can be reused if they ain’t rusty.
- Jar Lifter: Hot jars are no joke, this tool saves your hands.
- Wide-Mouth Funnel: Makes fillin’ jars less messy.
- Bubble Remover or Headspace Tool: To get air out and measure space.
- Chicken: Boneless breasts or thighs are easy, but bone-in works too. Fresh is best.
- Salt (Optional): For flavor, about ½ tsp per pint, 1 tsp per quart.
Got all that? Sweet, let’s roll.
Step 1: Prep Your Chicken
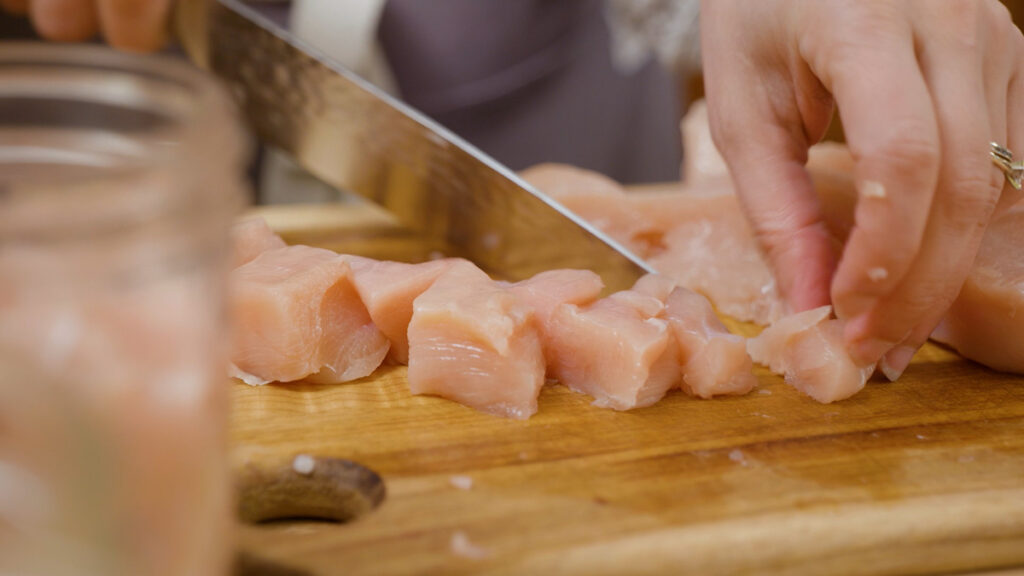
Decide if you’re goin’ raw pack or hot pack. For raw, just cut your chicken into chunks that fit in the jars. I like 1-inch cubes for boneless stuff. If bone-in, cut at joints so pieces ain’t too big. For hot pack, lightly cook it first—boil or bake till it’s mostly done, then cut up. Keep it hot while packin’. I sometimes brown my raw chicken a tad for extra flavor before raw packin’. Cheat code, I know!
Step 2: Set Up Your Canner
Fill your pressure canner with a few inches of water—check the manual, but usually 2-3 quarts does it. Pop the rack in the bottom so jars don’t rattle and bust. Heat the water to a simmer while you prep jars. I toss my clean jars in there to warm ‘em up—cold jars in hot water can crack, and I learned that the hard way.
Step 3: Pack the Jars
Grab a warm jar with your lifter. Using that funnel, pack in the chicken, leavin’ 1 ¼ inches of headspace at the top. That’s the empty bit between the chicken and the lid—important for a good seal. Add salt if you want. For raw pack, some folks (like me) add a half-inch of hot water or broth to keep the top bits moist, but it ain’t required. Hot pack already got liquid from cookin’. Use your bubble remover to get air out—wiggle it around gentle-like.
Step 4: Seal ‘Em Up
Wipe the jar rims with a damp cloth—any gunk there can mess up the seal. Pop on a new lid, screw on the band fingertip-tight. Don’t crank it hard; just snug. Place jars back in the canner with the lifter, makin’ sure they don’t touch each other.
Step 5: Process That Chicken
Lock the canner lid on, turn up the heat, and let steam vent out for 10 minutes. This pushes air out so the pressure’s accurate. After ventin’, close the vent or add the weight, dependin’ on your canner. Bring it to the right pressure for your altitude (check that table above). Once it’s there—watch for 4 jiggles per minute on a weighted gauge or the right number on a dial—start your timer. 75 minutes for pints, 90 for quarts if boneless. Adjust for bone-in as I mentioned.
Keep an eye on it. If pressure drops, bring it back up and restart the timer. I’ve had to babysit mine on an old stove that don’t hold heat steady, but it’s worth it.
Step 6: Cool Down and Check
When time’s up, turn off the heat and let the canner cool naturally till pressure hits zero. Don’t rush it—force coolin’ can spoil food or crack jars. Wait 10 minutes after zero, then open the vent or remove the weight. Lift the lid away from ya (steam burns suck), and use the lifter to get jars out. Set ‘em on a towel-lined counter, spaced apart, to cool for 12-24 hours.
After coolin’, check seals. Lids should be sucked down, no flex when ya press the center. If one don’t seal, reprocess with a new lid within 24 hours or fridge it and eat soon. Sealed jars store in a cool, dark spot for up to a year, though I’ve had some last longer with no issue.
What If You Under-Process? Big Risks, Y’all
If ya cut the time short, even by accident, you’re playin’ with fire. Under-processin’ don’t kill off botulism spores, and in that sealed jar, they can grow and make a toxin that’ll mess you up bad—think paralysis or worse. You can’t see, smell, or taste it, so don’t even test a suspect jar. I had a batch once I processed for only 60 minutes by mistake on quarts. Tossed it all after realizin’—heartbreakin’, but better safe than sorry. Boil under-processed stuff for 30 minutes before dumpin’ so critters don’t eat it either.
Can You Use an Electric Pressure Cooker? Nope!
I get asked this a lot: “Can I just use my Instant Pot or somethin’?” Nah, fam. Electric pressure cookers ain’t built for canning low-acid foods like chicken. They don’t maintain steady pressure or temp long enough, and most ain’t tested for safety by big dogs like the USDA. Stick with a proper pressure canner. I tried lookin’ into it once for a shortcut—total waste of time. Safety over speed, every day.
Why I Love Canned Chicken (And You Will Too)
Beyond savin’ freezer space, havin’ canned chicken on hand is like havin’ a secret weapon for meals. It’s already cooked, tender as heck, and ready to roll. Here’s some ways we use ours at home:
- Quick Chicken Tacos: Drain a jar, toss with taco seasonin’, heat up, and slap into tortillas. Dinner in 10 minutes flat.
- Chicken Noodle Soup: Dump a pint jar into a pot with broth, noodles, and veggies. Cozy meal when you’re feelin’ under the weather.
- Chicken Salad Sammies: Mix with mayo, celery, and a pinch of pepper. Slather on bread—lunch sorted.
- Pot Pie Fillin’: Use as the base for a hearty pie. Add veggies and a crust, bake, and you got comfort food central.
I’ve even thrown it into pasta dishes or quick stir-fries. The juice in the jar? That’s gold—use it as broth for extra flavor. Once you start cannin’, you’ll wonder how ya lived without it.
Tips to Nail Pressure Canning Every Time
Over the years, I’ve picked up some tricks to make sure my canning goes smooth. Here’s what works for me:
- Don’t Skimp on Ventin’: That 10 minutes of steam ventin’ before pressurizin’ ain’t optional. It gets pure steam in there for accurate heat.
- Label Everything: Write the date and contents on jars. I forgot once and played guessin’ games with mystery meat. Not fun.
- Check Seals Often: Before storin’ and before eatin’, make sure lids are concave. If it pops or looks off, toss it.
- Keep It Clean: Wash all gear good before startin’. Contamination’s a sneaky jerk.
- Don’t Overfill: Stick to that 1 ¼ inch headspace. Too full, and it might not seal right.
Oh, and if a jar don’t seal, don’t panic. Reprocess quick with a new lid, or fridge it and eat within a couple days. I’ve had a few duds, and freezin’ the contents works too if ya can’t re-can right away.
Wrappin’ It Up: Get Cannin’!
So, how long do you pressure can chicken? To recap, it’s 75 minutes for pint jars and 90 minutes for quart jars of boneless chicken, or 65 and 75 minutes respectively for bone-in, at the right pressure for your altitude. It’s a bit of work, but the payoff is huge—safe, tasty chicken ready whenever ya need it. I’ve built up a stash that’s saved my butt on busy nights or when the power’s out during a storm. There’s somethin’ satisfyin’ about seein’ those jars lined up, knowin’ I did that myself.
Pressure cannin’ might seem intimidatin’ at first, but take it from me—once you get the hang of it, it’s a breeze. Follow the times, keep safety front and center, and don’t cut corners. Got questions or wanna share your own cannin’ stories? Drop a comment below—I’m all ears! Let’s keep this old-school skill alive and keep our pantries full. Happy cannin’, y’all!
Can You Water Bath Can Chicken?
No, you cannot water bath can chicken. Chicken must be pressure canned in order to be canned safely because its a non-acidic food.
Meat That Must Be Hot-Packed
There are, however, some meats that must be hot packed, and thats any ground meat (including ground chicken). The reason for this is that any ground meat will cook down into one solid mass inside the jar during cooking, and it becomes a safety issue to get the inside temperature of that ground meat to the proper temperature.
Not only is it for safety purposes that we hot-pack ground meat, but it turns out much better because it wont end up as a solid mass (think meatloaf in jar form).
Canning chicken
FAQ
How long should I pressure can chicken?
Once you’re getting 4 “jiggles” per minute, or your dial gauge has come up to pressure, start your timer and process the chicken. If you’re canning pint jars, you will process them for 1 hour 15 minutes (75 minutes). If you’re using quart jars, you will process for 1 hour 30 minutes (90 minutes).
How much time should I pressure cook chicken?
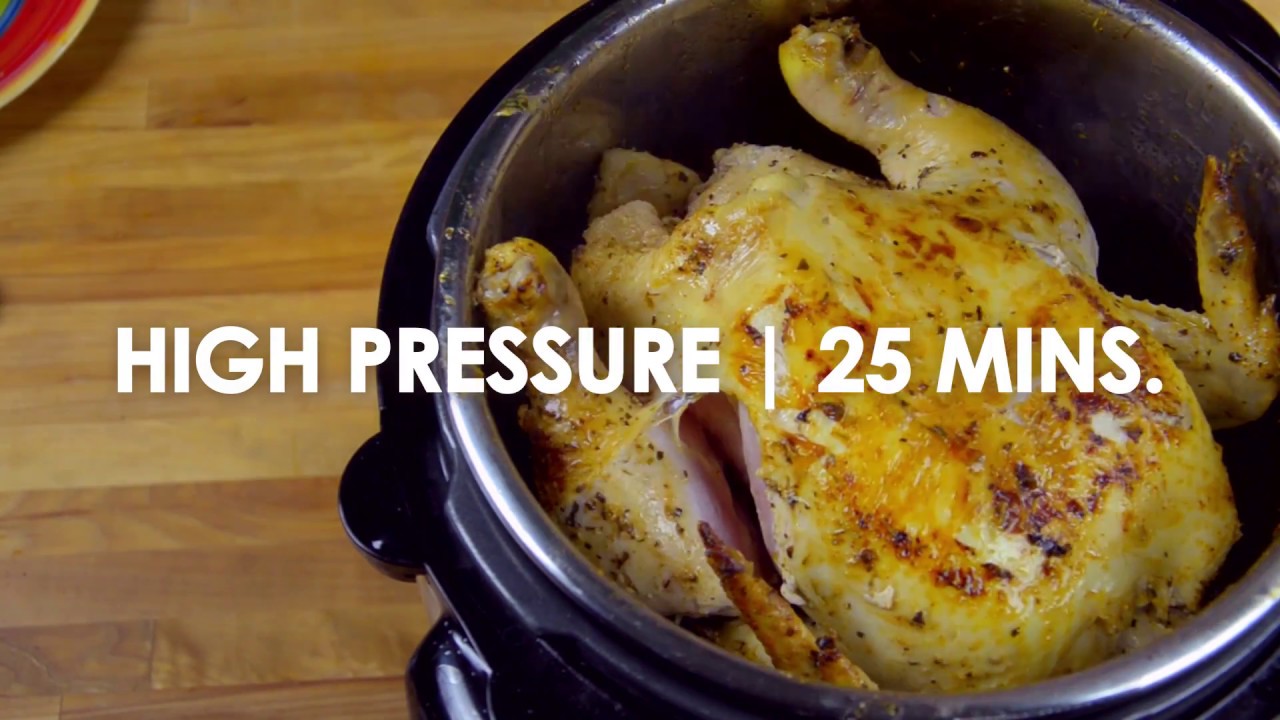
Cook the chicken on HIGH pressure for 10 minutes.
Seal the cooker and make sure the pressure valve is closed. Set to HIGH pressure for 10 minutes. For fresh chicken, it will take about 10 minutes to come to pressure. Expect frozen chicken to take 12 to 15 minutes to come up to pressure.
Is it possible to overcook chicken in a pressure cooker?
One of the problems with cooking chicken in Instant Pot is it’s easy to overcook or dry them out! So we crafted & tested this Quick & Easy Shredded Chicken method to make sure they come out tender, juicy, & flavorful. Say no to dry or rubbery chicken!
How long do I need to pressure can chicken stock?
Apply band and adjust until fit is fingertip tight. Process filled jars in a pressure canner at 10 pounds pressure 20 minutes for pints and 25 minutes for quarts, adjusting for altitude, according to your pressure canners directions.