Pan frying chicken breast is one of the quickest and easiest ways to cook up a delicious protein-packed dinner. When done right, pan-fried chicken emerges from the stovetop with a crispy golden exterior and a moist tender interior. But getting the timing just right can seem tricky. Undercook the chicken and you risk foodborne illness; overcook it and you’re left with an overdry, rubbery mess.
So how long exactly should you pan fry boneless, skinless chicken breasts to achieve ideal doneness from edge to edge? Read on for a complete walkthrough of the pan-frying process, along with timing guidelines and foolproof tips for perfectly cooked chicken every time.
How Long Does it Take to Pan Fry Chicken Breasts?
The exact pan frying time depends on a couple of key factors:
-
Thickness of the chicken breast – Thinner cutlets will cook faster than thick, plump pieces. For best results, pound thicker chicken breasts to an even thickness of 1/2 inch This promotes even cooking
-
Temperature of the pan – A very hot skillet will sear and cook the chicken more rapidly than a medium heated pan. Use a pan thermometer if you have one, or test the pan by sprinkling a drop of water on it. It should sizzle vigorously when hot enough.
Taking these variables into account, the average pan frying time for boneless, skinless chicken breasts is:
- 8-12 minutes total – This allows sufficient time for an initial sear followed by gentle cooking through to the proper internal temperature. Thinner breasts may take only 6-8 minutes, while very thick pieces need closer to 14 minutes.
Always rely on an instant-read thermometer to assess doneness rather than just going by time. Chicken is perfectly cooked and safe to eat once it registers an internal temperature of 165°F (74°C).
Now let’s break down the pan-frying process step-by-step so you know exactly what to do for foolproof, juicy chicken breast stovetop-style.
Step 1: Prepare and Season the Chicken
Proper prep is key for even pan frying results. Here’s how to start:
-
Select similarly sized breasts – Matching the thickness allows for consistent cooking.
-
Pound if needed – Use a meat mallet to gently pound thicker portions to 1/2-inch thickness.
-
Pat very dry – Blot with paper towels to remove excess moisture for better browning.
-
Season generously – Sprinkle both sides with salt, pepper and any other seasonings.
Step 2: Heat the Pan
Use a heavy skillet – cast iron or stainless steel work best for even heating. Heat over medium-high until very hot. Test the pan’s readiness:
-
Drop water test – Water should dance and sizzle right away.
-
Shimmering oil – If the pan is properly preheated, added oil will shimmer and ripple rather than sit still.
-
Leidenfrost effect – Sprinkle a drop of water on the empty pan – if it beads up and skitters around, the pan’s ready!
Step 3: Sear the Chicken
Once the pan is screaming hot, add the chicken breasts carefully without overcrowding. Cook each side for 4-5 minutes without disturbing to get a flavorful sear.
-
Don’t move the chicken – Let it sear undisturbed to form a crispy crust.
-
Don’t overcrowd – Cook in batches for proper searing.
-
Adjust heat if needed – Lower heat slightly if the pan is overbrowning.
Step 4: Finish Cooking
After searing both sides, reduce heat to medium and continue cooking for a few minutes, flipping once halfway through, until the chicken reaches an internal temperature of 165°F.
-
Flip occasionally – Turn every 2-3 minutes to prevent overbrowning.
-
Check temperature – Insert a thermometer in the thickest area to assess doneness.
-
Cover to retain moisture – Tent with foil if chicken is drying out but not yet cooked through.
Step 5: Rest and Serve
Once cooked, transfer the chicken to a cutting board and let it rest for 5-10 minutes before slicing and serving.
-
Allows juices to redistribute – Resting makes the chicken more moist.
-
Carryover cooking – The temperature will rise another 5-10°F as it rests.
-
Prevents drying out – Don’t slice chicken immediately or the juices will spill out.
Pan-Frying Chicken Breast FAQs
Here are answers to some frequently asked questions about achieving pan-fried chicken perfection:
How do I know when the pan is hot enough?
Use the water drop test or shimmering oil test. If the pan is properly preheated, a drop of water should dance and sizzle immediately upon contact rather than just boiling away slowly.
What if my chicken is sticking?
If the chicken sticks to the pan when you try to flip it, it likely needs more time to develop a proper crust. Let it sear a minute or two longer until it releases easily on its own. Properly preheating the pan also prevents sticking.
Why did my chicken turn out dry?
Overcooking is the most common culprit for dry chicken. Yank it from the heat at 160°F and let carryover cooking bring it up to a safe 165°F as it rests. Pounding thick chicken to an even thickness also prevents uneven cooking.
Can I use an air fryer instead of pan frying?
Absolutely! Air fryers mimic pan frying, providing a crispy exterior and tender interior. Cook at 400°F for 10-15 minutes depending on thickness, flipping halfway. Rely on a thermometer for doneness.
How can I add flavor to basic pan-fried chicken?
Beyond just salt and pepper, try seasoning with garlic powder, paprika, Italian seasoning, or a spritz of lemon juice. You can also sauté aromatics like garlic or herbs in the pan before cooking the chicken.
The Takeaway on Pan-Fried Chicken Breasts
Pan-frying may seem like a basic cooking method, but perfecting this technique truly pays off with restaurant-quality chicken any night of the week. For foolproof, juicy results, start with properly prepping and seasoning the chicken. Sear over high heat and then gently finish cooking to 165°F, allowing the chicken to rest before serving. Rely on temperature rather than time, and you’ll turn out tender, golden chicken breasts every time.

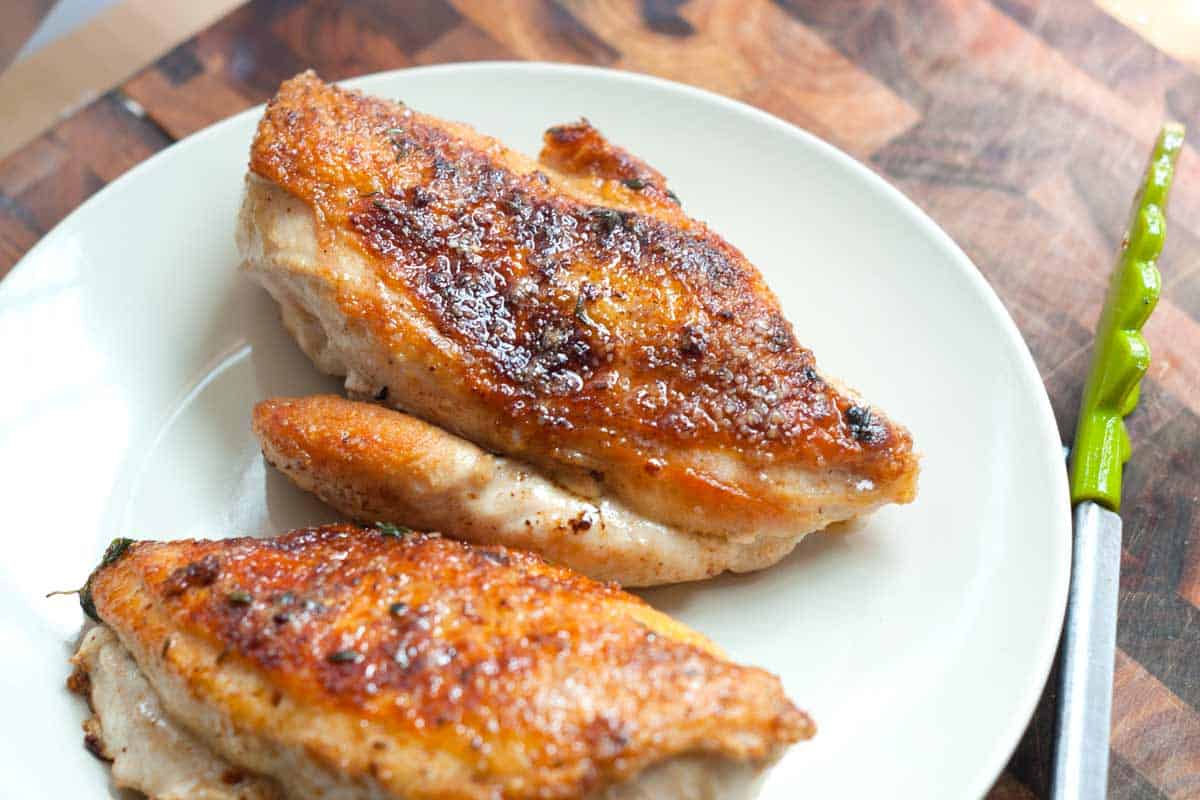
How to Make Pan Roasted Chicken
If we can find them, boneless skin-on chicken breasts are our go-to for this recipe. If you can’t find chicken breasts with the skin left on and the bone out, you can make this with bone-in breasts or skin-on chicken thighs. You can also use skinless breasts, although I have to admit that golden-brown skin is my favorite part.
I cook the chicken in butter for this chicken recipe and add lots of fresh thyme. You’ll start by generously seasoning the chicken with salt. Then, place it skin-side down into a hot pan. When the chicken is golden brown, flip it and add butter and fresh thyme.
Now, here’s the good part! When the butter has melted, spoon it all over the chicken, and then slide the pan into the oven so the chicken can finish cooking.
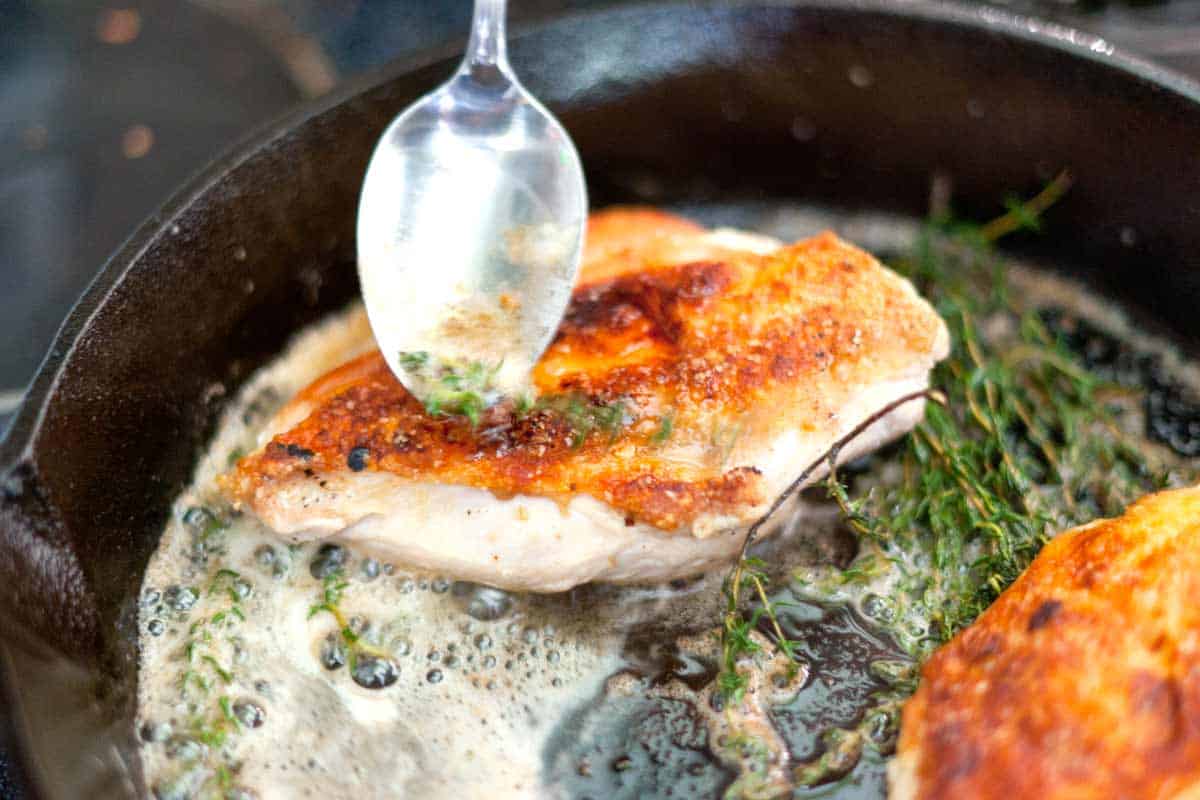
While the chicken finishes cooking in the oven, open the oven door a couple of times and spoon more butter over the chicken to keep it moist.