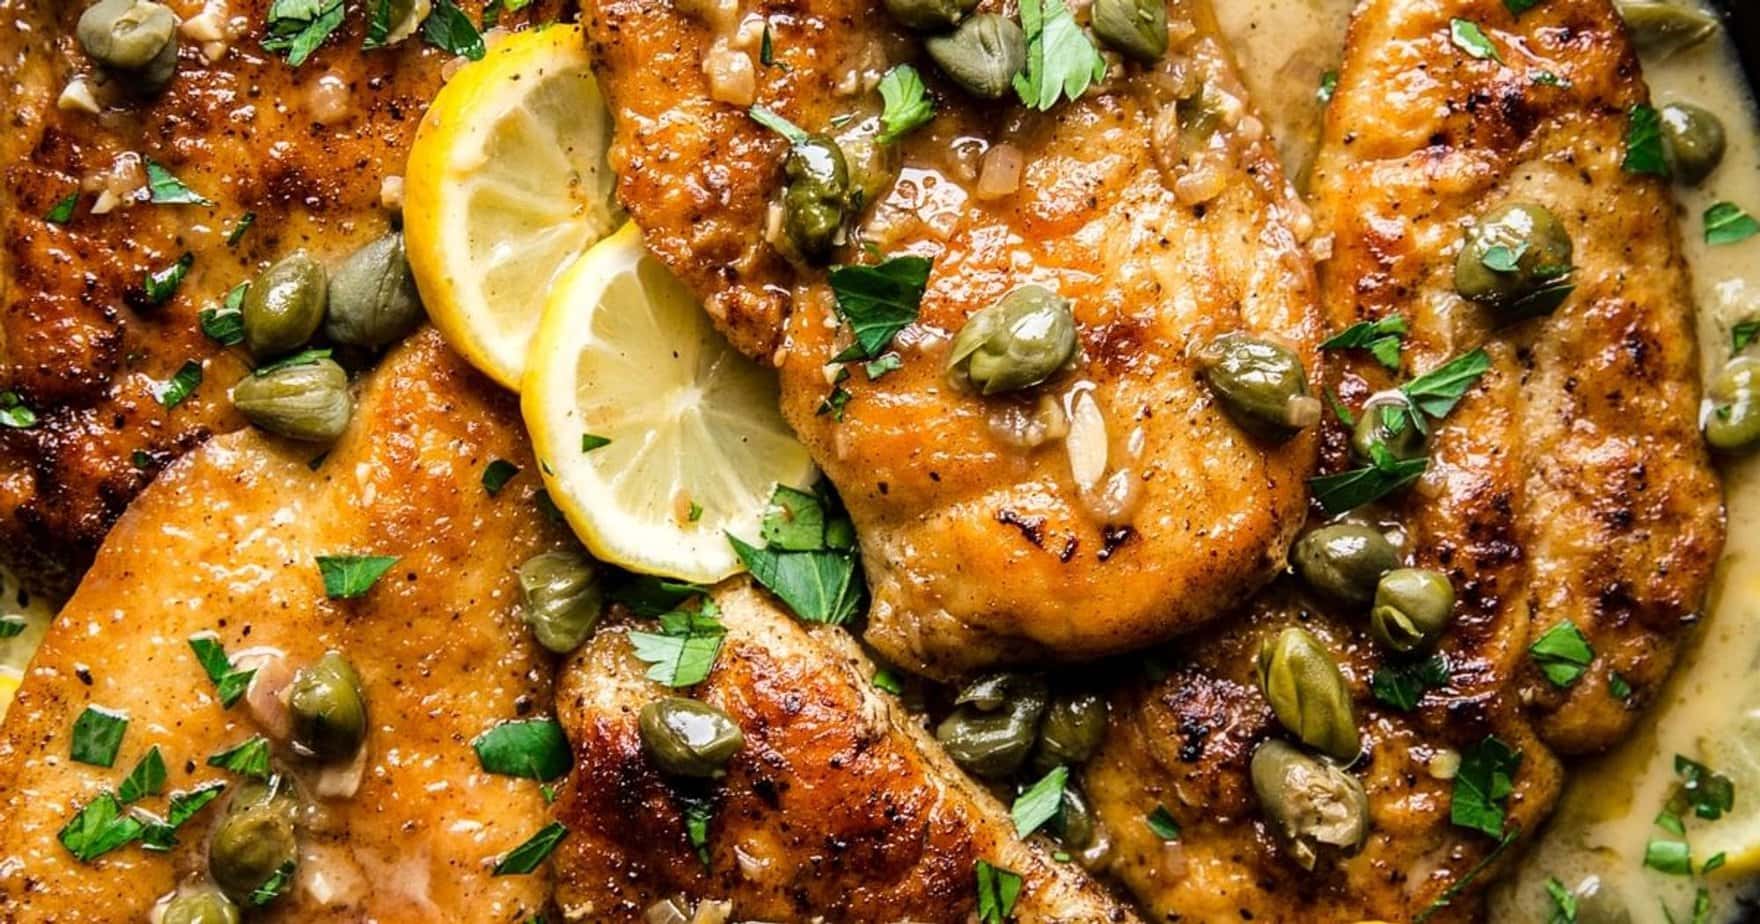
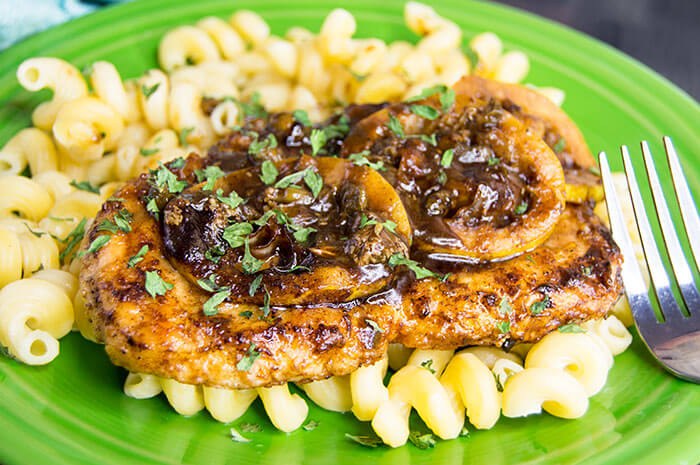
Chicken piccata is a classic Italian dish that is loved by many for its bright, tangy lemon flavor and crisp chicken cutlets. However, keeping this delicate dish warm until serving can be challenging. Cold chicken piccata loses its appeal as the crispy chicken softens and the sauce congeals. Fortunately, with some simple tricks, you can keep your chicken piccata tasting fresh and warm for up to an hour after cooking.
In this detailed guide, I will share several effective methods to keep your chicken piccata piping hot and delicious. Whether you are cooking for a small dinner party or a large gathering, these tips will ensure your guests can enjoy properly warmed chicken piccata.
Test the Chicken’s Internal Temperature
The safest way to determine if your chicken piccata is sufficiently warm is to use a food thermometer to check its internal temperature. Chicken is considered safe to eat once it reaches an internal temperature of 165°F. To check insert the thermometer into the thickest part of the chicken breast and let it sit for 15-20 seconds before reading the temperature. As long as the chicken registers at 165°F or above you can be confident it is properly warmed.
Keep the Chicken in a Warm Oven
One of the easiest ways to keep cooked chicken piccata warm is to place it in a warm oven set to the lowest possible temperature, usually around 200°F Transfer the chicken piccata to an oven-safe dish, tent it loosely with foil, and place in the warm oven The ambient heat will keep it from cooling down without overcooking it. Check it periodically and remove once ready to serve. This method can keep chicken piccata warm for 30-60 minutes.
Use a Chafing Dish
Chafing dishes are designed specifically for keeping food warm at the table. They have an open flame or electric heating element below the dish that gently warms it from the bottom up. Place your chicken piccata in a chafing dish, cover, and let the heat source keep it at serving temperature. Chafing dishes can maintain safe food temperatures for 1-2 hours.
Transfer to a Slow Cooker
For larger batches of chicken piccata, transferring it to a slow cooker is an excellent way to keep it warm. Slow cookers are insulated and distribute low, even heat – perfect for keeping food ready to eat without drying it out. Place chicken piccata in the slow cooker, set it to warm, and lid. The chicken can stay hot in the slow cooker for up to 2 hours.
Use a Double Boiler
A double boiler set-up works similarly to a slow cooker. Bring water in the bottom pot to a gentle simmer. Place your chicken piccata in an oven-safe dish and set the dish over the simmering water. The indirect heat from the steam will keep the chicken warm without scorching it. Replace the water as needed to keep it steaming. With this method, chicken piccata can stay warm for 1-2 hours.
Microwave in Short Bursts
While microwaving can lead to uneven heating, it can work in a pinch to reheat chilled chicken piccata. Microwave it in short 10-20 second bursts, stirring in between, just until warmed through Microwaving risks drying out the chicken, so only use this method if absolutely necessary
Keep Sauce Warm Separately
For piccata with excess sauce, keep the sauce warm separately from the chicken. Place the sauce in a small saucepan over very low heat. Stir it frequently, taking care not to let it simmer. Keeping the sauce warmed prevents the chicken from getting soggy after plating.
Use Insulated Food Carriers
Traveling with or transporting chicken piccata? Use an insulated food carrier or casserole carrier to keep it warm. Place the chicken piccata in a container that fits snugly inside the carrier. The insulated walls will retain heat for 1-2 hours, enabling easy transport or delivery while maintaining proper food temperatures.
With a wide range of methods to choose from, you can confidently serve warm, flavorful chicken piccata anytime. Next time you cook this bright, lemony dish, try out these handy tips for keeping it at the perfect temperature to be enjoyed immediately. Your guests will be delighted with chicken piccata that is crisp, tender, and fresh out of the pan.
Here’s What You Need
- Chicken breasts: Provides the main protein for the dish.
- Flour: Helps create a crispy coating on the chicken.
- Salt: Enhances all the flavors in the dish.
- Garlic powder: Adds a rich, savory flavor.
- Parmesan cheese: Contributes a nutty, salty taste to the coating.
- Olive oil: Used for frying the chicken and adds a fruity flavor.
- Butter: Adds richness and depth to the sauce.
- White wine: Deglazes the pan and adds acidity.
- Chicken broth: Forms the base of the sauce.
- Lemon juice: Gives the dish its signature tangy flavor.
- Capers: Adds a briny, salty bite.
- Cooked noodles: Serves as the base for the chicken and sauce.
First, place the chicken breasts in a large baggie. Close the bag, but don’t seal it tightly. Lightly pound each chicken breast until it’s about a half-inch thick. If the breasts are too big, cut them in half after pounding them thin. This will help them cook more evenly and quickly.
Next, add the flour, Parmesan cheese, garlic powder, and salt to the baggie. Shake until the chicken is well coated. Preheat your oven to 160°F to keep the chicken warm later.
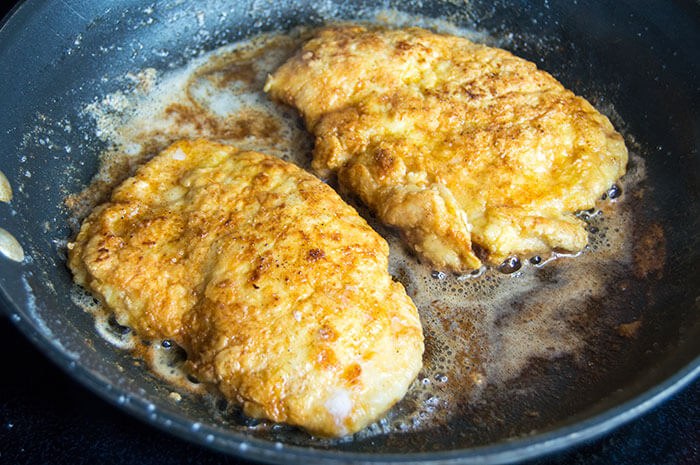
In a large skillet, melt the butter in the olive oil over medium-high heat. Once hot, sear the chicken breasts on both sides until they’re golden brown, about 3-4 minutes per side. Transfer the cooked chicken breasts to a baking sheet and keep them warm in the preheated oven.
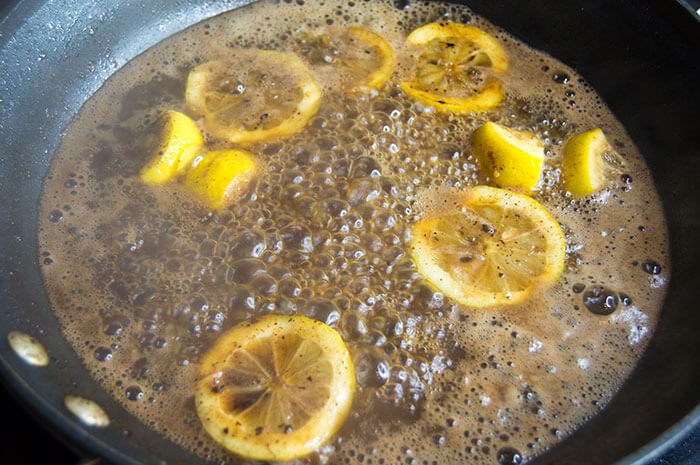
Without washing the skillet, deglaze the pan with the white wine. Scrape up all those delicious browned bits from the bottom. Add the chicken broth to the skillet and bring to a simmer. For extra flavor, you can add the lemon rinds. Finally, stir in the lemon juice.
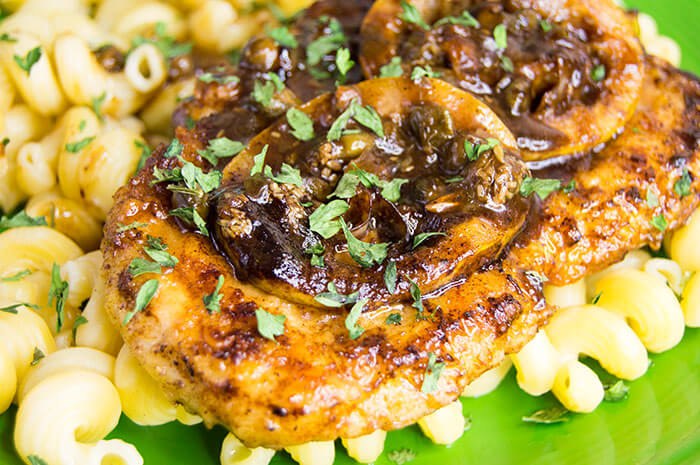
Stir in the cooked noodles and capers until they’re coated in the sauce and warmed through. Return the chicken breasts to the pan, making sure to coat them with the sauce. Serve hot, garnished with reserved lemon slices.
- Pounding the Chicken: Make sure to pound the chicken evenly to ensure it cooks at the same rate. This helps prevent overcooking and drying out the thinner parts.
- Deglazing the Pan: Don’t skip scraping up the browned bits. They add a ton of flavor to the sauce.
- Balancing Flavors: Taste the sauce before serving. If it’s too tangy, add a pinch of sugar. If it’s too bland, a bit more salt can help.
- Keeping Chicken Warm: Keeping the chicken in a low oven while you prepare the sauce ensures it stays warm and juicy without overcooking.
- Noodle Choice: Use any kind of pasta you like. Angel hair or spaghetti works great, but you can use whatever you have on hand.
Chicken piccata is the perfect weeknight meal when you’re pressed for time and want something delicious. The lemony sauce really makes this dish pop, pairing perfectly with the golden brown chicken and briny capers. Plus, it’s a breeze to put together. Just a little prep work, some quick frying, and you’re good to go.
What’s Up, Hungry People
As the holidays encroach upon us, I’m constantly looking for cheap and easy meals to make on weeknights when I very much do not want to be cooking. Thankfully, chicken piccata is here to save the day!
Chicken piccata starts by frying the chicken breasts in a skillet until they are golden brown. It’s helpful to pound the chicken breasts flat before cooking them so that they cook a bit faster.
The lemony sauce is really what sets chicken piccata apart from other twenty-minute meals – it smacks you in the face with flavor.
Chicken Piccata | Dinner at Five; Cook with Me
FAQ
How to keep chicken piccata warm?

To keep chicken piccata warm, you can use a low oven (around 200°F) or a warming tray, ensuring it’s covered to prevent drying out.
How long can chicken piccata sit out?
Chicken, whether cooked or raw, should not sit out at room temperature for more than two hours, or one hour if the temperature is above 90ºF.
How to keep chicken breast warm without drying it out?
Turn the oven to 350F. To keep the chicken from drying out, place it in a baking dish and add 1 cup chicken broth or water, and cover with a foil.May 16, 2024