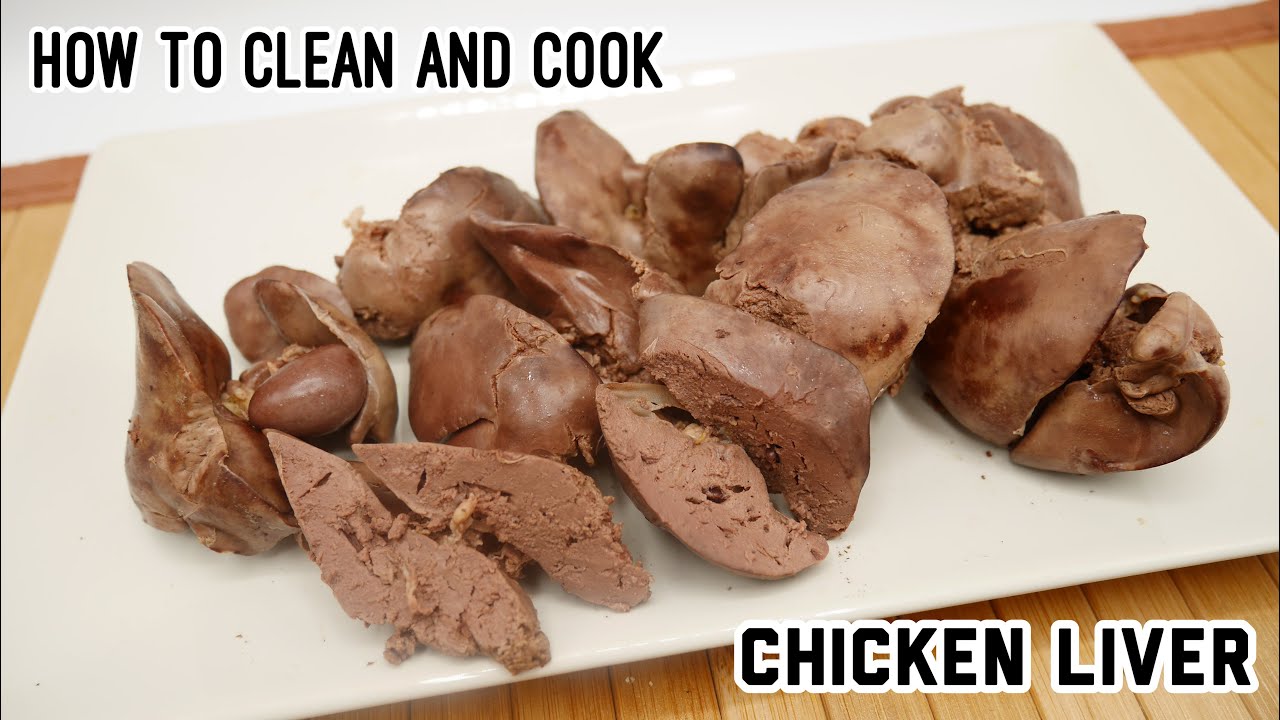
Chicken livers are a versatile and affordable ingredient that can be used in a variety of delicious recipes. However, they do require some preparation before cooking to remove any impurities and ensure the best flavor. This comprehensive guide will walk you through the entire process of cleaning and preparing chicken livers for cooking.
Why Clean Chicken Livers?
Fresh chicken livers available at the grocery store often still contain blood residues or bile, which can lend an unpleasant metallic, bitter taste. The connective tissue and fat must also be trimmed off. Properly cleaning the chicken livers removes these impurities, resulting in a more palatable, tender product. Cleaning helps:
- Remove blood clots and residual blood
- Eliminate bile and gritty texture
- Cut away fat, membranes, and connective tissue
- Soften texture
- Mellow any bitterness
- Ensure livers are free of contaminants
Thorough cleaning makes a dramatic difference in the final taste and quality of recipes made with chicken livers. It takes a little time but is well worth the effort.
Gather the Necessary Supplies
Before you get started, assemble the following:
- Fresh chicken livers
- Large bowl of cold water
- Colander
- Cutting board
- Sharp knife
- Kitchen scissors (optional)
- Paper towels
- Milk or buttermilk (optional)
Make sure your chicken livers are fresh Look for livers with a deep reddish-brown color without any pale or discolored spots They should look moist but not slimy,
Step 1 – Rinse in Cold Water
Place the chicken livers in a large bowl filled with cold water Allow them to soak for 15-20 minutes This draws out blood and other impurities, Swish the livers around occasionally,
After soaking, use a colander to drain off the water. Rinsing helps eliminate blood clots, grit, and bile.
Step 2 – Pat Dry
Transfer the livers to a clean kitchen towel or paper towels Gently pat dry Removing excess moisture prevents splattering when cooking,
Step 3 – Trim the Livers
Using a sharp knife or kitchen shears, carefully trim away any fat, membranes, or connective tissues. These appear as thin, translucent membranes or stringy white fibers. Removing them improves the texture.
Also, trim off any greenish-yellow spots, which are concentrated bile and can add bitterness. Cut away blood clots or darkened veins for optimal flavor. Work carefully to avoid cutting into the liver tissue.
Step 4 – Optional Soaking
For even mellower flavor, soak the trimmed livers in milk or buttermilk for 30-60 minutes in the refrigerator. The milk draws out remaining impurities through a process called leaching. Drain and pat dry once again after soaking.
Step 5 – Slice or Chop
If your recipe calls for sliced or chopped livers, this is the final prep step. For pan-frying or sauteing, cut the livers into bite-sized pieces. For dishes like chicken liver pâté, finely mince the livers.
Cooking Chicken Livers
Once cleaned and prepped, chicken livers can be cooked in multiple ways, such as:
-
Pan-fried – Fry quickly in olive oil or butter over high heat until browned but still pink inside. Season with salt, pepper, thyme.
-
Sautéed – Cook in a hot pan with onions, shallots, mushrooms, bacon. Deglaze with wine or broth.
-
Skewered – Thread onto skewers alternating with veggies, then grill. Brush with a glaze of choice.
-
Baked – Toss with olive oil and herbs, spread on a baking sheet, and roast at 400°F until just cooked through.
-
Slow-cooked – Braise in wine, stock or sauce for ultra-tender livers.
-
Pâté – Purée cooked livers with cream, butter, brandy, and spices for a rich spread.
No matter how they are cooked, chicken livers should have a faint pink color inside and not be overcooked. Their delicately smooth texture turns dry and crumbly if cooked too long.
Proper Storage
Always cook or freeze chicken livers within 1-2 days of purchasing and cleaning them. To freeze, pat dry, wrap tightly in plastic, and store in airtight freezer bags. Frozen livers will keep for 2-3 months.
Common Questions
Can I skip cleaning if the livers look clean already?
No, always wash, trim and inspect them. Blood and bile residues are often hidden.
Do I have to soak them in milk?
Milk-soaking isn’t mandatory but helps mellow bitterness. You can simply rinse if short on time.
How can I tell if livers are fresh?
Check for deep coloration without dry or slimy patches. Give them a sniff – fresh livers have a mildly metallic smell.
Can I freeze cooked chicken livers?
Yes, cooked livers freeze well for 2-3 months. Cool completely before freezing.
What are the health benefits?
Chicken livers are packed with iron, Vitamin A, folate and other nutrients. However, they are high in cholesterol so enjoy in moderation.
Conclusion
With this complete guide, you can confidently clean and prep chicken livers for a variety of recipes. Proper cleaning and trimming makes all the difference in optimizing texture and minimizing bitterness or impurities. Cook chicken livers soon after cleaning or freeze for later use. When handled with care, chicken livers are an excellent source of nutrients and rich, meaty flavor.
Community Q&ASearch
- Question Sometimes I get sleek and shiny chicken livers, but other times some are looking like theyre decomposing, resembling cottage cheese. Are these okay to eat?
 Community Answer If these are packaged and you bought them recently, you could check with the employees at the meat counter. If you are really unsure, then do not eat them.
Ask a Question 200 characters left Include your email address to get a message when this question is answered.
- The livers might sometimes come attached to the chicken hearts still. You can remove those by cutting through the connecting tissue. Thanks Helpful 2 Not Helpful 1
- If you also want to cook the hearts, you should remove the fatty tissue from around the heart, cut it open, and remove any blood clots inside of it. Thanks Helpful 1 Not Helpful 2
- A really sharp knife or pair or kitchen scissors are the best tools for cleaning chicken livers. Thanks Helpful 4 Not Helpful 2
Submit a Tip All tip submissions are carefully reviewed before being published Name Please provide your name and last initial
Removing Connective Tissue
-
 1 Lay out the livers. Lay out all of the livers you’re trimming so that they are flat. This might require that you unfold the livers, as they often come out of the container balled up.[8]
 - 2 Look for connective tissue. Livers have connective tissue running through them, similar to what you might find on a chicken breast. This tissue is usually white or pink and is stringy.[9]
- You should also look for any greenish parts on the liver, as these will cause the liver to taste bitter.[10]
- 3 Trim the meat away from the connective tissue. Using a sharp knife or scissors, trim the meat away from the connective tissue. This might take more than one or two passes with the knife, since each liver can have multiple areas with connective tissue.[11]
Advertisement Method