Raising backyard chickens is becoming more and more popular these days. Fresh eggs every morning and cute feathered pets – what’s not to love? But before you can start your flock, you need to build them a safe and comfortable home. Building your own chicken coop may sound daunting, but it’s actually quite easy if you follow these 9 simple steps.
1. Choose a Design
The first step is deciding what style of coop you want Some main options are
- A-frame: Triangular shaped, good for small flocks
- Lean-to: Coop attaches to an existing building
- Raised: Built off the ground, easy cleaning underneath
- Tractor: Mobile coop that can be moved around yard
Consider how much space you need based on your flock size and any special features like nesting boxes, roosts and runs There are lots of free building plans online for all types of chicken coops to give you design inspiration
2. Pick a Location
Choose where in your yard you want to build the coop. Some good spots are under trees for shade or near your house for electricity access. Make sure to follow local zoning laws for distance from property lines and your home.
You’ll also need to consider:
- Good drainage and ventilation
- Protection from predators and prevailing winds
- Access to the coop for cleaning/collecting eggs
- Sun exposure for natural light/heat
3. Gather Materials
Now it’s time to get your building supplies The great thing about coops is they can be made from common materials found at any hardware store for an affordable price.
You’ll need:
- Wood/timber for framing (2x4s, plywood)
- Chicken wire for walls and windows
- Roofing like corrugated metal, asphalt shingles
- Hardware like hinges, nails, screws
- Paint/sealant for weatherproofing
Reclaimed and recycled materials are very cost effective. Check craigslist or Facebook for used lumber, doors, windows and fencing.
4. Build the Frame
Construct a rectangular frame using 2x4s or 2x6s secured at the corners with screws or nails. Refer to your plans for exact dimensions. Make sure the frame is square by measuring diagonals – they should be equal.
For flooring, use a wooden foundation or concrete pavers. Elevated coops should have a floor 1-2 feet off the ground set on wooden or cinder block supports.
Add floor joists between the sills then top with plywood sheeting. Install any insulation and vapor barrier before adding interior walls and ceiling framing.
5. Add Siding, Doors and Windows
Staple 1/2 inch hardware cloth along the bottom 2 feet of walls to prevent predators digging in. You can use wood panels, recycled plastic or metal sheeting above that.
Cut out openings for ventilation and install windows. Glass panes or plastic sheeting allow light in while chicken wire keeps birds contained.
Build the people door wide enough to fit your wheelbarrow through for easy cleaning. Install a chicken pop door with an automatic opener to give birds access outside.
6. Install Roofing
Wooden coops should have asphalt, metal or rubber roofing materials. Ensure it has sufficient overhangs to protect the walls from rain.
For a natural rustic look, use corrugated metal roofing or even reclaimed asphalt shingles. Plastic and fiberglass panels are lightweight and install quickly.
Secure sheets with screws drilled into the roof framing. Use flashing along joints and roof edges to prevent leaks.
7. Add Interior Elements
Now your coop structure is complete! Next add:
- Perches at least 2″ wide set 2-4 feet off the floor
- Nesting boxes 12″ square filled with bedding
- Feed and water stations raised off the ground
- Electric lights/power outlets as desired
Consider including a dust bathing area and ventilation fans too. Paint or stain any exposed wood to protect from moisture damage.
8. Build the Run
A chicken run allows birds to get outdoors without escaping. Use chicken wire to enclose an area on one or more sides of the coop entrance.
Bury hardware cloth at least 12 inches to keep predators from digging under. Install welded wire fencing above that using wooden posts. Add a wire roof to prevent aerial attacks.
Consider including some perches or shaded areas in the run too. A gravel or dirt floor is fine, just rake periodically to reduce odor.
9. Add the Finishing Touches
Once your coop is all done, add some personal flair with:
- Fun paint colors and stenciled designs
- Herb and flower boxes mounted on walls
- Decorative curtains over windows
- Custom signs with your flock’s name
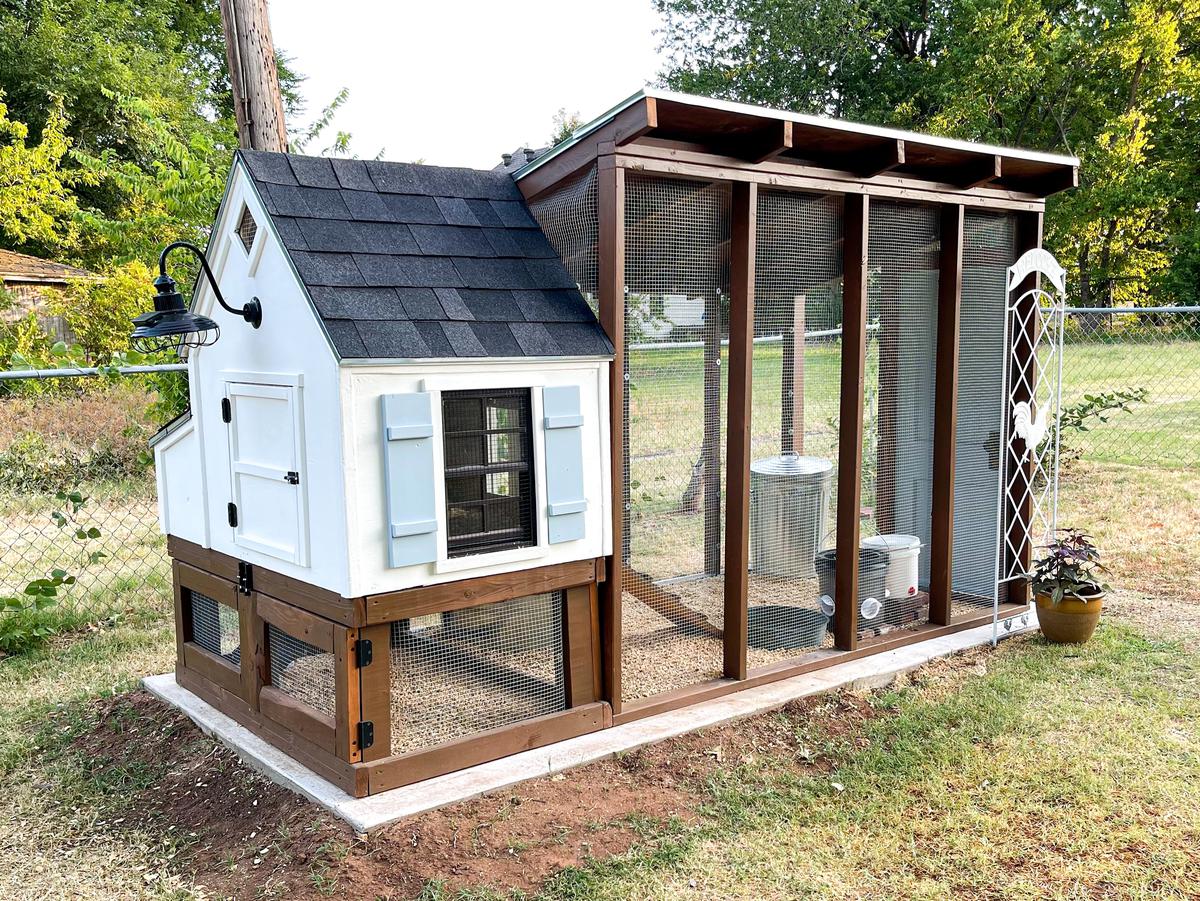
Finally, add 2-3 inches of wood shavings or straw to the flooring and your new DIY chicken coop is ready for birds! Just be sure to disinfect first.
Building your own coop does require some work, but it allows you to customize the design. By utilizing recycled materials and budget-friendly construction, you can easily create affordable chicken housing. Just follow these simple steps for a cozy coop your flock will love to call home. Cluck cluck!
Step 6: Build Chicken Coop Nesting Box
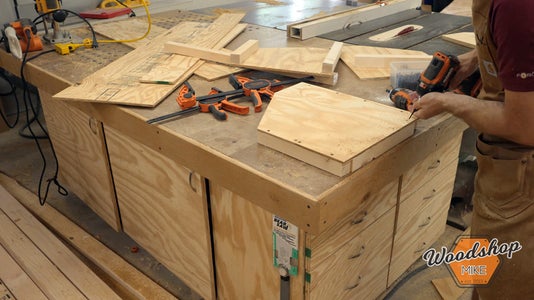
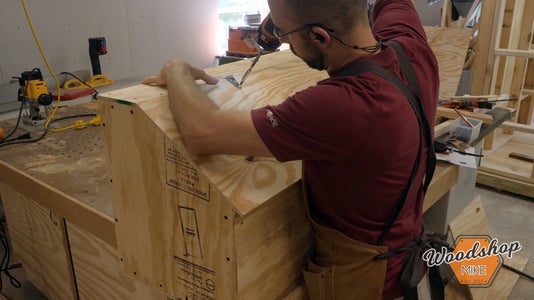
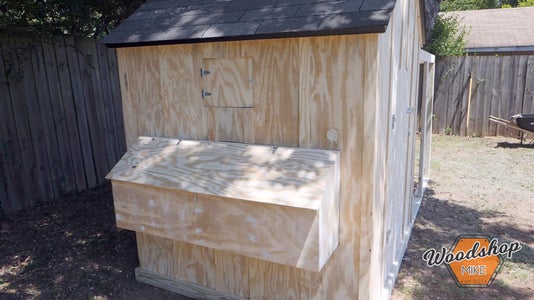
This nesting box is constructed with 2X2s and 7/16″ plywood. You could also build it from 3/4” plywood and use pocket hole construction if you preferred.
To make the box, I rough cut the ends and dividers first. I then clamped them all together and used a flush trim bit in my router to make them all identical.
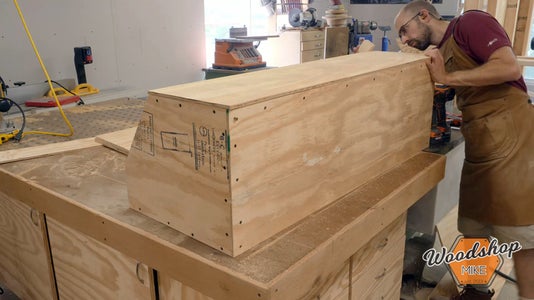
With that done, I secured 2X2s to each end piece. Then I added the remaining pieces to make the box.
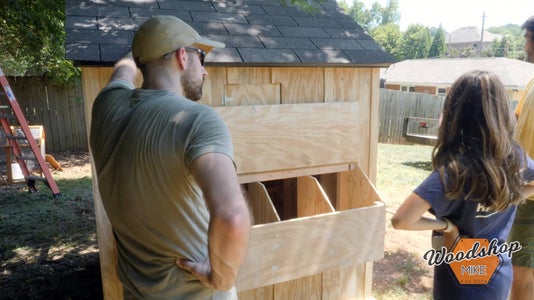
After that, the dividers were installed per my plans and the lid was attached.
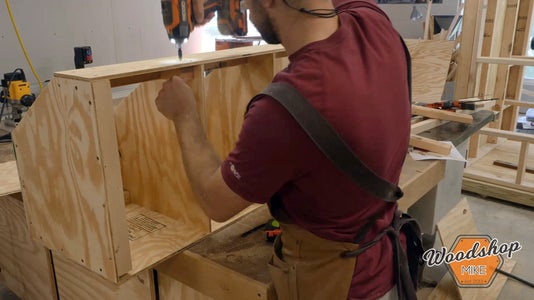
Step 2: Frame Walls of Chicken Coop
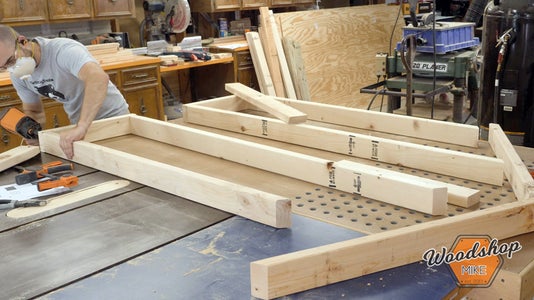
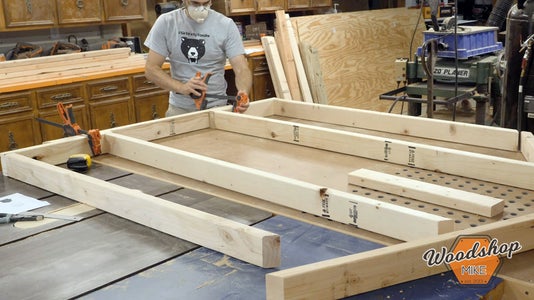
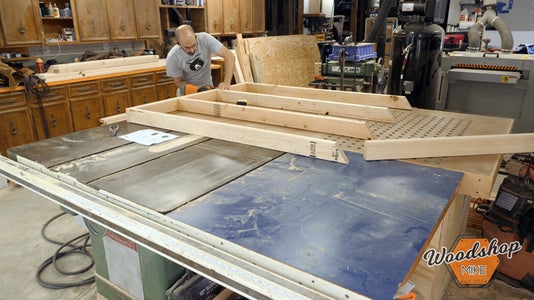
With all of the pieces for each wall cut to length, I laid out the items per my plans and started by nailing the studs to the bottom plate.
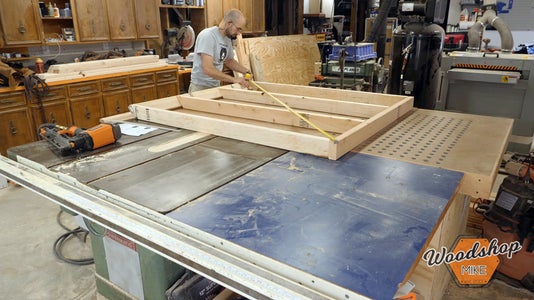
With all of the studs secured to the bottom plate, I positioned the top plate per the plans, checking for square by measuring across the corners, and then securing it to each stud as I did the bottom plate.
CHEAP AND EASY DIY CHICKEN COOP!
FAQ
What’s the cheapest way to build a chicken coop?
- Use plywood and other inexpensive materials. …
- Reuse a Kitchen Cabinet or another Boxy Wooden Structure. …
- Milk Crates Make Great, Easy Nesting Boxes. …
- Repurpose Old Fencing Materials. …
- Use Leftover Paint. …
- Use a Chicken Tractor Instead of a Traditional Coop. …
- Plan Ahead. …
- Cut Costs, Not Corners.
How to build a chicken coop for beginners?
- Step 1: Build Chicken Coop Foundation. …
- Step 2: Frame Walls of Chicken Coop. …
- Step 3: Install Walls. …
- Step 4: Install Roosting Rails. …
- Step 5: Sheath Walls. …
- Step 6: Build Chicken Coop Nesting Box. …
- Step 7: Build Entry Door. …
- Step 8: Frame and Shingle Roof.
Is a 4×8 coop big enough for 12 chickens?
These 4×8 chicken coops can house a wide range of chickens. The Q48C is a chicken run and coop combination, so it can’t comfortably house as many chickens as the other models. The Q48C is a great choice for someone looking for a chicken coop for 6 chickens. Our D48 and Q48 chicken coops house 12-16 chickens.
What is the best thing to put in the bottom of a chicken coop?
Straw would be the best option. It is dry, soft and easy to lift out and dispose of. You can also put it in the nesting boxes as it protects the eggs, and is comfortable for the chickens. If they have chicks which tend to poo a lot, you can just replace the straw every day.