Juicy, tender pork ribs cooked to perfection are a delicious treat. But conventional oven cooking can leave them dry and tough. That’s where the Ninja Foodi comes in! The combination of pressure cooking and air frying in this do-it-all multicooker guarantees fall-off-the-bone ribs every time.
In this guide, I’ll walk through exactly how to cook pork ribs in the Ninja Foodi from start to finish. With my tips and timing recommendations, you’ll have finger-licking ribs on the table fast. Let’s get started!
Why The Ninja Foodi Is Great For Ribs
The Ninja Foodi is a gamechanger for cooking ribs for a few key reasons
-
Tenderizes tough connective tissue – Pressure cooking breaks down collagen for fall-off-the-bone meat.
-
Infuses flavor into the meat – Pressure forces moisture and seasoning deep into the pork.
-
Finishes with crispy exterior – A quick air fry gives ribs a caramelized crust.
-
Speeds up cook time – Ribs go from raw to finished in around an hour!
-
Makes juicier ribs – Moisture stays locked in during pressure cooking.
Overall, you get oven-quality ribs in way less time thanks to the pressure cooking and air frying functions.
Ingredients Needed
Here’s what you’ll need for 2-3 servings of ribs:
- 1 rack of baby back or spare ribs (2-3 lbs)
- 1 cup barbecue sauce or rub
- 1⁄2 cup chicken broth or water
- Favorite barbecue dry rub seasoning
Step-By-Step Instructions
Follow these simple steps for finger-licking ribs every time:
Prep the Ribs
- Remove membrane: Slide a butter knife under the membrane then pull it off.
- Trim excess fat: Use a sharp knife to remove any hard fat.
- Cut into single ribs (optional): This helps seasonings coat evenly.
Season the Ribs
-
Apply dry rub generously on both sides, pressing into meat. Try a homemade blend or store-bought rib rub.
-
Optional: Let ribs sit 20-30 minutes for rub to penetrate meat deeper.
Pressure Cook the Ribs
-
Add 1⁄2 cup broth to pot. Place seasoned ribs meat-side down in a single layer.
-
Pressure cook on HIGH for 18 minutes (bone-in ribs) or 15 minutes (boneless).
-
Use QUICK RELEASE to stop cooking.
Air Fry for Crispy Finish
-
Brush ribs with barbecue sauce, flip and repeat on second side.
-
Air fry at 400°F for 3-5 minutes per side until browned and sticky.
-
Add more sauce before serving if desired.
-
Let ribs rest 5-10 minutes before cutting and serving.
And that’s it – fall-off-the-bone tender, saucy ribs are ready to devour!
Ninja Foodi Rib Tips and Tricks
Here are some additional tips for rib success:
-
Choose the right ribs – Look for meaty, uniform racks without too much fat. Baby back or spare ribs work great.
-
Remove membrane – This will make ribs more tender and allow seasonings to penetrate.
-
Cut racks in half – This allows them to lay flat in the pot for even cooking.
-
Use a rib rack – A rack holds ribs upright for better browning during air frying.
-
Make ribs “naked” – Cook without sauce then brush on after air frying. This prevents burning.
-
Use BROIL setting – For extra crispy results, broil the ribs for 2-3 minutes after air frying.
-
Toast rub ingredients – Quickly toasting spices like paprika brings out more flavor.
-
Let ribs rest – Resist cutting into them right away. Resting allows juices to redistribute.
Fun Recipe Variations
Beyond classic barbecue ribs, the Ninja Foodi lets you explore global rib recipes like:
-
Korean Gochujang Ribs – Gochujang paste, sesame oil, garlic, ginger
-
Memphis Dry Rub Ribs – Spicy dry rub with paprika, brown sugar, cayenne
-
Hawaiian Huli Huli Ribs – Pineapple juice, ginger, chili sauce glaze
-
Chinese 5-Spice Ribs – 5-spice powder, hoisin, toasted sesame seeds
-
Herb-Crusted Pork Ribs – Loads of fresh herbs like rosemary, thyme, and oregano
Don’t be afraid to get creative and make some signature ribs in your Ninja Foodi!
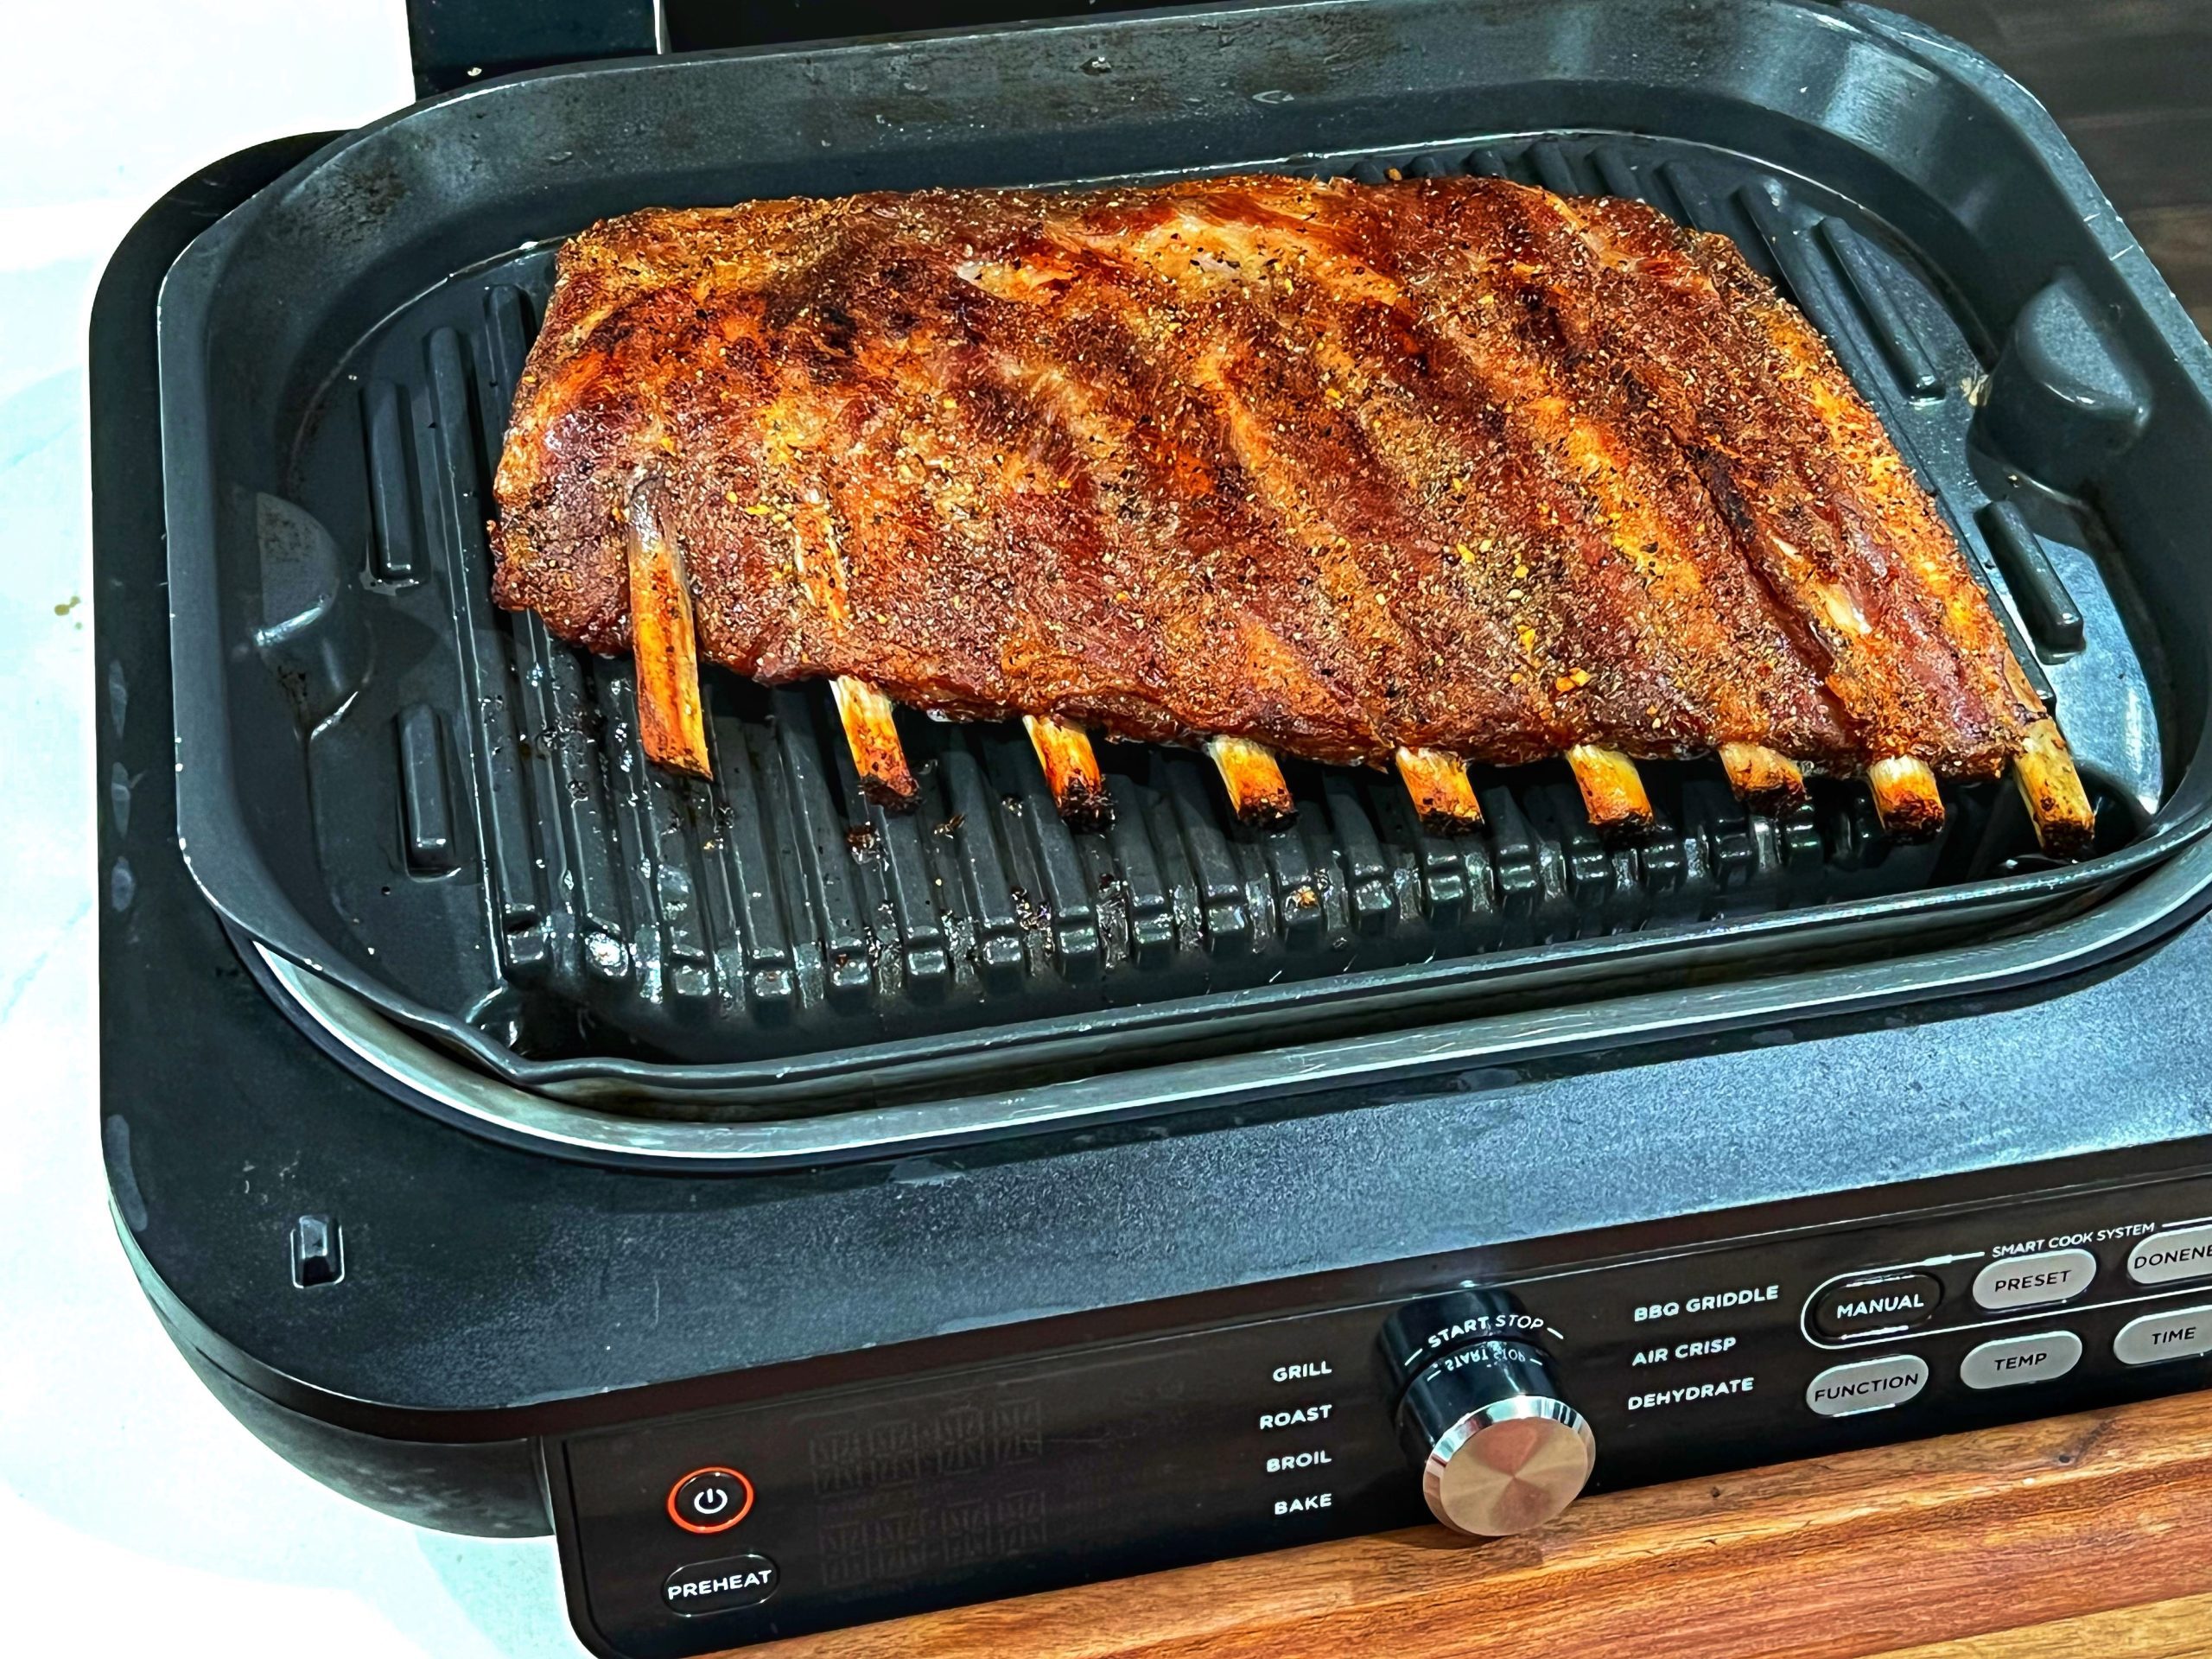
Ninja Foodi ribs recipe we love is here! Fall off the bone tender ribs with a crispy barbecue glaze outside using both the pressure cooker and air fryer!
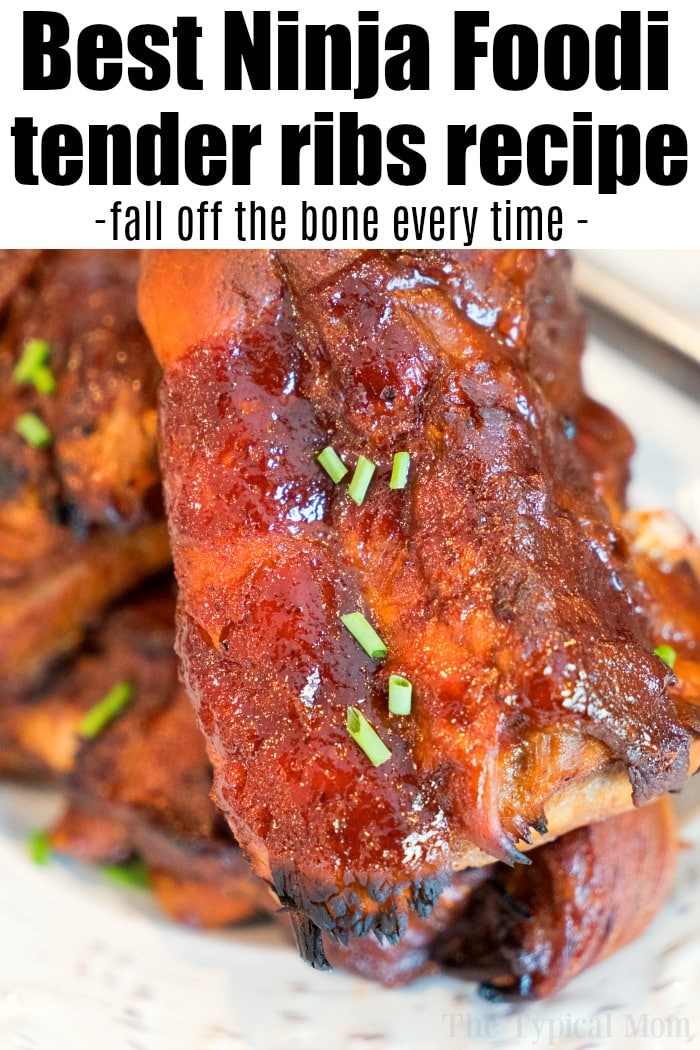
Ninja Foodi ribs are so tender they’ll melt in your mouth. Have you tried making them yet? This multi cooker has two functions, so you can use both to get the tender meat you want and the crispy outside that everyone loves. Find more Ninja Foodi recipes here you’ll love too on The Typical Mom. (affiliate links present).
- If you know how to use your Ninja Foodi pressure cooker and air fryer, you will love this Ninja Foodi ribs recipe.
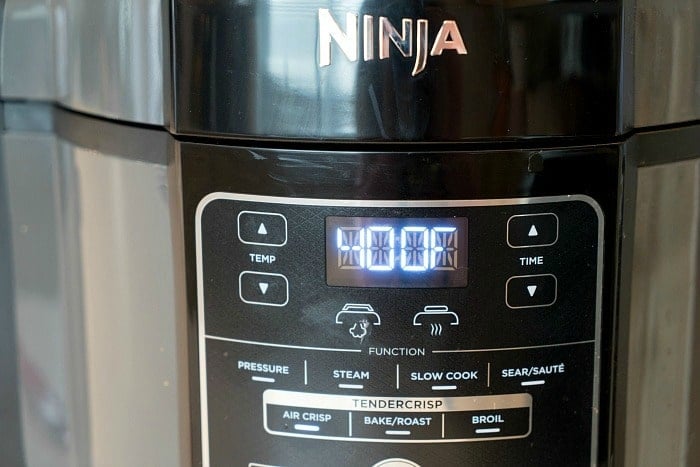

We’ll show you the BEST WAY to make your ribs fall off the bone every time! If you need instructions for stress-free short ribs, we have those too.
Here are a few resources to start with:
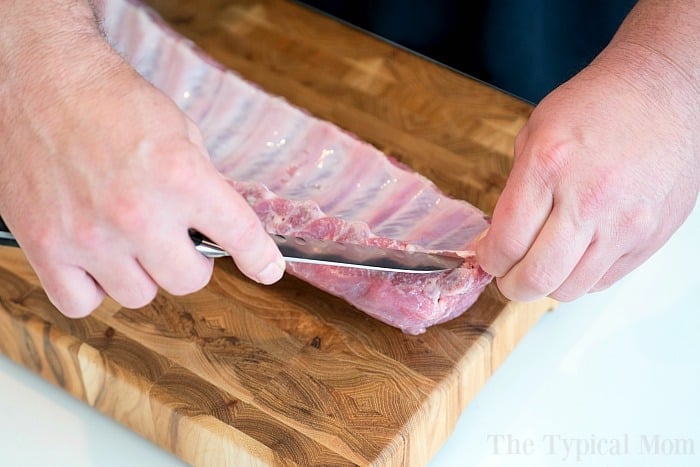

- When using a Ninja Foodi to make ribs, the first thing you MUST do is take off the rib membrane.
This thin layer is tough and inedible. If you don’t take it off, the ribs won’t be able to fully separate from each other and get that very tender taste you want.
That is why we created a post above all about how to get rid of it. You will never make ribs the same way again after you take this extra step that only takes 5–10 minutes.
- After that, put your rack of ribs in your pressure cooker the way shown here. If you put them down with the meat flat on the bottom, they will burn and cook the meat in different ways.
This is how we cooked our Crock Pot Express Ribs and Instant Pot teriyaki ribs recipes too.
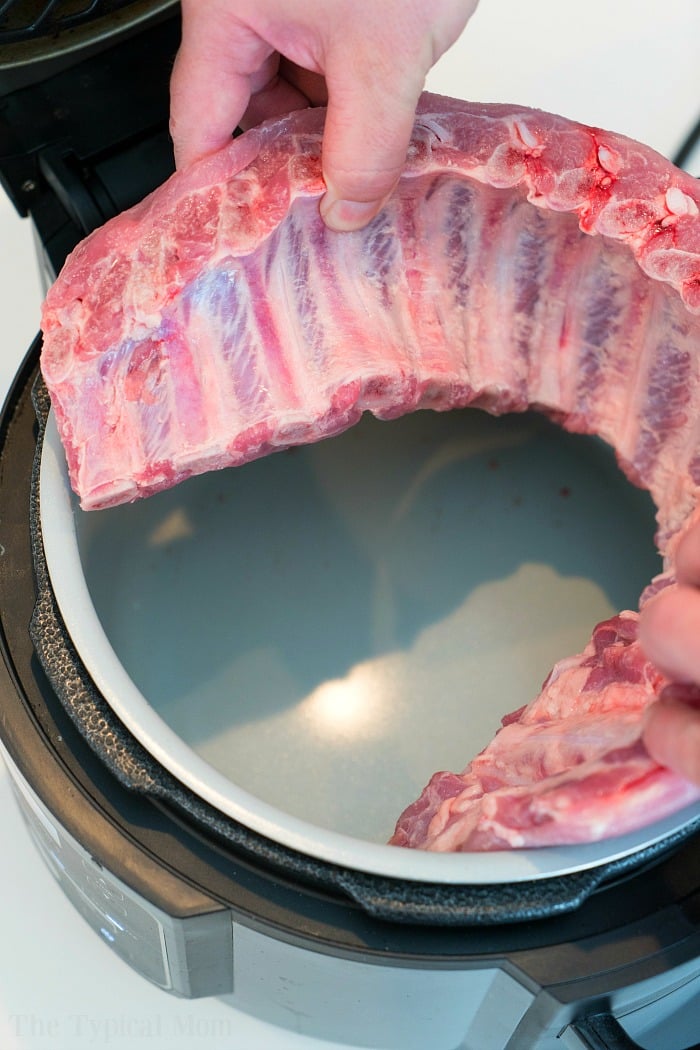

Why do ribs taste so good cooked in the Ninja Foodi?
- The meat gets soft and really tender when you pressure cook the ribs in this first step. You’ll use the pressure lid for this step. It is the one that isn’t attached.
- When you use the air crisp mode at the end, the outside gets crispy. Just like you’d get them at a restaurant. For this step the crisping lid will be used. The one that is attached to the machine. It makes a thick layer of OH MY GOODNESS yummyness that you’ll love if you add more BBQ sauce at this step.
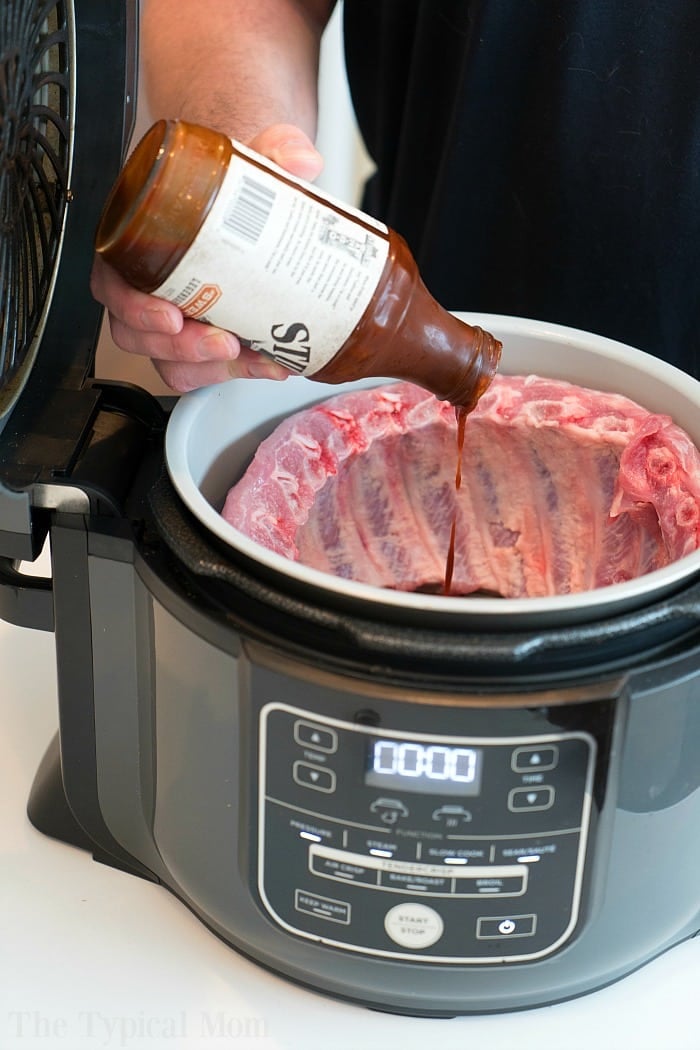

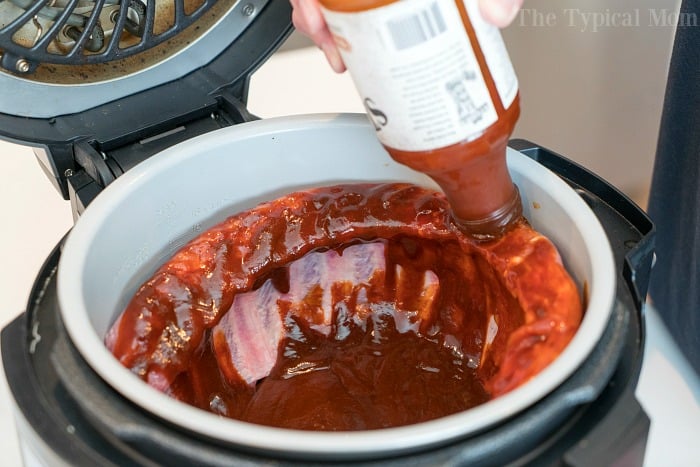

What Ninja Foodi accessories do you need to make this?
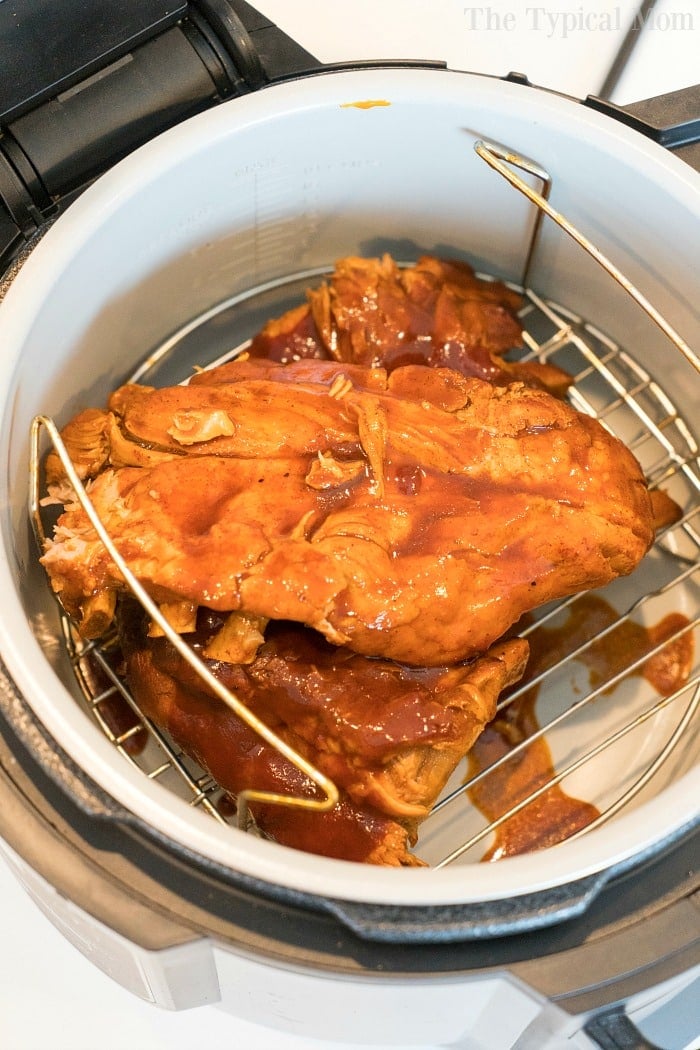
- For this, all you need is the rack that came with your machine. Turn it over (shown here) so the lid can close while the air fryer is working.
- This is the best air fryer rack you can buy.
If you don’t want to crisp the top, you can skip the last step. We just like it that way. Just keep it off the bottom so the hot air can reach all parts of the meat, not just the top.
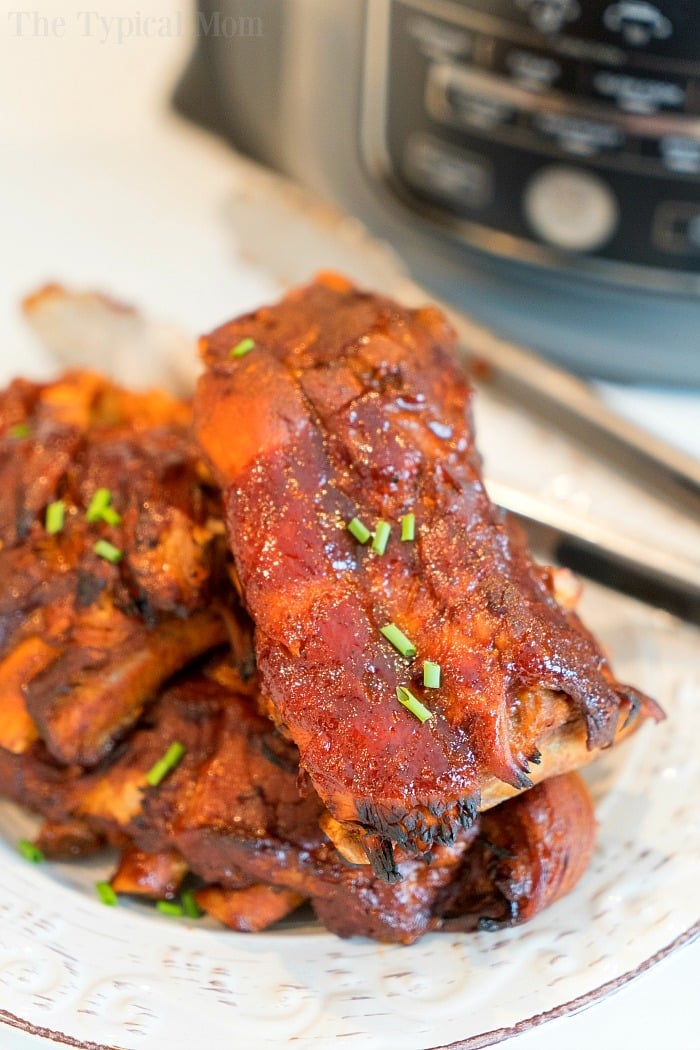
Here’s what ours looked like after it was done with the pressure cooking and was ready to air crisp.

How long does it take to to make air fryer ribs at the end?
- Timing will depend on how crisp you want them.
- Set temperature to 400 degrees.
- When the timer goes off at 8, check to see if you want them to stay in longer. Ours took 10 minutes to look like this. I divided our rack of ribs into three equal parts and stacked the top part on top of the other two. I would air-fry them in two batches if you want them to be as crispy as possible. Don’t put them on top of each other.

Pressure cooker | St. Louis Ribs (Ninja® Foodi® Pressure Cooker)
FAQ
How to cook ribs in the Ninja Foodi possible cooker?
How to cook country style ribs in the Ninja Foodi pressure cooker?
Is it better to slow cook or pressure cook pork ribs?
