For sushi lovers there’s nothing better than the melt-in-your-mouth taste of expertly cured tuna. But curing tuna properly to get that perfect texture and flavor can be intimidating for home cooks.
Luckily, with a few simple ingredients and techniques, you can cure tuna at home for unbelievable sushi and sashimi In this guide, we’ll walk through a foolproof process for curing tuna for sushi step-by-step
Overview of Curing Tuna for Sushi
Curing tuna before using it for sushi or sashimi has several advantages
-
It firms up the flesh for cleaner slicing
-
Draws out moisture for improved texture
-
Concentrates the natural flavors
-
Allows the tuna to absorb seasoning
-
Improves color
-
Kills any potential parasites
The basic process involves covering the tuna in a salt/sugar cure, refrigerating for 1-3 days, rinsing off the cure, then slicing.
With the right technique, you can achieve tuna with the same melt-in-your-mouth texture as high-end sushi restaurants at home. Let’s get into the nitty-gritty details!
Step 1: Select High-Quality Tuna
Sourcing excellent quality tuna is crucial for delicious cured sushi and sashimi. Look for the following signs of freshness:
-
Deep red color with no browning
-
Slight sheen on the surface
-
Firm, elastic flesh that springs back when pressed
-
Clean sea smell, not fishy odor
-
Yellowfin, bigeye or bluefin all work well
Ask your fishmonger for the freshest sashimi-grade tuna available. Specify that you want to eat it raw to get tuna safe for sushi.
Step 2: Prepare the Curing Mixture
The curing mixture is what firms up the tuna and infuses it with flavor. Combine the following in a small bowl:
- 1⁄4 cup sea salt or kosher salt
- 1⁄4 cup sugar
- 1 tbsp. toasted sesame seeds (optional)
- 1 tsp. crushed red pepper flakes (optional)
Mix thoroughly until the salt and sugar are well integrated. Add any other spices you want to complement the flavor of the tuna.
Step 3: Apply the Cure to the Tuna
Once your curing mixture is prepared, cover the tuna completely:
-
Place the tuna on a tray and rub the cure all over the fish, coating every surface.
-
Pack the cure onto the tuna generously, using about 1⁄4 cup per 1 pound of fish.
-
Wrap the coated tuna tightly in plastic wrap. Make sure no areas are exposed.
-
Place the wrapped tuna on a tray or in a shallow dish and refrigerate.
Step 4: Cure the Tuna in the Fridge
Curing draws moisture out of the tuna to concentrate flavors and improve texture.
-
Cure for 24-72 hours depending on thickness – start checking after 24 hours.
-
Cure tuna in the coldest part of the fridge, between 34-40°F.
-
Curing for less than 24 hours won’t do much. Tuna can cure for up to a week safely.
-
If curing longer than 2 days, rotate the fish and redistribute cure daily.
The tuna is cured when the flesh feels firm and concentrated, with a translucent quality.
Step 5: Rinse and Pat Dry the Tuna
Once cured to your liking, remove any excess cure by rinsing under cold water.
-
Unwrap the fish and rinse off the curing mixture gently.
-
Pat the tuna very dry with paper towels – moisture will hinder slicing.
-
Scrape off any residual curing mixture with a spoon.
-
Dry the outside well, but don’t wipe off the concentrated, darker meat.
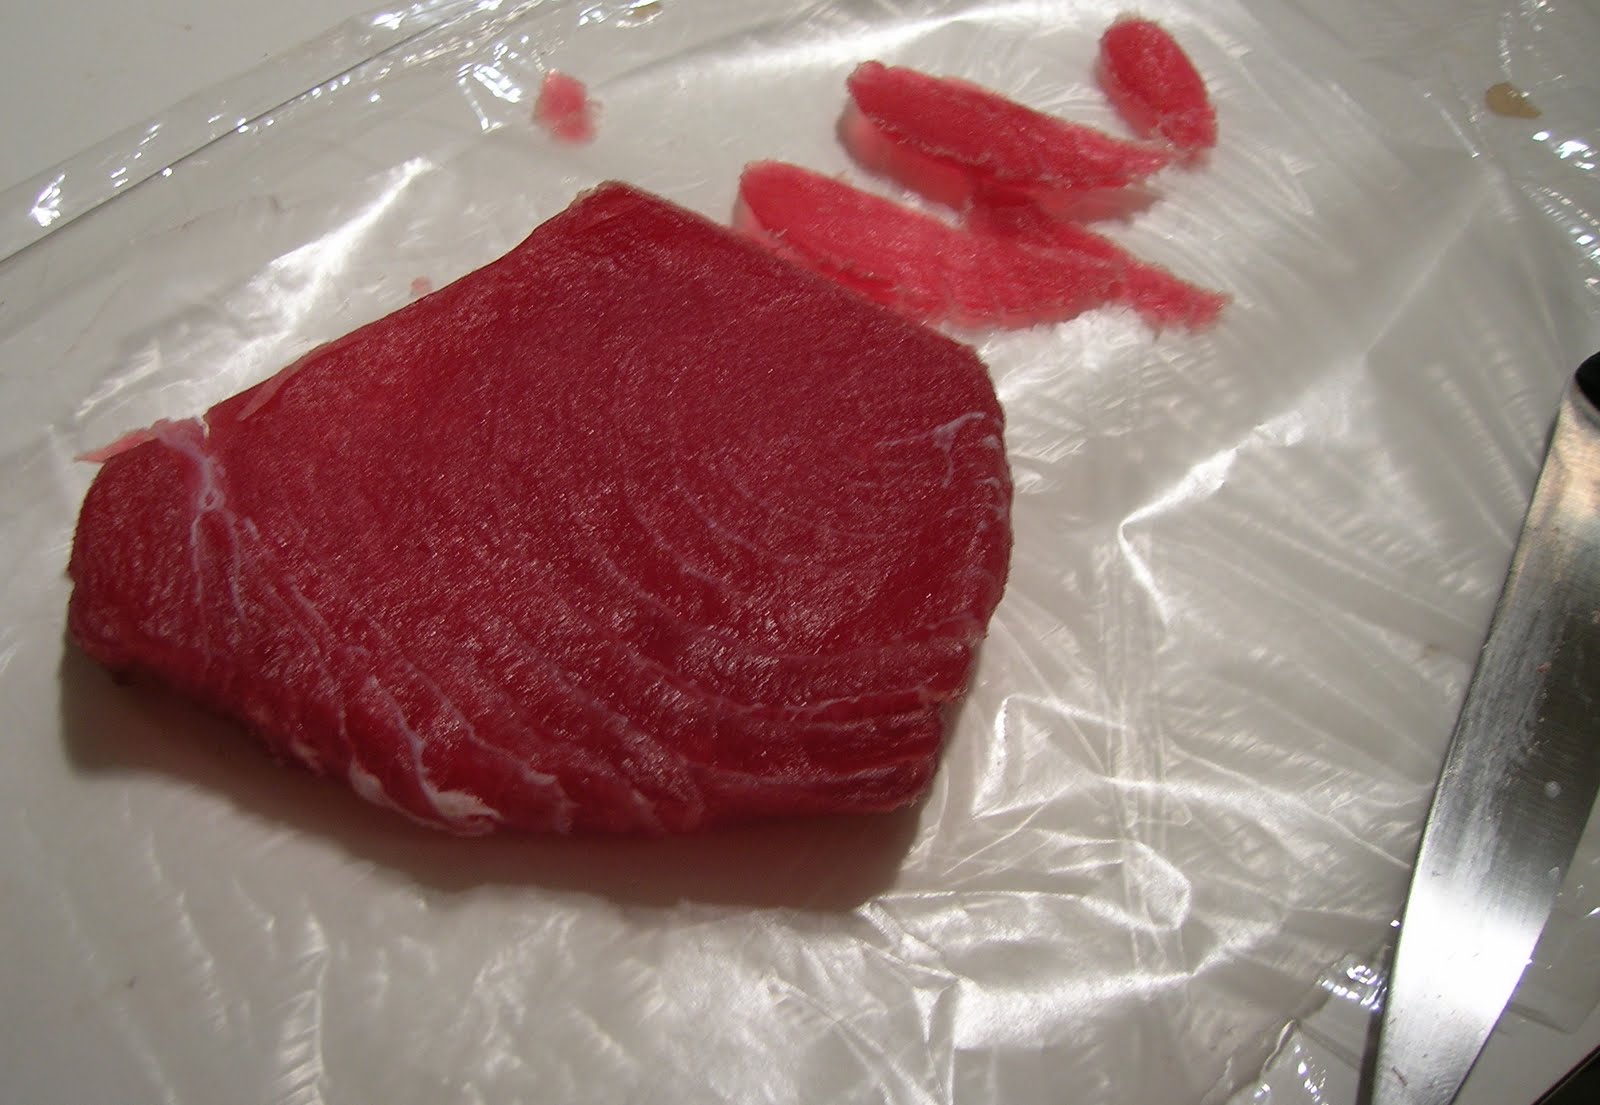
Step 6: Slice the Cured Tuna
You can now slice your cured tuna for sashimi or sushi:
-
Use an extremely sharp sushi knife or slicer for clean cuts.
-
Slice with the grain for sashimi or against for sushi rolls.
-
Cut into 1⁄8 to 1⁄4 inch thick slices. Thinner slices bruise easier.
-
Arrange slices neatly on a serving platter or sushi roll.
Serving the Cured Tuna
Your cured tuna is ready to serve! Here are some finishing touches:
-
Add slices to rolls, nigiri or sushi bowls.
-
Serve sashimi with wasabi, soy sauce, pickled ginger and rice.
-
Drizzle tuna with olive oil, ponzu sauce or vinaigrette.
-
Garnish with scallions, toasted sesame seeds or microgreens.
Properly cured tuna makes all the difference in high-quality sushi and sashimi. With this easy step-by-step process, you can achieve professional-level results at home.
Frequently Asked Questions
What is the best tuna for curing?
Yellowfin, bigeye and bluefin tuna are best for curing. Their rich, fatty flesh absorbs the cure well. Skip leaner tunas like albacore.
Can I skip curing the tuna?
You can eat tuna sashimi and sushi without curing, but it won’t have the same firm texture and concentrated flavors.
How much salt and sugar do I need?
Use equal 1:1 parts of salt and sugar, about 1⁄4 cup each per pound of tuna. Adjust to your taste.
What else can I add to the curing mix?
Spices like pepper flakes, toasted sesame seeds, ground ginger or crushed garlic add complementary flavors.
How long does tuna need to cure?
Most tuna needs 24-48 hours to cure fully. Thinner cuts may only need 24 hours. Give it a small slice test.
Curing your own tuna at home is easy and so much more affordable than buying cured sushi from restaurants or specialty stores. In just a few simple steps, you can achieve amazing textures and flavors. Give this tuna curing process a try for your next sushi night!