This recipe for Original Jerky really does taste like the jerky you used to get on long road trips with your family from a small town smokehouse. Hell, it reminds me of my favorite smokehouse in between Houston and Corpus Christi, Texas Praseks Family Smokehouse. This place is good, seriously good!.
Making your own jerky at home can be extremely rewarding You get to control the flavors and quality of the ingredients However, proper food safety is crucial when working with raw meat products like jerky. This is where using curing salt comes in.
Curing salt contains sodium nitrite, which helps prevent bacterial growth that could make jerky unsafe to eat. When used correctly, it ensures your homemade jerky is shelf-stable and delicious
In this comprehensive guide, we will cover everything you need to know about safely using curing salt for beef jerky, including:
- The importance of curing salt for food safety
- Different types of curing salts
- Correct measurements and ratios
- Curing time requirements
- Proper mixing and application techniques
- Storing and handling considerations
- Typical jerky recipes
Follow these best practices for preparing safe beef jerky with curing salt at home.
Why Curing Salt is Essential for Beef Jerky
Curing salt, also called pink salt, is vital for making beef jerky safely at home. Here’s why:
-
It protects against bacteria like Clostridium botulinum and Listeria monocytogenes that can survive the drying process and cause foodborne illness.
-
The nitrite in curing salt inhibits bacterial growth during the drying and storage of jerky.
-
It gives jerky its characteristic flavor, color, and preservation qualities.
-
Curing salt helps jerky maintain quality and last longer stored at room temperature.
So while curing is optional for beef jerky, it is highly recommended. Follow proper guidelines to reap the food safety benefits of curing salt.
Common Types of Curing Salt
There are a few different curing salt options for home jerky making:
-
Cure #1 (aka Pink Salt) – The most commonly used curer, this is 6.25% sodium nitrite. Use about 1 tsp per 5 lbs of meat.
-
Cure #2 (aka Prague Powder) – This is sodium nitrite plus nitrate. It is used for dry-cured meats like salami. Do not use for jerky.
-
Tender Quick – A pre-mixed blend of salt, sugar, sodium nitrate, and nitrite developed for fast curing.
-
Insta Cure #1 and #2 – Pre-mixed curing salts marketed for home use. Basically equivalent to Cure #1 and Cure #2.
For whole-muscle jerky like sliced beef, Cure #1 or Tender Quick are best. Follow manufacturer’s instructions for proper use.
Measuring Curing Salt for Jerky Recipes
Using the right amount of curing salt is critical for both safety and quality:
-
Whole cuts – Use 1 teaspoon of Cure #1 per 5 pounds of meat.
-
Ground meat – Use 1 1/2 teaspoons per 5 pounds due to increased surface area.
-
Cure #2 – Do not use for jerky, only for dry-cured items.
-
Weigh your meat and curing salt precisely for accurate ratios.
-
Over-curing can make jerky too salty. Too little may not prevent bacterial growth.
-
Mix curing salt evenly and thoroughly into ground meat blends.
Follow tested recipes and properly measure ingredients for best results.
Curing Time for Jerky
In addition to the right curing salt ratio, allowing enough time for the cure to work is vital:
-
Whole muscle jerky – Cure for 12-24 hours under refrigeration.
-
Ground jerky – Cure for 12 hours max due to higher risk of bacteria.
-
Curing longer than 48 hours risks over-curing and excess sodium content.
-
If using Tender Quick, cure for just 1-2 hours before dehydrating per instructions.
-
Marinade jerky strips in sealed bags or containers during curing.
Control temperature and timing carefully during the curing process for safety and proper preservation.
Mixing the Cure and Marinade
When making a wet marinade-style jerky cure, here are some tips:
-
Mix curing salt first into any liquid ingredients to dissolve fully.
-
Stir curing salt into marinades thoroughly before adding meat.
-
Soak jerky strips or ground meat in cure marinade during curing phase.
-
Always keep meat refrigerated, never cure jerky at room temperature.
-
Use non-reactive containers like plastic or glass. Avoid metal bowls.
-
Discard any leftover wet curing marinade after use. Do not reuse.
Ensure the curing salt evenly penetrates all of the meat fully for comprehensive protection.
Applying Dry Cure Rub
For a dry rub-style jerky cure:
-
Mix curing salt into any dry ingredients like spices, sugar, and salt.
-
Evenly coat all surfaces of jerky with dry cure rub.
-
Place rubbed strips in a sealed bag or container while curing.
-
Flip and massage periodically to distribute cure.
-
Keep cured jerky refrigerated until ready to dehydrate.
Both wet and dry curing methods work as long as curing salt contacts all meat surfaces thoroughly.
Storing Cured Jerky Before Dehydrating
Proper storage after curing and before dehydrating is important:
-
Keep cured jerky refrigerated a maximum of 5-7 days before dehydrating.
-
For longer storage up to 3-4 weeks, freeze cured jerky until ready to dry.
-
Vacuum seal bags provide an extra safety margin when freezing cured meat.
-
Label bags clearly with cure date and jerky recipe name.
-
Do not thaw and refreeze cured meat more than once.
Following curing, dehydrate cured jerky promptly for food safety and quality.
Handling Precautions When Using Curing Salt
While beneficial, sodium nitrite must be respected:
-
Avoid direct skin contact by wearing gloves when handling.
-
Carefully measure exact amounts needed for recipes. Do not eyeball.
-
Store tightly sealed away from children and pets.
-
Discard any spoiled or old open packages.
-
Never use curing salt in pure form for cooking or at the table.
With proper safety precautions, curing salt lets you make great jerky safely.
Sample Jerky Recipes Using Curing Salt
To get started, here are some tasty jerky recipes that use curing salt:
-
Classic Beef Jerky – Marinate 1 tsp Cure #1 per 5 lbs beef in soy sauce, brown sugar, worcestershire, and spices overnight. Dehydrate 8-10 hours.
-
Maple Ham Jerky – Cure ham strips with 1 tsp Cure #1 per 5 lbs in maple syrup, ginger, and black pepper for 24 hours. Dehydrate until dried.
-
Spicy Cracked Pepper Jerky – Coat beef strips with dry rub of Cure #1, cracked black pepper, red pepper flakes, salt, and brown sugar. Refrigerate 12 hours then dehydrate.
-
Teriyaki Jerky – Marinate 1 tsp Cure #1 per 5 lbs beef strips overnight in teriyaki sauce, sesame oil, garlic, and ginger. Dehydrate to desired texture.
Follow your favorite seasoning flavors, and properly incorporate curing salt for delicious and safer homemade jerky.
Curing salt is easy to use at home for crafting great beef jerky with an extra level of food safety assurance. With proper handling, measurements, and curing time, it prevents bacterial growth during dehydration and storage.
Always use precise amounts of curing salt recommended for jerky recipes. Combine thoroughly with ground or whole meat, keep refrigerated, and dehydrate promptly after curing. Then you can enjoy properly cured beef jerky for weeks stored at room temperature.
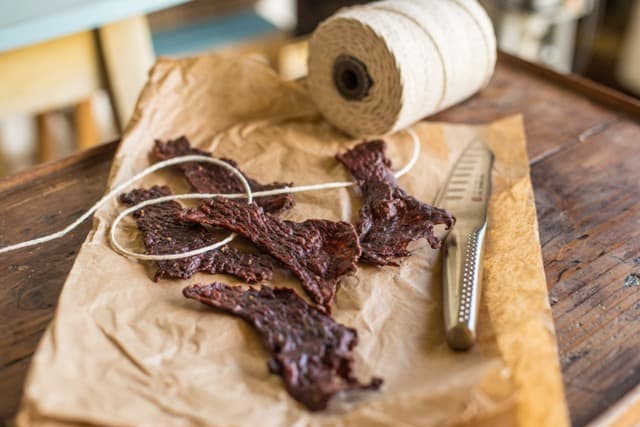
Testing for when the jerky is finished
About three to four hours into the drying process, you should check to see if the jerky is done. Let a piece of jerky cool to room temperature for 5 minutes after taking it out of the oven, dehydrator, or smoker.
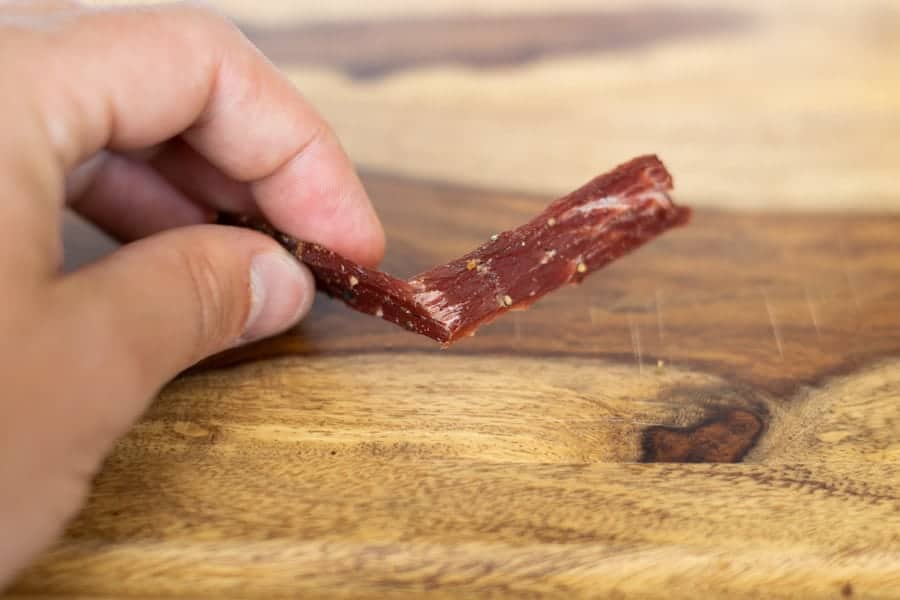
Bend the jerky in half; it should bend and crack but not break in half. You will also see white fibers in the meat. The fibers are really visible when a piece is ripped or bent in half.
This jerky took 6 hours to be finished. 90% of the jerky I make is done in 204 to 6 hours if I use a dehydrator or oven, and 206 to 9 hours if I smoke it. If pre-heating the meat in the oven, drying time can be as little as 2. 5 hours.
Curing salt and food containers that don’t let air in will really help the jerky last as long as possible. To make your beef jerky last longer, I’ve written a page about how to store it and what steps you can take.
There is a rich meat taste to this Original Beef Jerky that comes from the simple ingredients. It ends with a nice pepper taste. The curing salt definitely adds to the smokehouse beef jerky flavor we are all accustomed to.
Not a fan of curing salts? Not to worry, you can leave out this ingredient if you choose. As I mentioned earlier, most of the recipes I make do NOT call for curing salt. But make sure you heat the meat to 160° to get rid of any bacteria and the chance of getting sick.
- If you leave out the curing salt, this recipe will look and taste different.
- Use liquid smoke that doesn’t have fillers in it, like Wrights Liquid Smoke.
- Jerky will bend and crack when it’s done, but it won’t break in half. Check if something is done after it has been cool for 5 minutes, not while it is still warm.
- Store in ziplock bags or vacuum seal for longer storage. Check out my page on Storing Jerky for more information.
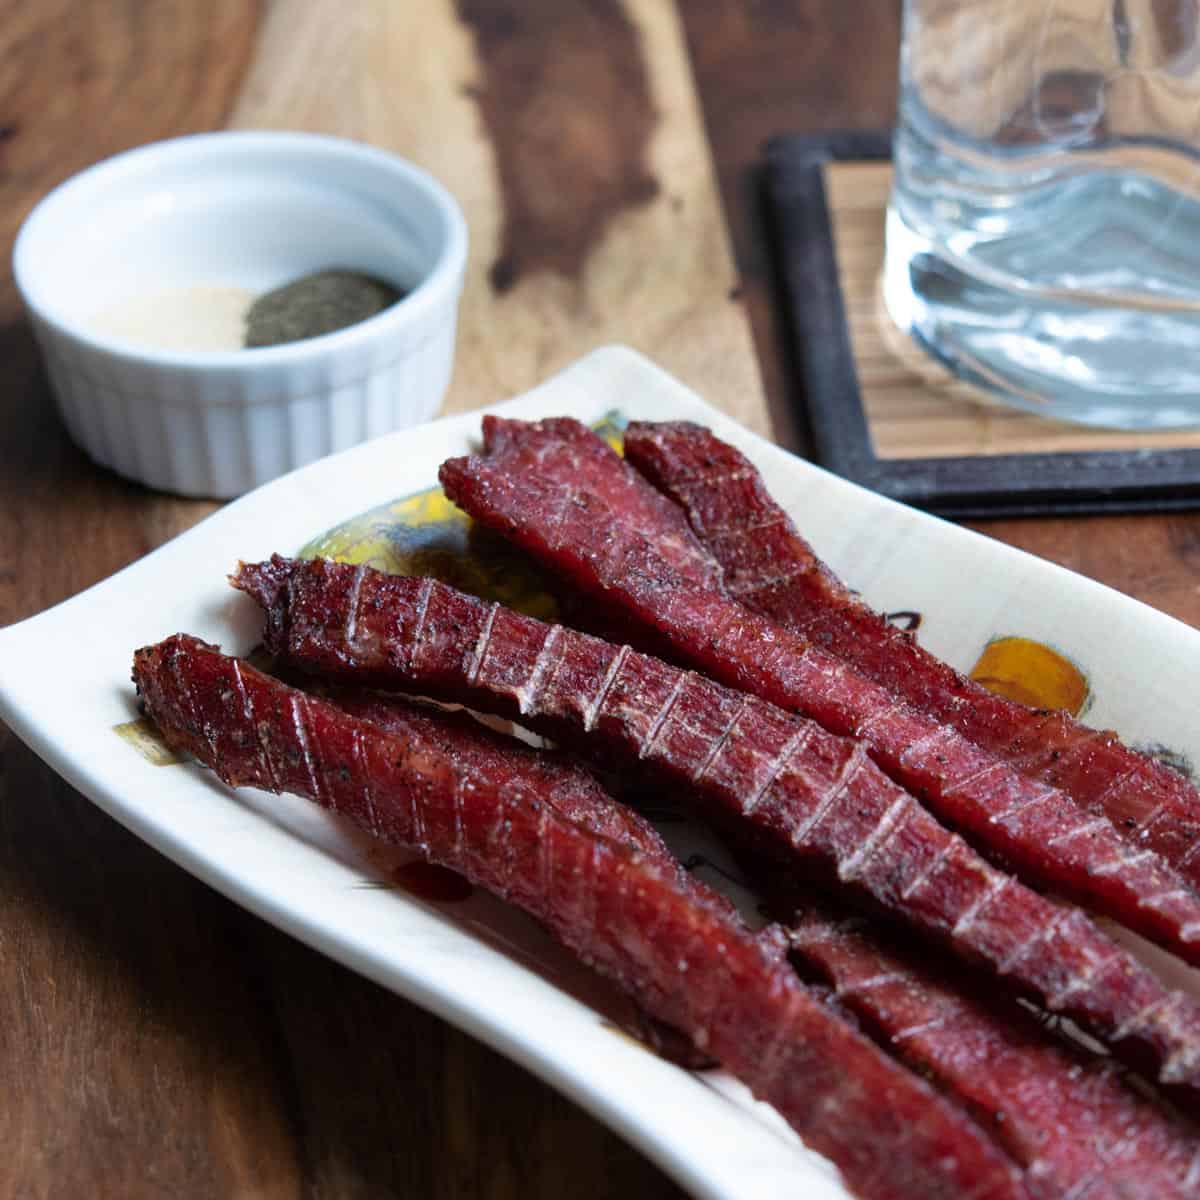
How to slice the meat
The first step to making beef jerky is choosing a lean cut of beef. I used beef eye of round when making this beef jerky. You can click here to see a full list of the best cuts of meat for making beef jerky.
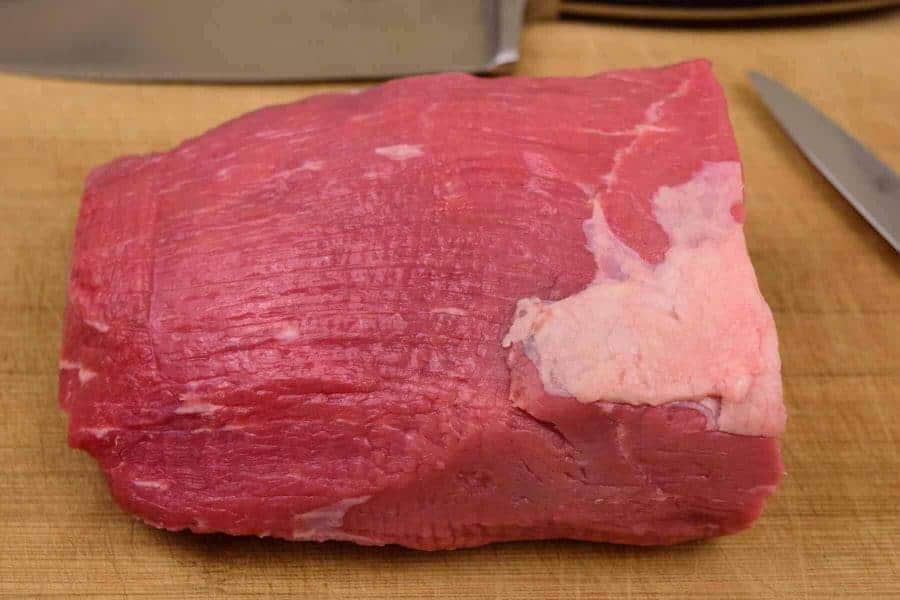
For chewier jerky, cut the meat across the grain with a very sharp knife. For softer jerky, cut it across the grain against the grain. a ¼″ in thickness is just right.
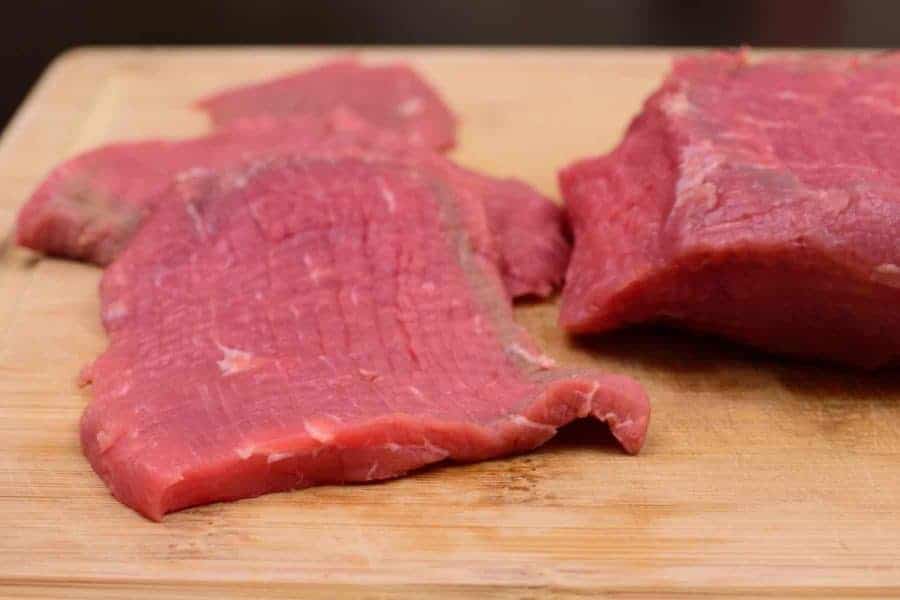
Slice with the grain for a chewy jerky or against the grain for more of a tender chew. Wanting a little more chew, the meat was sliced with the grain when making this beef jerky recipe.
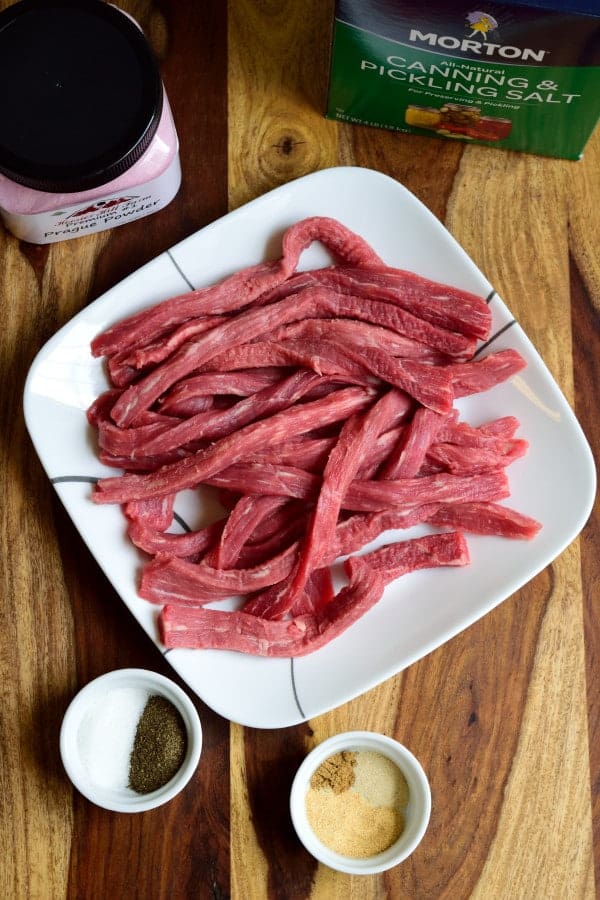
I didn’t use it on this recipe, but a jerky slicer is a FANTASTIC piece of equipment to help get even strips when slicing jerky.
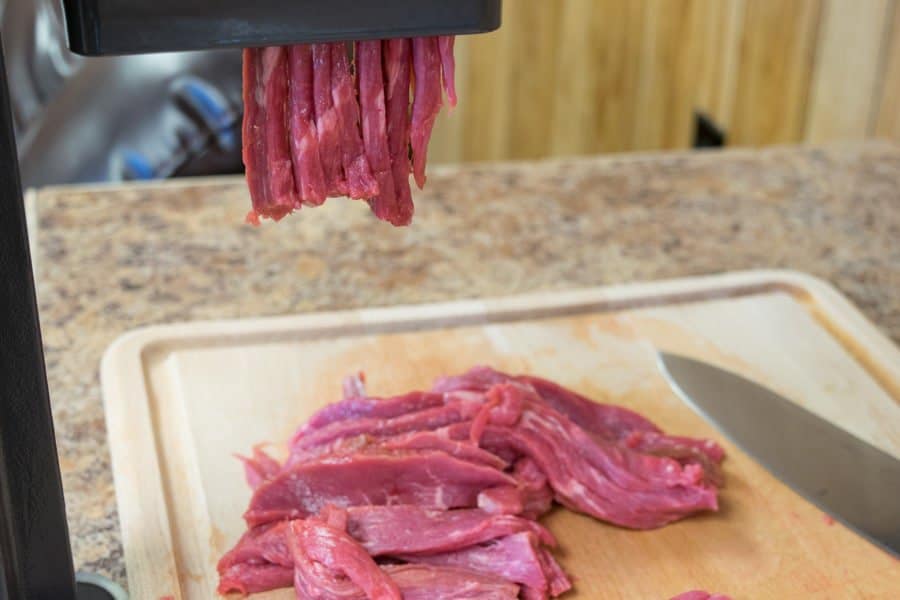
If you want to know more about how to slice meat for jerky or aren’t sure which way the grain goes, I’ve put together a page called Slicing Meat for Jerky that has EVERYTHING you need to know.
This is a very traditional beef jerky and that calls for some pretty common but TASTY ingredients. Your pantry will already have most of the things you need, so you won’t have to spend a lot of money at the store.
Just put everything in a bowl or ziplock bag and mix it up until everything is well mixed together.
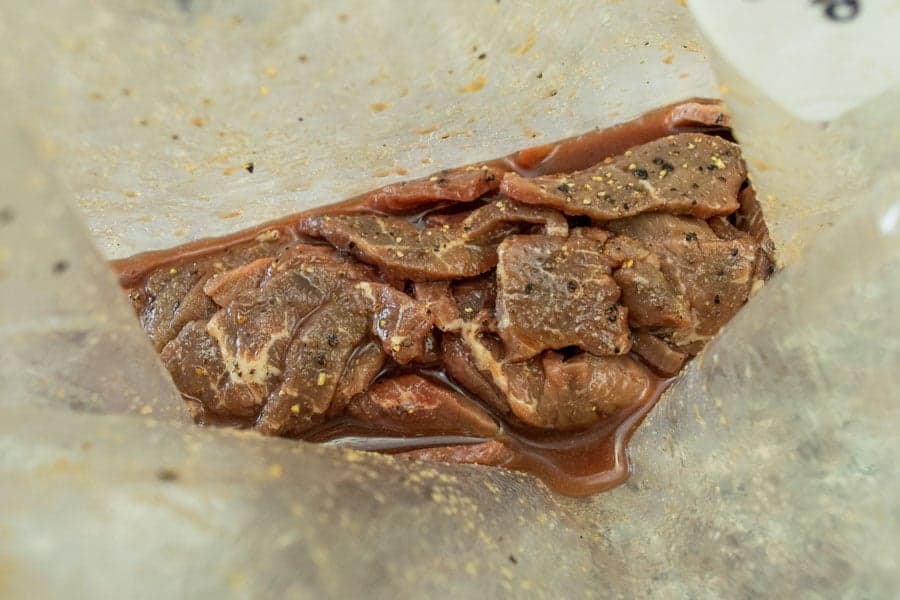
Put the bag in the fridge for 6 to 24 hours and mix it several times to make sure the strips are evenly covered. This makes sure the every piece of finished jerky has a consistent flavor.
RELATED PAGE: ——> DOZENS OF GREAT TASTING JERKY RECIPES <——
Once the meat has finished marinating, strain any excess marinade in a colander. I marinated this beef for a total of 21 hours before straining. The longer the marinade process, the more intense flavor the jerky will have! .
If you want to drain the jerky strips, lay out some paper towels and place the strips on them. It’s important to pat the strips dry and get rid of any marinade that’s still on top of them.
Getting rid of the marinade on top of the jerky will keep it from feeling “sticky” when it’s done. This also speeds up the drying process. A double win!.
A Nesco Snackmaster Dehydrator was used when making this jerky recipe. I LOVE the Nesco dehydrators. They work, are reasonably prices, and they last a long time!
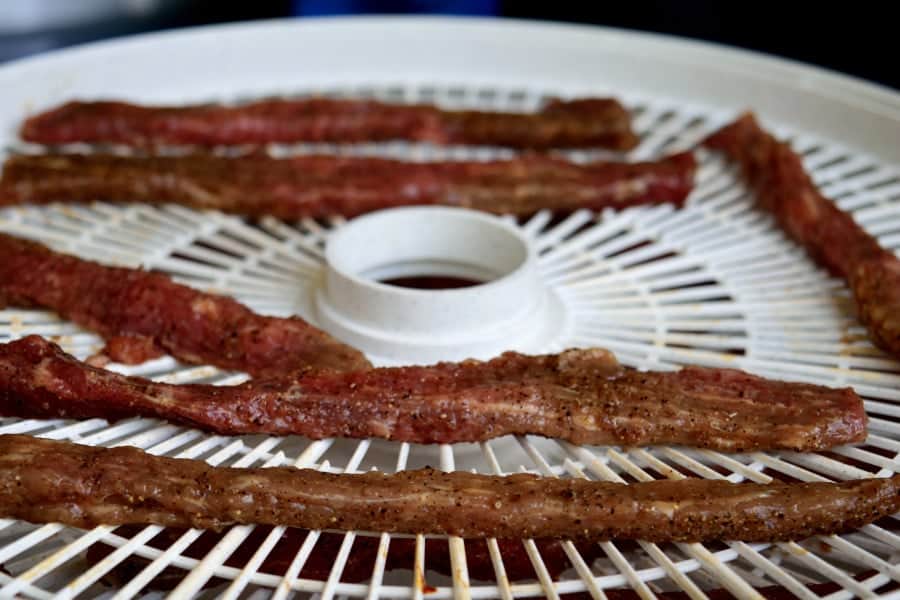
Leave space between the strips so air can flow around the jerky and dry it all the same way. This is not the time to cram a bunch of meat on one tray and have it overlapping. Give them space people!.
Are Curing Salts Really Necessary?
FAQ
How do you use curing salt for jerky?
How long to cure jerky before dehydrating?
How long to let curing salt sit?
How much salt per pound of jerky?
Is curing salt necessary for ground beef jerky?
Yes, using curing salt is essential for ground beef jerky to prevent the growth of harmful bacteria and to ensure food safety during the drying and preservation process. Curing salt also helps to preserve the color and flavor of the meat while extending its shelf life.
Can you consider beef jerky a healthy snack?
No, as this is high in salt and other preservatives to main both its structure, taste and longevity. As a processed meat, beef jerky is also higher in saturated fat. All the salt, preservatives and saturated fat can be harmful to primarily your heart health. It is best to swap this out for some chicken breasts that have been cubed or homemade turkey balls.
What is the difference between curing salt and jerky?
Curing salt #1, which contains 6.25% sodium nitrite and 93.75% sodium chloride, is commonly used for jerky as it requires cooking. Curing salt #2, on the other hand, contains 6.25% sodium nitrite, 4% sodium nitrate, and 89.75% sodium chloride and is used for dry-curing over an extended period of time.
How much curing salt should I use for jerky?
The recommended ratio for Cure #1 is 1 oz per 25 lbs of meat, but most home jerky makers work with smaller batches ranging from 1-5 lbs. To calculate the amount of curing salt to use, you can use a simple equation where X represents the weight of the beef and Y represents the cure output in grams.
