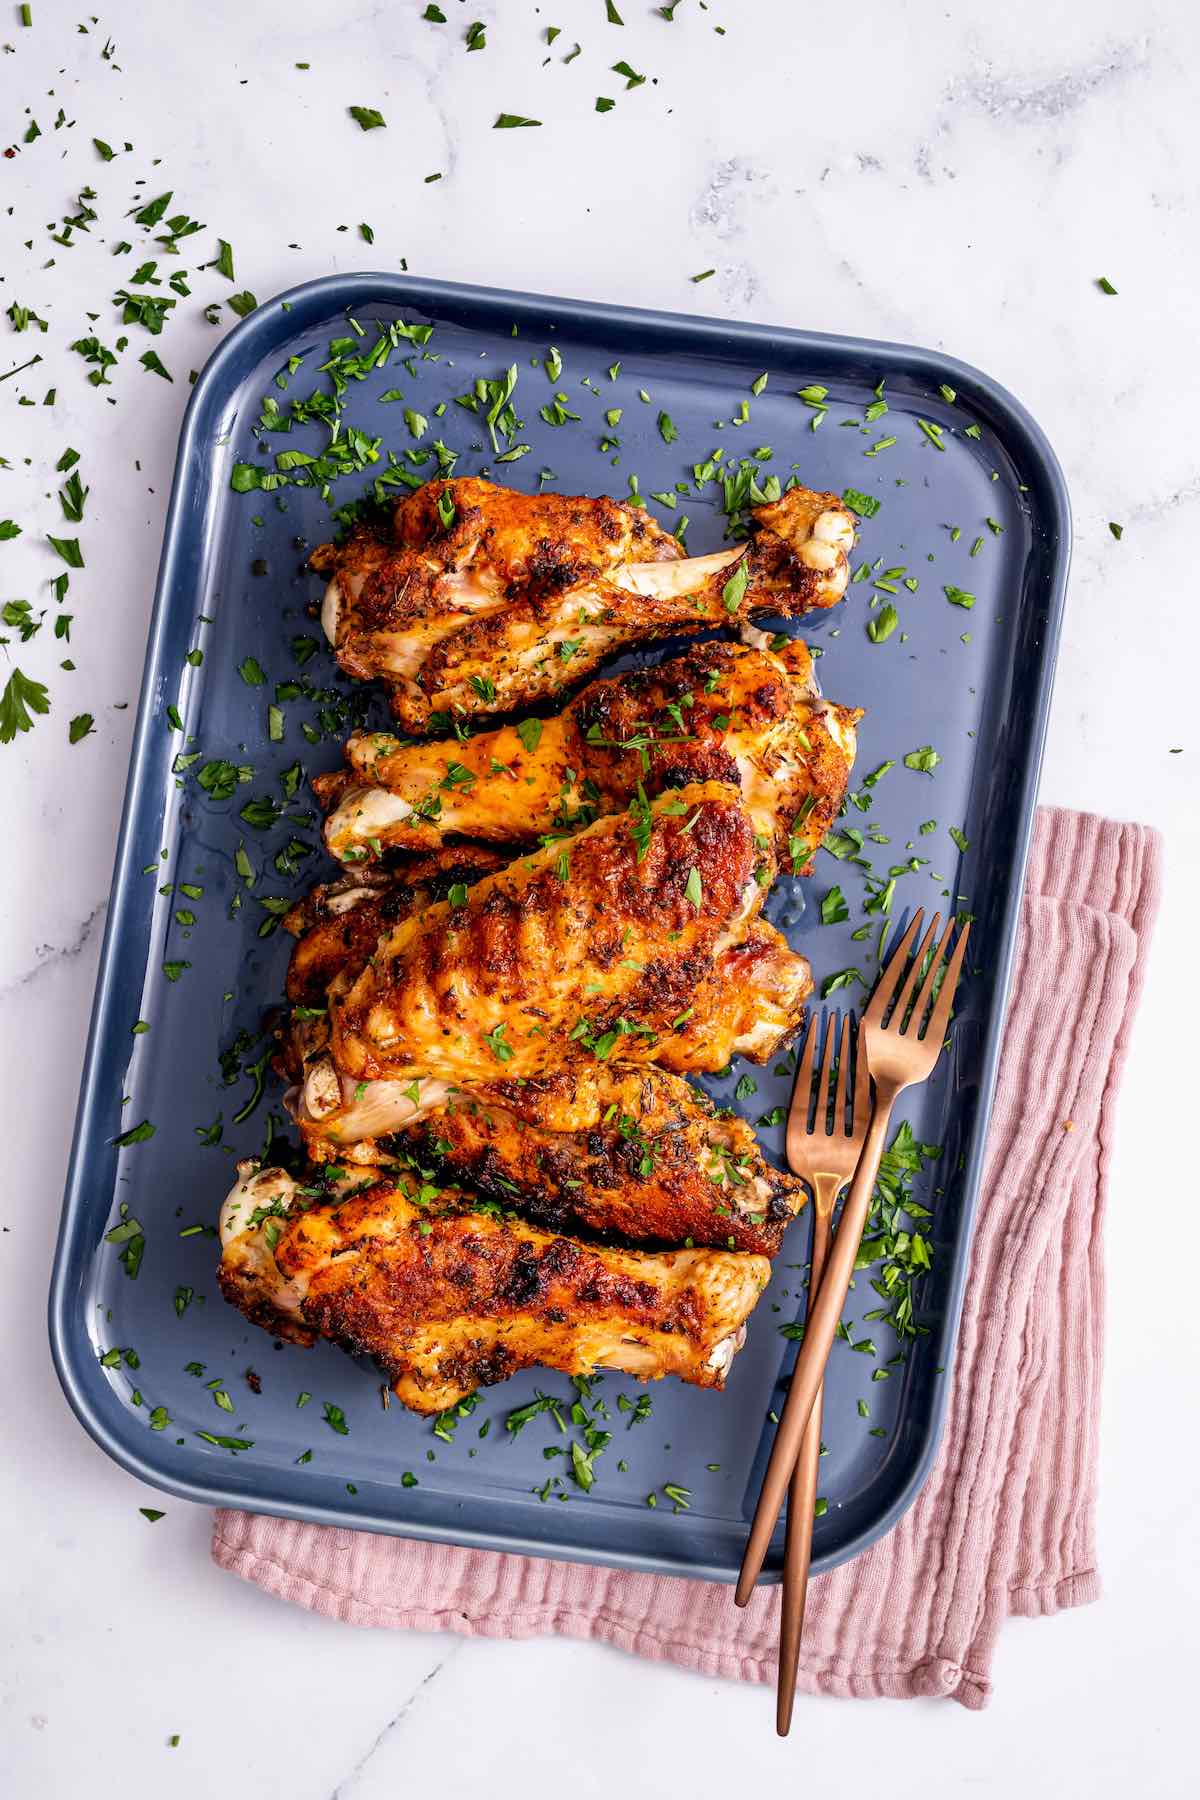
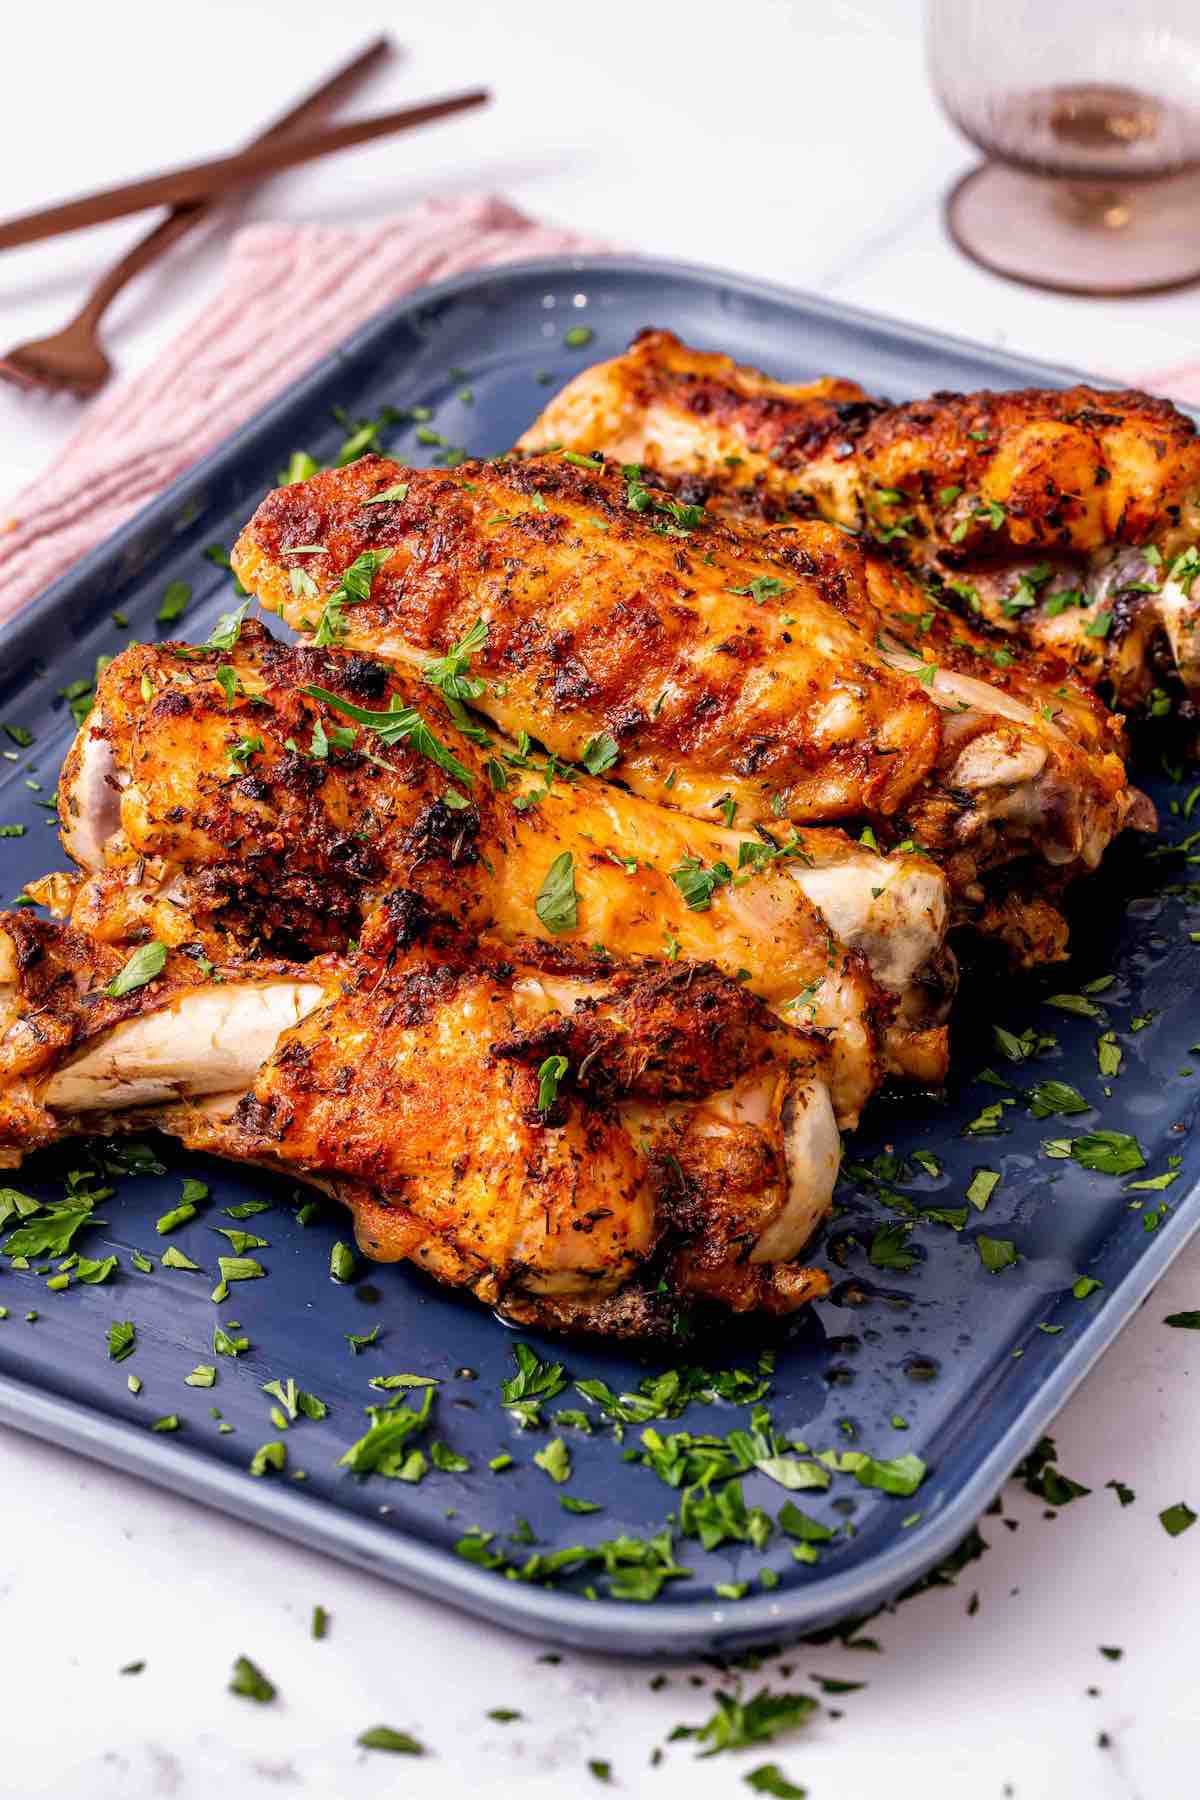
The skin on these baked turkey wings is perfectly seasoned and crispy, and the meat inside is the juiciest and moistest it has ever been. Minimal prep is needed, it’s SO delicious.
When most people think of turkey, they picture the whole bird roasted or just the breast. But have you ever tried cooking other parts of the bird, like the wings?
My oven-roasted turkey wings are a fun change from chicken wings that give you more meat for your buck. I mean, one turkey wing is satisfying enough as a meal on its own. I thought that these wings would only be easy to find around the holidays, but my butcher told me that they are available all year!
As Thanksgiving approaches, you may find yourself tasked with cooking a large turkey for the big feast. And when it comes to cooking a whole turkey, getting perfectly crispy, juicy turkey wings can be a challenge. Large turkey wings can be unwieldy and difficult to manipulate. If you’ve struggled with hacking away haphazardly at huge turkey wings in the past, this guide is here to help!
I’ll walk you through a simple, foolproof method for cutting large turkey wings so you can get beautiful, even pieces that will cook up gorgeously golden brown. No more wrestling with massive wings. Just follow these steps, and you’ll get flawless wings every time!
Why Cutting Technique Matters
You may be wondering why you can’t just throw the whole large wing in the oven and call it a day While that seems easier, it actually makes getting evenly cooked wings much trickier
When you leave the wing whole, the thinner bony tip often overcooks and burns before the thicker meaty part is done. This leaves you with dry, leathery burnt bits and underdone, flabby sections. Not very appetizing!
Cutting the wings into more uniform pieces allows you to cook the pieces evenly. The tips won’t burn while the rest stays raw and gummy. Proper cutting gives you much more control over doneness.
Even heat distribution also helps the skin get impeccably crispy and golden brown all over. Plus, smaller wing segments make for neater, easier eating. So taking the time to cut large wings into tidy pieces really pays off in the final results.
Supplies You’ll Need
Cutting large turkey wings is actually quite simple. You don’t need any fancy kitchen gadgets. Here’s what you’ll need:
-
Sharp chef’s knife – A quality 8-inch or 10-inch chef’s knife is ideal for precision cutting. Make sure it’s very sharp!
-
Cutting board – Pick a large, sturdy board that won’t slip around. Wood or plastic work equally well.
-
Kitchen shears (optional) – While not required, kitchen shears can help with breaking down the wings initially.
-
Towel – Have a clean towel on hand for keeping your hands dry while working. Wet, slippery hands make cutting more difficult and dangerous.
Prepping the Wings
Before you can cut the wings you need to prep them for clean. easy cuts
-
Remove the wing tip: Locate the joint connecting the wing tip and wingette. If you can, cut through it. If it is tight, manually break the joint holding each piece with one hand and crack the joint. You may have to go back and forth with the knife to achieve a clean cut.
-
Cut through the elbow joint Bend the wing and locate the elbow joint. Cut through the skin, then pop the joint out of its socket Repeat for all wings
-
Cut through the shoulder joint (optional): For greater control, you can also remove the entire wing from the bird at the shoulder joint. This is optional, but it gives you better leverage for precision cutting.
-
Dry thoroughly: Pat the wings very dry with paper towels. Moisture makes the skin slippery and harder to cut cleanly.
How to Cut the Wings
Once your wings are prepped, it’s time for the fun part – the cutting! Here are the simple steps for perfectly cut wings:
Step 1: Split the Wingette from the Drumette
-
Place the wing skin-side down on your cutting board. The fatter end is the drumette, and the narrower tip is the wingette.
-
Feel for the natural seam between these two sections.
-
Run your chef’s knife down the length of this seam, separating the two pieces.
Step 2. Remove the Wing Tip
-
If you didn’t already remove the wing tip when prepping, do so now.
-
Cut off the very end of the wingette along with the thin cartilage that extends past the end of the meat.
Step 3. Halve the Drumette
-
Turn the drumette so it lies flat, skin-side down. Locate the bone running through the middle.
-
Place your chef’s knife in the center of the drumette, directly over the bone.
-
Apply firm, even pressure and cut down through the meat, slicing the drumette in half along the bone.
Step 4. Divide the Wingette
-
With the wingette skin-side down, locate the two bones inside.
-
Aim your knife between these bones, angling slightly toward the thinner, lower bone.
-
Cut down through the meat, separating the wingette into two even pieces.
And that’s it – you now have five neat, shapely wing pieces ready for the oven!
Extra Tips for Cutting Success
Follow these additional pointers for flawless, professional-looking wings:
-
Keep things dry. Dry wings are much easier to handle and cut cleanly. Pat off excess moisture with paper towels.
-
Take your time. Don’t rush the cutting steps. Go slowly for maximum control. Perfect cuts take precision.
-
Keep the knife sharp. A dull blade makes cutting far more difficult and dangerous. Sharpen your knife or use a sharp replacement.
-
Apply steady pressure. Don’t hack wildly. Apply firm, even pressure as you make cuts. Rock the knife gently if needed.
-
Use poultry shears if struggling. If any joint seems too snug for the chef’s knife, don’t force it. Bust out the kitchen shears instead.
-
Cut similar wings together. Grouping wings of comparable size together results in more evenly sized pieces.
-
Optimize for even cooking. Aim for uniformly shaped drumette and wingette halves to promote even cooking.
Get Golden Brown, Juicy Wings Every Time
There’s nothing better than a picture-perfect plate of crispy, golden turkey wings at Thanksgiving dinner. But improperly cut wings can lead to lackluster results in the oven. For juicy, evenly cooked turkey wings, proper cutting technique is key.
By learning how to neatly and efficiently cut wings into uniform pieces, you can look forward to flawless wings every holiday season. No more battling giant, awkward wings. Just let your sharp knife do the work!
Try this simple 3-step method: separate the wingette and drumette, halve the drumette, then divide the wingette. With practice, you’ll get fast and consistent at producing excellent wing pieces.
This Thanksgiving, impress everyone at the table with your expertise on cutting large turkey wings. Your perfect wings will be the star of the meal!

Why I love this recipe
- Perfectly seasoned yet simple. Some simple herbs and spices are all you need to make wings that taste great.
- Hands-off cooking. I love how baking the wings in the oven lets me do almost nothing.
- Crispy and flavorful. Turkey wings that are cooked with the lid on first are juicy and tender, while turkey wings that are cooked with the lid off at the end get crispy skin.
- It’s easier than a whole turkey. My family LOVES a roasted turkey, but I save that for special events most of the time. The wings, though, I can make every week. They are also way cheaper.
- These are great for the holidays! I’ve started making them for Thanksgiving dinner, and my family and friends like them better than the real bird.

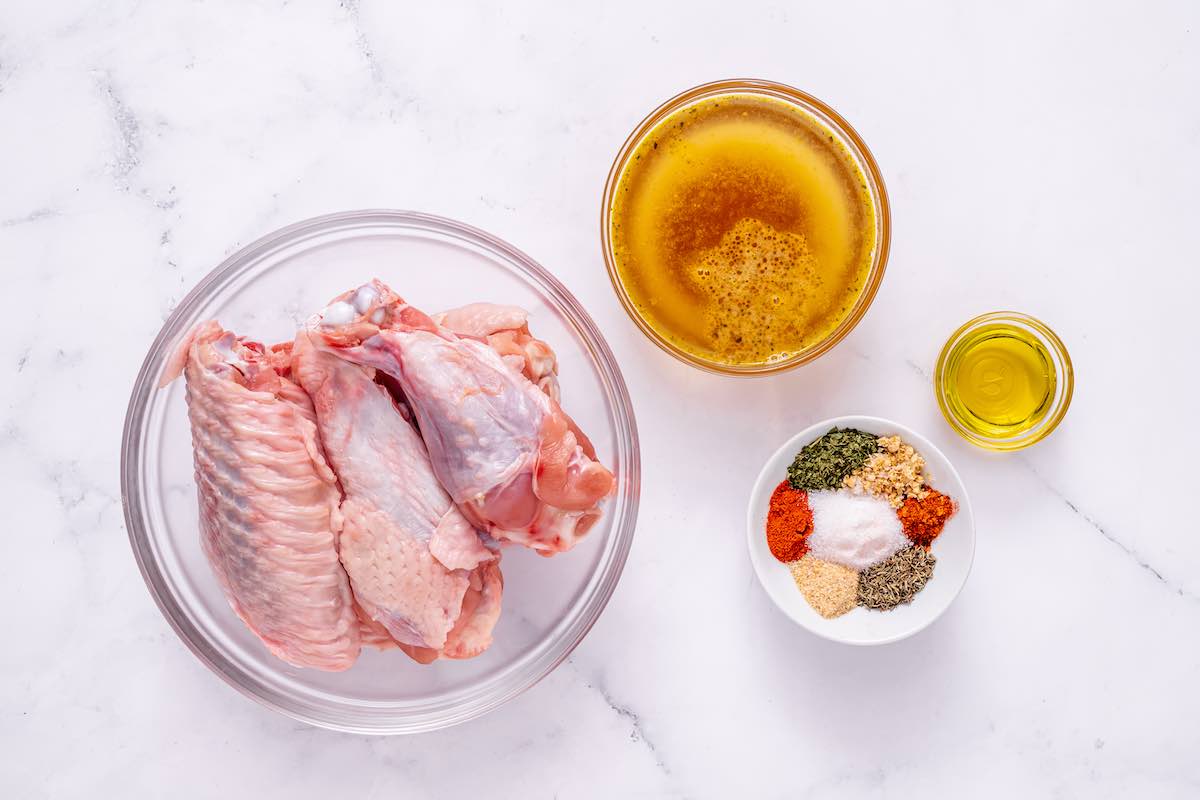
- Whole turkey wings. Separated and bone-in. Usually, turkey wings are split into three parts: the drumettes, the wingettes, and the wingtips. My butcher (and it seems like most butchers) can separate them for you, but it’s really easy to do yourself if your whole wing is still together.
- Chicken stock. Homemade or store-bought. Turkey stock will work too.
- Olive oil. To coat the wings with the spices before baking them
- Spices. For this recipe, all I use is paprika, garlic powder, and onion powder. It may not look like much, but trust me, the flavors are strong.
- Herbs. Dried thyme, Rosemary, and parsley pair well with turkey. It might be tempting to use fresh herbs, but they burn instead of soak into the meat when you roast or bake them. Because of this, I recommend only the dried kind.
- Salt and pepper. To taste.
How to make baked turkey wings
I’ve included step-by-step photos below to make this recipe easy to follow at home. Scroll down to the recipe card at the bottom of this post to print out the full recipe instructions and amounts of the ingredients.

Step 1—Prep. In a mixing bowl, mix the olive oil with salt, dried herbs, and spices.
Step 2- Season. Coat the wings in the spice mix, then put a lid on them and let them sit for 5 to 30 minutes.
Step 3- bake. Transfer the wings to a baking dish and pour the chicken stock around them. Cover the dish with aluminum foil and bake for 30 minutes.
Step 4- Broil. The wings should be golden and crispy around the edges after this point. Take off the foil and cook for another 5 to 10 minutes.
Baked turkey wings cooking time
This depends on how big the wings are and how well your oven cooks food. Turkey wings can be done in 30 minutes or an hour. With my oven (I have a Miele 2. 0), it typically takes around 45 minutes.
The BEST way to tell if your wings are done is to use a meat thermometer to probe the middle of them. The FDA recommends cooking the turkey until it reaches 165F in the thickest part of the wing.
- Pat dry the wings. This helps the wings get crispy faster when you broil them.
- Don’t skip the chicken stock. By pouring the stock around the wings and baking them with their covers on, you make a tasty steam that cooks the turkey to perfection and gives it a lot of flavor and moisture. Don’t fret though- the exterior will be super crispy.
- Save the drippings. I love making simple gravy with the turkey pan drippings. Add about 1/2 cup more chicken broth, 1 tablespoon of cornstarch, and some extra salt and pepper. Mix everything together with a whisk.
- Use turkey legs. This recipe works perfectly well for turkey legs, too.
- Change up the seasonings. Before I bake the wings, I sometimes like to use poultry seasoning or cover them in a tasty sauce. Like chicken wings, they are so easy to adapt.
To store. Store leftovers in an airtight container in the fridge for up to 4 days.
To freeze. Baked wings can be frozen for up to 3 months.
To reheat. Putting these in the oven with foil on top is the best way to warm them up, whether they are frozen or just out of the fridge. Once heated through, broil the wings for a few minutes to crisp them up again.

Overcooking and undercooking turkey wings are the main reasons they turn out tough. I know I sound like a broken record, but please use a meat thermometer to double-check. Once the meat reaches 165F, it’s ready to eat!.
This particular baked turkey wings recipe is healthy. Turkey wings are high in protein and a range of other essential nutrients. With this said, turkey wings are considered dark meat. This means they are higher in calories and fat than turkey breast. So, consume them in moderation and paired with healthy side dishes.
Yes, you can bake turkey wings smothered in gravy. However, this cooking method will not yield crispy results.
I prefer fresh turkey wings because, through recipe testing, I find they retain the most juice and flavor. Frozen wings will work, too, but you’ll need to let them thaw all the way and pat them dry to get rid of any extra water.
How to easily cut your turkey wings into portions at home
FAQ
How to cut off turkey wings?
How do you cut wild turkey wings?
