As the holidays approach, many home cooks start thinking about preparing the perfect centerpiece roast beef When cooked properly, beef roast can be the crowning jewel of any holiday table But cooking beef roast, with its large cuts of meat, can be intimidating for novice and seasoned cooks alike. Fortunately, using an electric roaster makes cooking beef roast simpler and more foolproof. In this article, I’ll provide a step-by-step guide to cooking mouthwatering beef roast in an electric roaster, along with helpful tips and tricks I’ve learned from my years of roasting experience. Let’s get started!
Choosing the Right Cut of Beef
The first step to roast success is selecting the right cut of beef The most common roasting cuts are rib roasts, sirloin roasts, and rump roasts For optimal flavor and tenderness, I recommend choosing a well-marbled roast, such as a boneless ribeye roast or chuck eye roast. Well-marbled roasts have thin veins of fat running through the meat, which keep the roast juicy and impart great flavor. The chuck eye roast in particular is one of my favorites. It’s an economical cut that delivers fork-tender results when slow roasted.
Prepping the Roast
Before roasting, the beef needs a little prep work:
- Trim off any excess fat or silver skin. This bit of knife work helps the roast cook evenly.
- Season generously with salt and pepper. For a 3-4 lb roast, use about 2 tsp salt and 1 tsp pepper.
- Coat with herbs or spices (optional). Rosemary, garlic, thyme, onion powder, mustard powder, and paprika are all tasty choices.
- Let sit at room temperature for 1 hour. This helps the roast cook more evenly later on.
Setting Up the Electric Roaster
Electric roasters provide gentle even heat – perfect for slow roasting. To get started
- Place roast on metal rack or veggies. The rack elevates the roast to promote air circulation. Vegetables work too.
- Insert roast thermometer. This helps monitor doneness.
- Preheat roaster to 275°F. Low, steady heat is key for roasting.
- Add 1 cup broth or wine (optional). This provides moisture and flavor.
Now we’re ready to roast!
Calculating Roasting Time
Here’s a simple time calculation:
Total Cook Time = Roast Weight x 18 minutes per lb
So for a 4 lb roast:
4 lb x 18 minutes/lb = 72 minutes total cook time
(Give or take, based on your specific roast and electric roaster.)
During roasting, I like to baste the roast every 20 minutes with the pan juices for added moisture and flavor.
Determining Doneness
The best way to test doneness is by temperature:
- Rare: 120-125°F
- Medium Rare: 130-135°F
- Medium: 140-145°F
- Medium Well: 150-155°F
When the roast reaches 5°F below your target temp, remove it from the oven. The residual heat will carry it the rest of the way as it rests.
Resting and Carving the Roast
Letting the roast rest is CRUCIAL for a juicy, tender result. Here’s what to do:
- Transfer roast to cutting board, tent with foil.
- Let rest 15-20 minutes. This allows juices to reabsorb back into the meat.
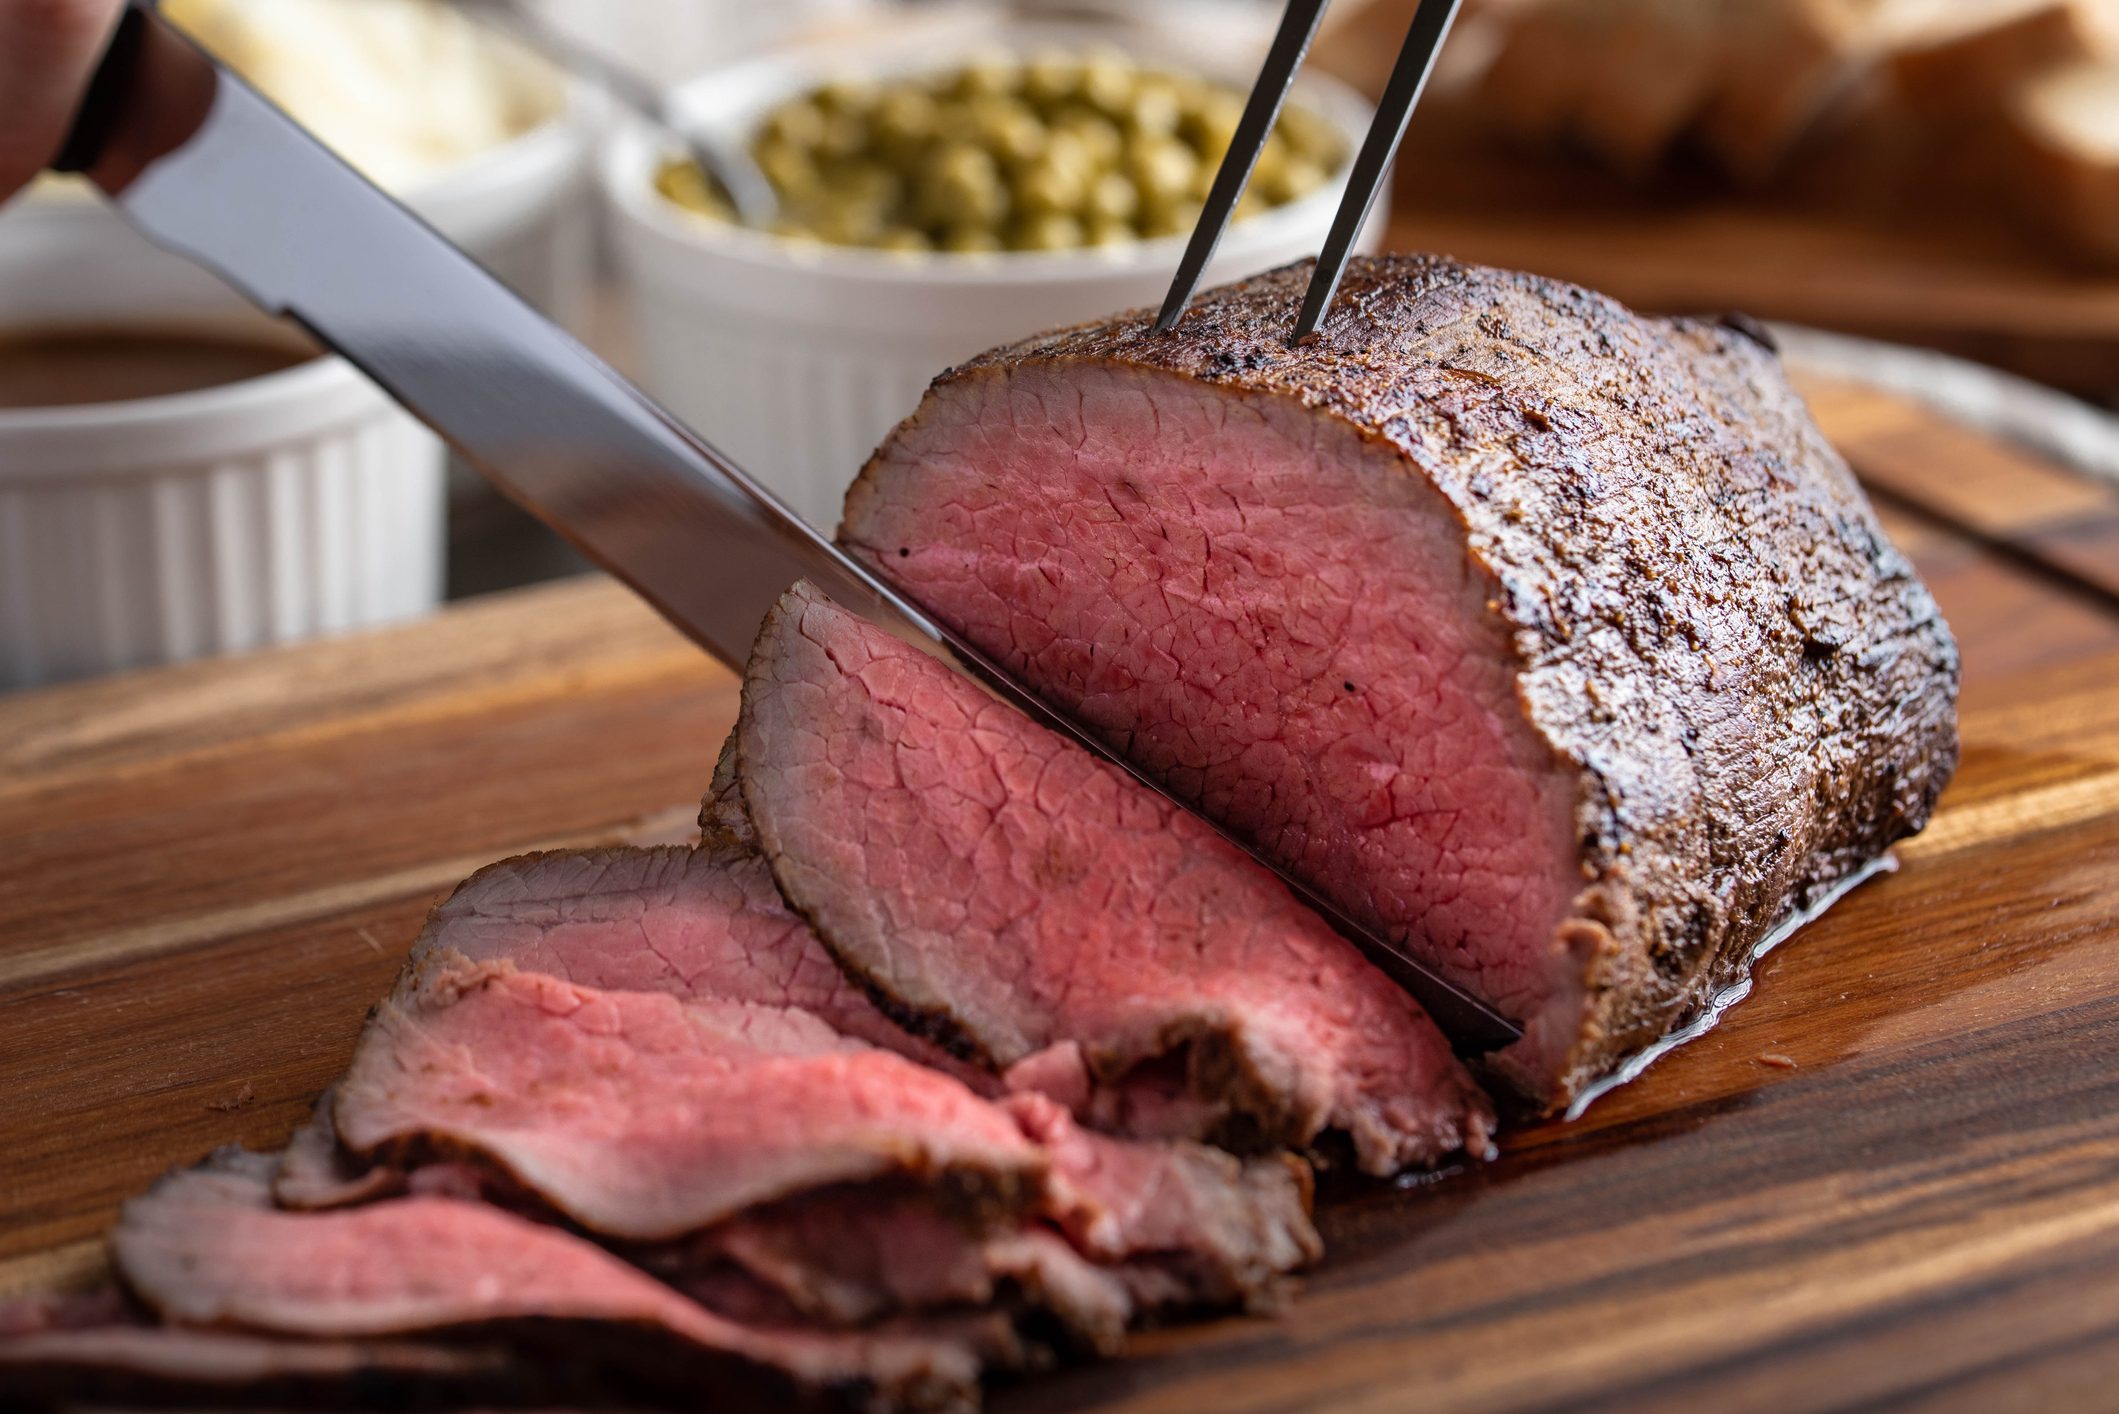
- Carve roast across the grain into thin slices. This yields the most tender texture.
- Serve drizzled with pan juices for added flavor!
The electric roaster does all the hard work for you, yielding fork-tender roast beef bathed in its own savory juices. How’s that for easy holiday elegance?
Handy Tips for Roasting Success
Over the years, I’ve discovered some useful tips and tricks for getting the most out of roasting with an electric roaster:
- Start low, go slow. Cook the roast at 275°F or lower to ensure even, gentle cooking.
- Keep it simple! All you need is salt, pepper, and the flavor of beef well roasted.
- Use a meat thermometer. It’s the only way to accurately gauge doneness.
- Let roast rest before carving. Crucial for keeping those flavorful juices locked inside.
- Make gravy from the pan drippings! Roast beef gravy is liquid gold.
Troubleshooting Common Roast Problems
Even experienced cooks occasionally run into issues when roasting beef. Here are some quick fixes:
Problem: Roast is undercooked in the middle.
Solution: Turn oven to 300°F and continue roasting 10-15 minutes until desired internal temp is reached.
Problem: Roast is overcooked and dry.
Solution: Slice thin against the grain and serve with gravy or au jus to add moisture.
Problem: Roast has an uneven shape/cooks unevenly.
Solution: Tie roast with kitchen twine to promote even shape and cooking.
Sample Recipe: Herb-Crusted Beef Roast
To give you an idea of how to put these roasting tips into action, here is one of my favorite roast recipes:
Ingredients:
- 3-4 lb chuck eye roast
- 2 tbsp olive oil
- 2 tsp kosher salt
- 1 tsp black pepper
- 2 tsp dried thyme
- 4 cloves garlic, minced
- Zest of 1 lemon
Instructions:
- Allow roast to come to room temperature, about 1 hour.
- Combine olive oil, salt, pepper, thyme, garlic and lemon zest. Coat roast all over with herb mixture.
- Preheat electric roaster to 275°F. Place roast on rack and insert meat thermometer.
- Roast until internal temp reaches 135°F for medium rare, about 18 min per lb.
- Remove roast, tent with foil and let rest 15-20 minutes.
- Slice against the grain and serve!
The citrus and herbs take this roast over the top! Juicy, full of flavor, and so easy – this is sure to become your new favorite roast.
Roasting beef to tender, juicy perfection is easier than ever with an electric roaster. Low, even heat and simple seasoning is all you need. For your next impressive holiday meal or Sunday supper, forget the oven and let your electric roaster work its magic. With minimal effort, you’ll enjoy fall-apart tender roast beef straight from your own kitchen. Happy roasting!
Cooking Time and Temperature
Low and slow is the best way to cook a roast in an electric roaster:
- Cook the roast at a lower temperature for a longer time to make it tender and juicy.
- Allow twenty minutes of cooking time for every pound of meat. But it’s best to check a reliable recipe or cooking chart for exact instructions, since different cuts and sizes may need small changes.
While the roast is cooking, it’s crucial to monitor its progress:
- Use a meat thermometer to check the internal temperature. A temperature of 145°F (63°C) is ideal for medium-rare, and 160°F (71°C) is ideal for medium.
- Crack open the electric roaster about once an hour to baste the roast with its tasty juices. This makes the meat taste better and keeps it moist.
When the roast reaches the right temperature inside, take it out of the roaster and put it on a cutting board. To ensure maximum juiciness, let the roast rest for at least 15 minutes before carving. This allows the juices to redistribute throughout the meat.
Finally, cut the roast into pieces of the thickness you want. Serve it with your favorite sides, like a fresh green salad, roasted vegetables, or creamy mashed potatoes. The result? A scrumptious roast that will leave everyone at the table craving for more.
Now that you know how to use an electric roaster to cook a delicious roast, it’s time to put what you’ve learned to the test! Enjoy the tastes, smells, and happiness that a perfectly cooked roast brings to any event or gathering. Share your tips and techniques for cooking a roast in an electric roaster in the.
Unlock the Secrets of Cooking a Mouthwatering Roast in an Electric Roaster
Roasts are a classic comfort food, and cooking them to perfection can be a daunting task. But if you use an electric roaster, you can make a deliciously tender and flavorful roast without all the work. In this article, we’ll show you how to cook a roast in an electric roaster, so you can enjoy a delicious meal with your family and friends.
Pot Roast In The Electric Roaster Oven Recipe! Episode 153
FAQ
Can you slow cook in an electric roaster?
Can you brown meat in an electric roaster?
Do I need to preheat my electric roaster?
How do you cook a roast in an electric roaster?
Rub the seasoning all over the roast, ensuring every inch of meat is coated. Allow the flavors to infuse for 30 minutes or longer, if desired. Preheat your electric roaster oven to 325°F (163°C). This temperature is ideal for slow cooking a beef roast, allowing the meat to become tender while retaining its juiciness.
How do you cook a prime rib in an electric roaster?
Start by preheating your electric roaster oven to 325°F (163°C). Ensure that the rack is in place before preheating. Pat dry the prime rib roast with paper towels to remove any excess moisture. This will help achieve a crispy and flavorful crust. Season the roast generously with salt, pepper, garlic powder, and rosemary.
What temperature do you cook a roast in an electric roaster?
Preheat the electric roaster to the desired cooking temperature based on your recipe. This can typically be set between 275°F (135°C) and 325°F (163°C) for roasts. When it comes to cooking a roast in an electric roaster, low and slow is the way to go: For tender and succulent results, cook the roast at a lower temperature for a longer time.
Can you cook roast beef in a Roaster Oven?
Cooking roast beef in a roaster oven is convenient because it is portable. You can plug it in the garage, for instance, if the weather is hot or your kitchen cramped. Roaster oven recipes for beef cuts such as chuck roast are great because it allows you to cook the meat long and slow for tenderness and flavor.